
Office Blog
Maximizing the Use of Microsoft Whiteboard in Teams

Microsoft Whiteboard is a powerful collaboration tool that enables real-time visual ideation and collaboration. Integrated within Microsoft Teams, it offers immense potential for enhanced productivity.
With Microsoft Whiteboard in Teams, you can bid adieu to scattered conversations and email threads. The platform provides a centralized hub where teams can effortlessly come together, share ideas and insights visually.
This blog post offers step-by-step instructions on making the most of Microsoft Whiteboard within Teams. From creating dynamic visual presentations to fostering effective communication, explore the diverse features of this collaborative tool.
Step 1: Accessing Microsoft Whiteboard in Teams
Before you can start using Microsoft Whiteboard in Teams, make sure it’s enabled in your organization. Here’s how to access it:
- Open Microsoft Teams.
- Click on the “+” icon next to the chat bar.
- Select “Whiteboard” from the list of options.
Step 2: Creating a New Whiteboard
To create a new Whiteboard in Teams, follow these steps:
- Click on the “+” icon next to the chat bar.
- Select “Whiteboard” from the list of options.
- Click on “Create new whiteboard.”
- Give your whiteboard a name and click “Create.”
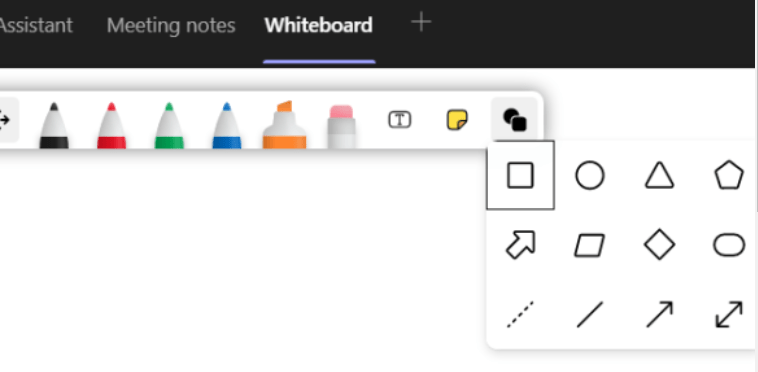
Step 3: Using the Whiteboard Toolbar
The Whiteboard Toolbar provides various tools to create and edit your whiteboard. Here’s how to use it:
- Click on the “Toolbar” button located on the top-right corner of the whiteboard.
- Select the desired tools, such as the pen tool or the eraser tool.
- Edit the size, color, and thickness of the tools by clicking on the “Settings” button next to each tool.
Step 4: Collaborating with Others
Collaborating with others is the real power of Microsoft Whiteboard in Teams. Here’s how you can invite others to collaborate:
- Click on the “Invite” button located on the bottom-right corner of the whiteboard.
- Enter the email addresses of the people you want to invite, and click “Send.”
- The invited people will receive an invitation and can join the whiteboard by clicking on the link provided.
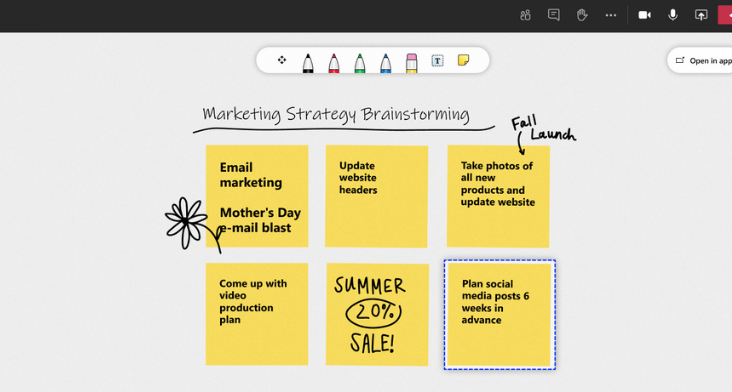
Step 5: Using Sticky Notes
Sticky Notes are an effective way to quickly add ideas to the whiteboard. Here’s how to use them:
- Click on the “Sticky Notes” button located on the left side of the whiteboard.
- Click on the desired color of the Sticky Note.
- Type in your idea on the Sticky Note, and click “Add.”
Step 6: Saving and Sharing Whiteboards
Once you finish working on your whiteboard, you can save and share it with others. Here’s how:
- Click on the “More options” button located on the top-right corner of the whiteboard.
- Select “Save as image” or “Save as file” from the list of options.
- To share the whiteboard, click on the “Share” button located on the bottom-right corner of the whiteboard.
By following these step-by-step instructions, you can unlock the full potential of Microsoft Whiteboard in Teams. Collaborate seamlessly, ideate visually, and enhance productivity with this powerful tool. Happy collaborating!
Enhance your database management efficiency by selecting the ideal Microsoft Office license from our website. Explore our offerings, including cheap Office 2016 license , Office 2019 cd keys, and the cheapest Office 2021 license, and experience a seamless workflow.