
Windows Blog
How To Install Windows 11 – Your Complete Guide, Step By Step
As technology continues to evolve, operating systems are constantly being updated to offer enhanced features, improved performance, and increased security. Windows 11, the latest release from Microsoft, is no exception. With a sleek new design, exciting new features, and a remarkable user experience, Windows 11 is an operating system you definitely don’t want to miss out on.
In this comprehensive guide, we will walk you through the entire process of installing Windows 11 on your PC. From checking system requirements to post-installation setup, we will cover every step in detail, ensuring a smooth and successful installation. So, without further ado, let’s get started!
Before You Begin: Check System Requirements and Backup Data
Before diving into the installation process, it is crucial to determine if your PC meets the minimum system requirements for Windows 11. Microsoft has introduced specific hardware requirements for Windows 11 to ensure optimal performance and compatibility. Here are the recommended system requirements for Windows 11:
- Processor: 1 GHz or faster with 2 or more cores on a compatible 64-bit processor.
- RAM: 4 Gigabytes (GB) or more.
- Storage: 64 GB or larger storage device. Solid State Drive (SSD) is recommended for improved performance.
- System Firmware: UEFI, Secure Boot capable.
- TPM (Trusted Platform Module): Version 2.0.
- Graphics card: DirectX 12 compatible or later with a WDDM 2.0 driver.
- Display: High definition (720p) display, at least 9” diagonal.
Once you have ensured that your PC meets these requirements, it is essential to back up your important files and documents before proceeding with the installation. This ensures the safety of your data in case of any unforeseen issues during the installation process.
Step 1: Check Windows 11 Compatibility With PC Health Check Tool
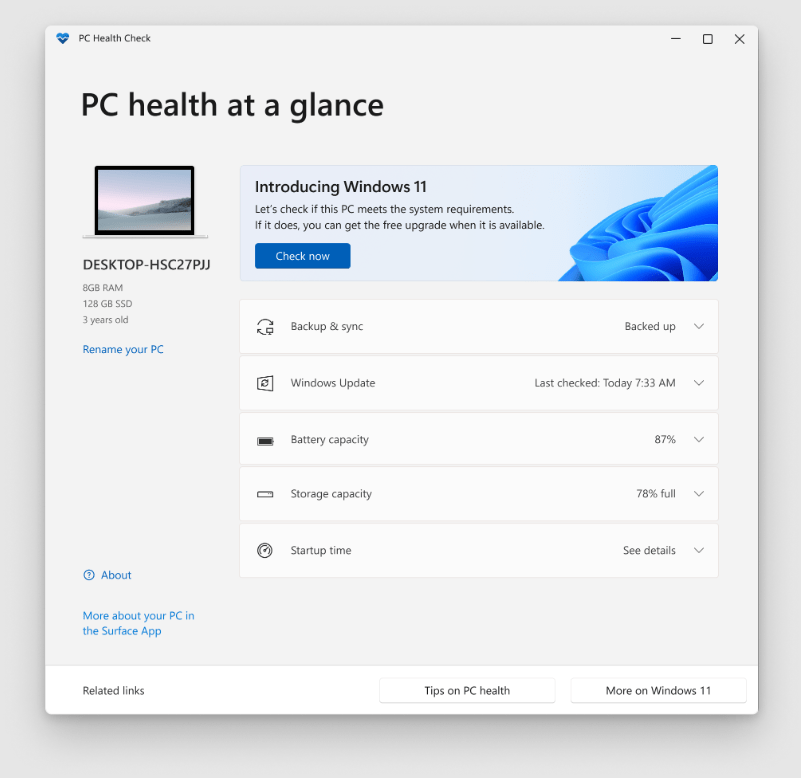
To determine if your PC is eligible for the Windows 11 upgrade, Microsoft provides a tool called PC Health Check. This tool scans your system and assesses whether it meets the necessary requirements for Windows 11 installation. Follow the steps below to use the PC Health Check tool:
- Download the PC Health Check from the Microsoft website or use the provided link.
- Open the downloaded file and follow the on-screen instructions to install the tool.
- Once installed, launch the PC Health Check tool.
- Click on the “Check Now” button to start the compatibility check.
- Wait for the tool to complete the scan and assess your system’s compatibility.
- If your PC meets the requirements, you will see a message stating “This PC can run Windows 11“.
- If your PC does not meet the requirements, you will see a message that lists the specific reasons why it is not compatible.
If your PC is deemed incompatible, it may be time to consider upgrading certain hardware components to meet the requirements. However, if your PC is compatible, you can proceed to the next step.
Step 2: Download Windows 11 and Create Installation Media
Once your PC is deemed compatible, you need to obtain the Windows 11 installation files. There are two main ways to do this: downloading the official ISO file or using the Windows Update assistant for automatic download and preparation of the installation files.
Downloading the Official ISO File:
To download the official ISO file, follow these steps:
- Visit the official Microsoft website and navigate to the Windows 11 download page.
- Click on the “Download now” button or select the edition of Windows 11 you want to install.
- The ISO file will start downloading. Depending on your internet speed, this may take some time.
Using the Windows Update Assistant:
If you prefer a more automated process, you can use the Windows Update Assistant. This tool will automatically download and prepare the installation files for you. Here’s how to use it:
- Visit the official Microsoft website and search for the “Windows Update Assistant“.
- Download the Windows Update assistant compatible with your current Windows version.
- Run the downloaded file and follow the on-screen instructions to complete the installation.
- Once installed, open the Windows Update assistant.
- The tool will automatically check for updates and download the necessary files for Windows 11 installation.
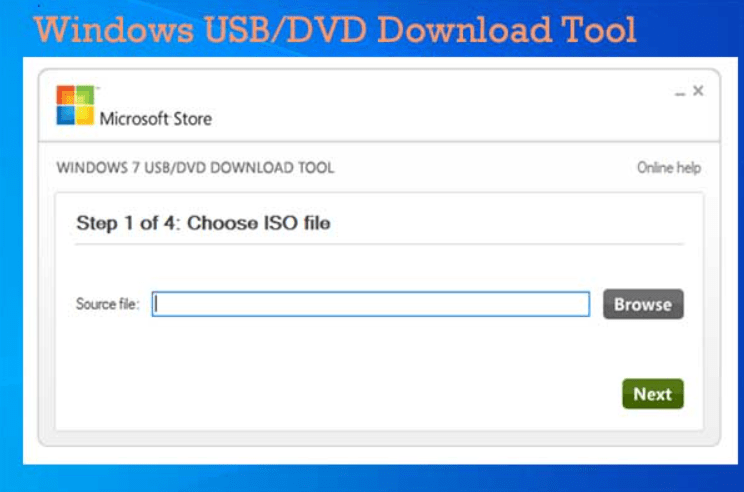
After obtaining the Windows 11 installation files, you need to create a bootable USB drive or burn the ISO file onto a DVD. This will allow you to boot from the installation media and install Windows 11 on your PC. To create a bootable USB drive, you can use the Windows USB/DVD Download Tool provided by Microsoft.
- Download the Windows USB/DVD Download Tool from the Microsoft website.
- Install and launch the tool.
- Insert your USB drive into the computer. Note that all data on the USB drive will be deleted, so make sure to back up any important files.
- In the Windows USB/DVD Download Tool, select the Windows 11 ISO file you downloaded.
- Choose the USB drive you inserted as the destination for creating a bootable USB.
- Click on the “Begin copying” button to start the process.
- Wait for the tool to create the bootable USB drive. This may take several minutes.
Step 3: Boot From Installation Media and Begin Installation
With the bootable media ready, it’s time to proceed with the actual installation of Windows 11. Make sure your PC is powered off and follow the steps below:
- Insert the bootable USB drive or DVD into the respective ports on your PC.
- Turn on your PC and access the BIOS or UEFI settings. This process varies depending on your PC manufacturer and model. Common keys for accessing the BIOS or UEFI settings include F2, F10, or the Delete key. Consult your PC’s user manual or manufacturer’s website for specific instructions.
- Once in the BIOS or UEFI settings, navigate to the “Boot” or “Startup” section.
- Set the boot priority so that the USB drive or DVD drive is the first option for booting.
- Save the changes and exit the BIOS or UEFI settings. Your PC will now restart.
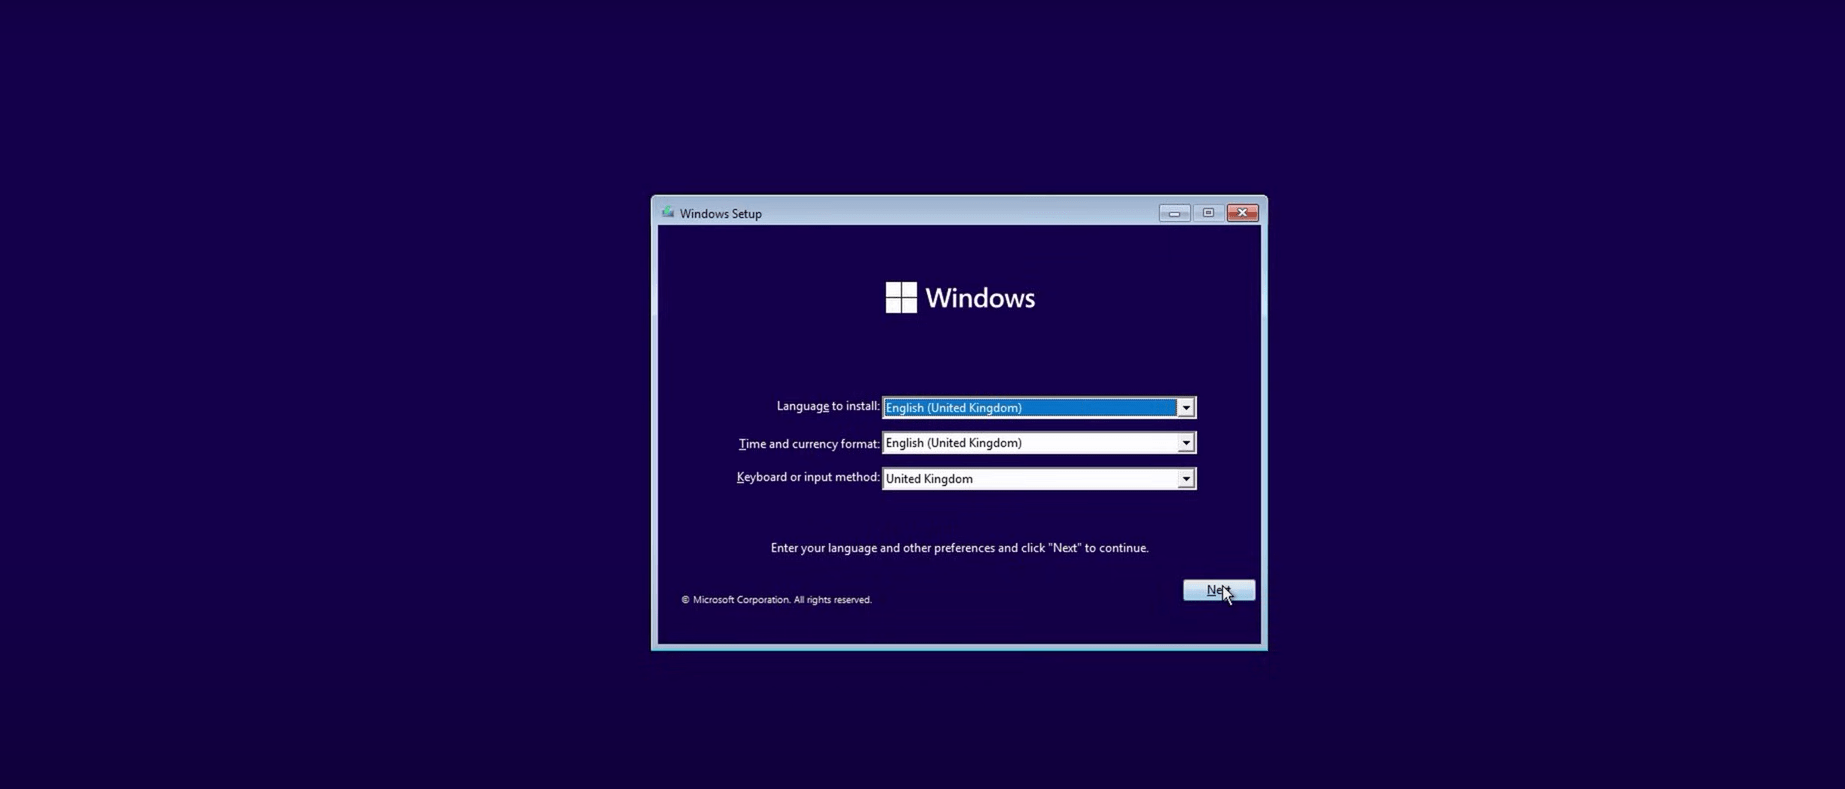
Upon restarting, your PC will boot from the installation media, and the Windows 11 installation process will begin. Follow the on-screen instructions to proceed with the installation. Here is a brief overview of the installation process:
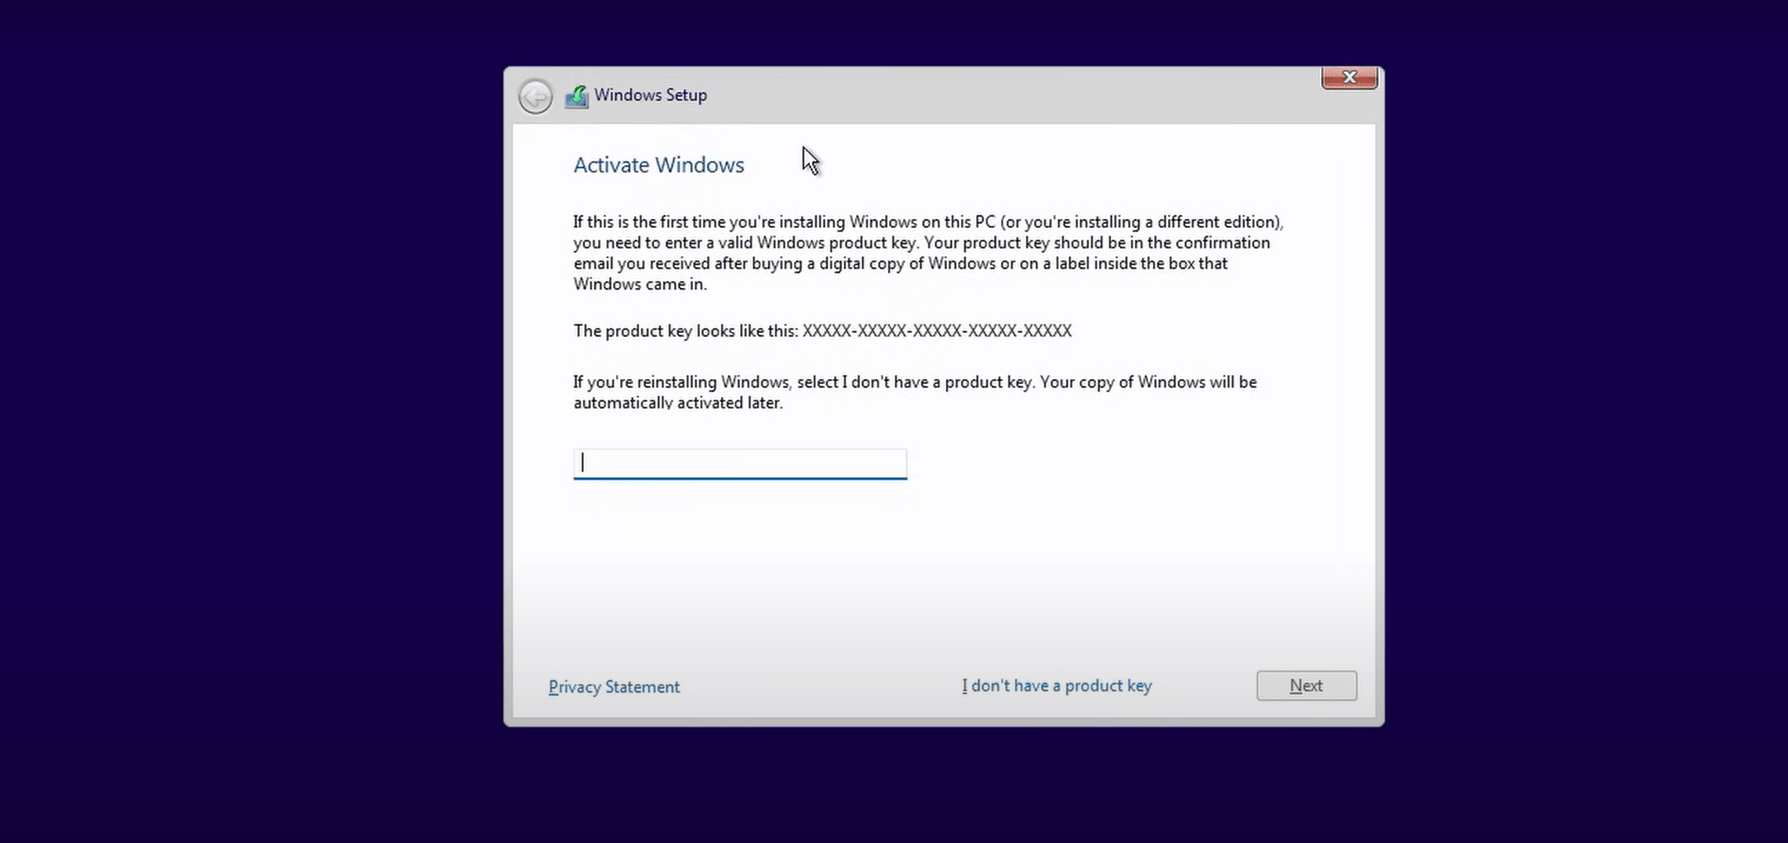
- Select language preferences, time and currency format, and keyboard layout, then click “Next“.
- On the next screen, click “Install Now” to begin the installation.

- Read and accept the terms and conditions of the license agreement.
If you are looking for cheap Windows 11 Pro keys, don’t worry! You can purchase it directly from our website. But that’s not all, we also offer the cheapest Microsoft Office licenses, Windows servers keys, and more.
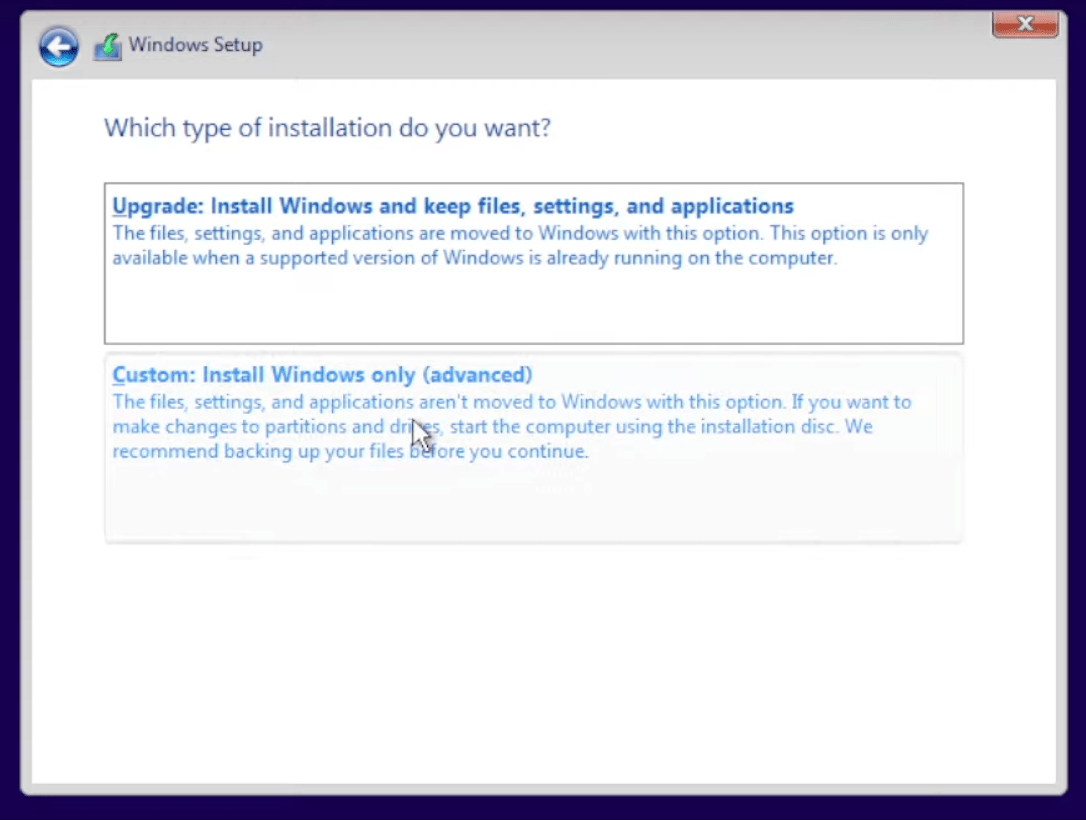
- On the “Which type of installation do you want?” screen, choose “Custom: Install Windows only (advanced)“.
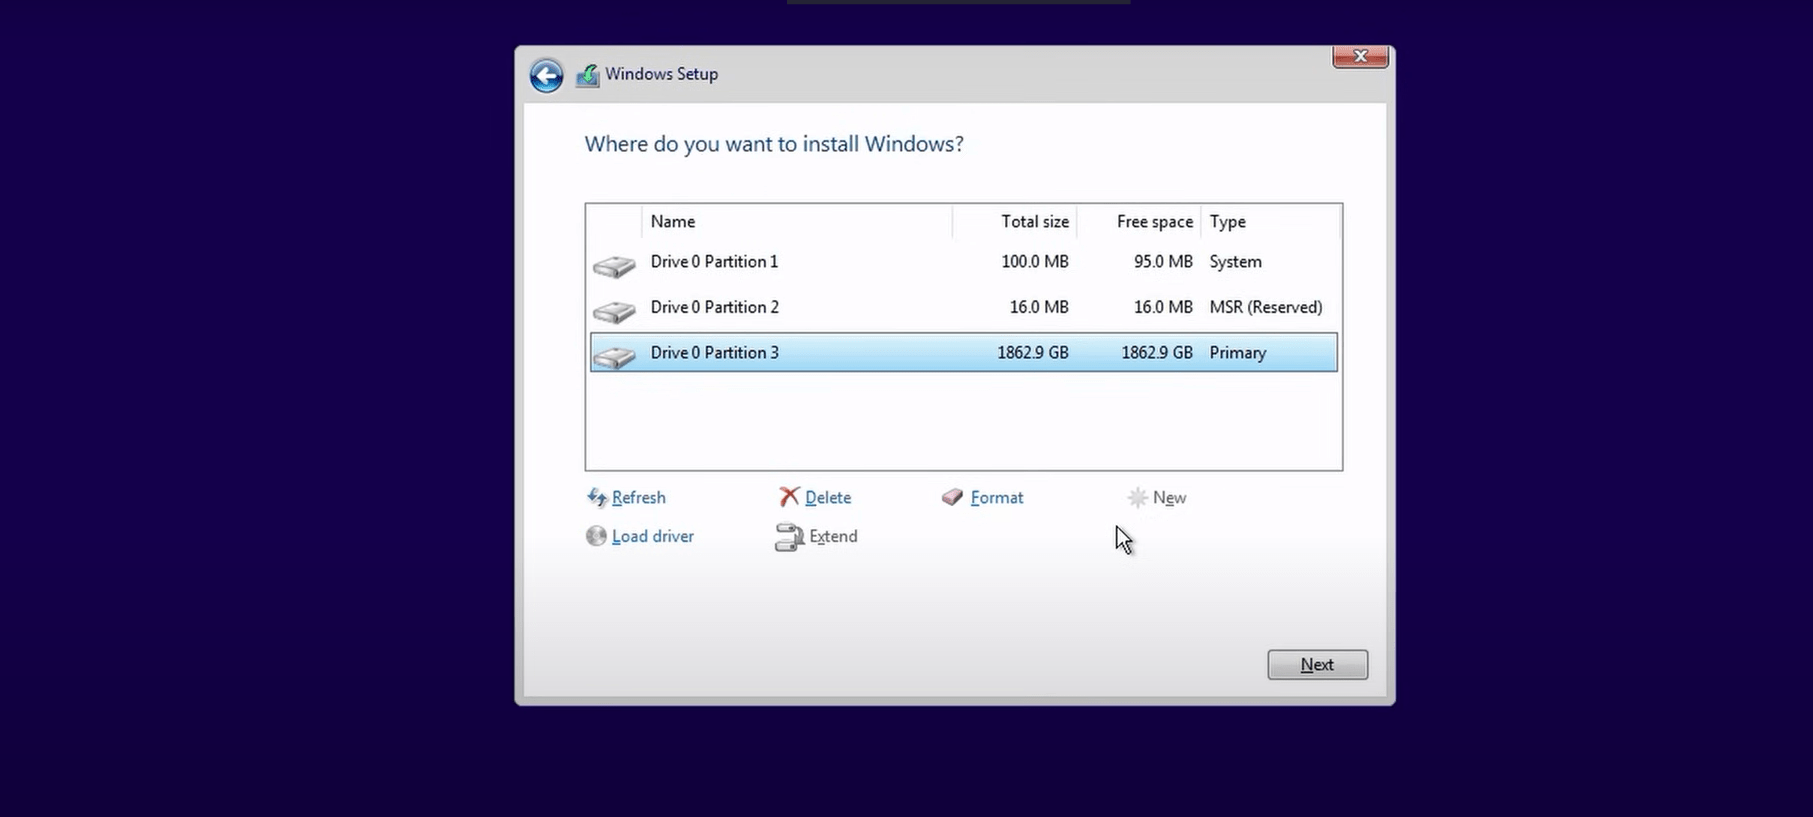
- Select the hard drive or partition where you want to install Windows 11. If necessary, you can create new partitions or format existing ones.
- Click “Next” to start the installation process.
- The installation will take some time, so be patient.
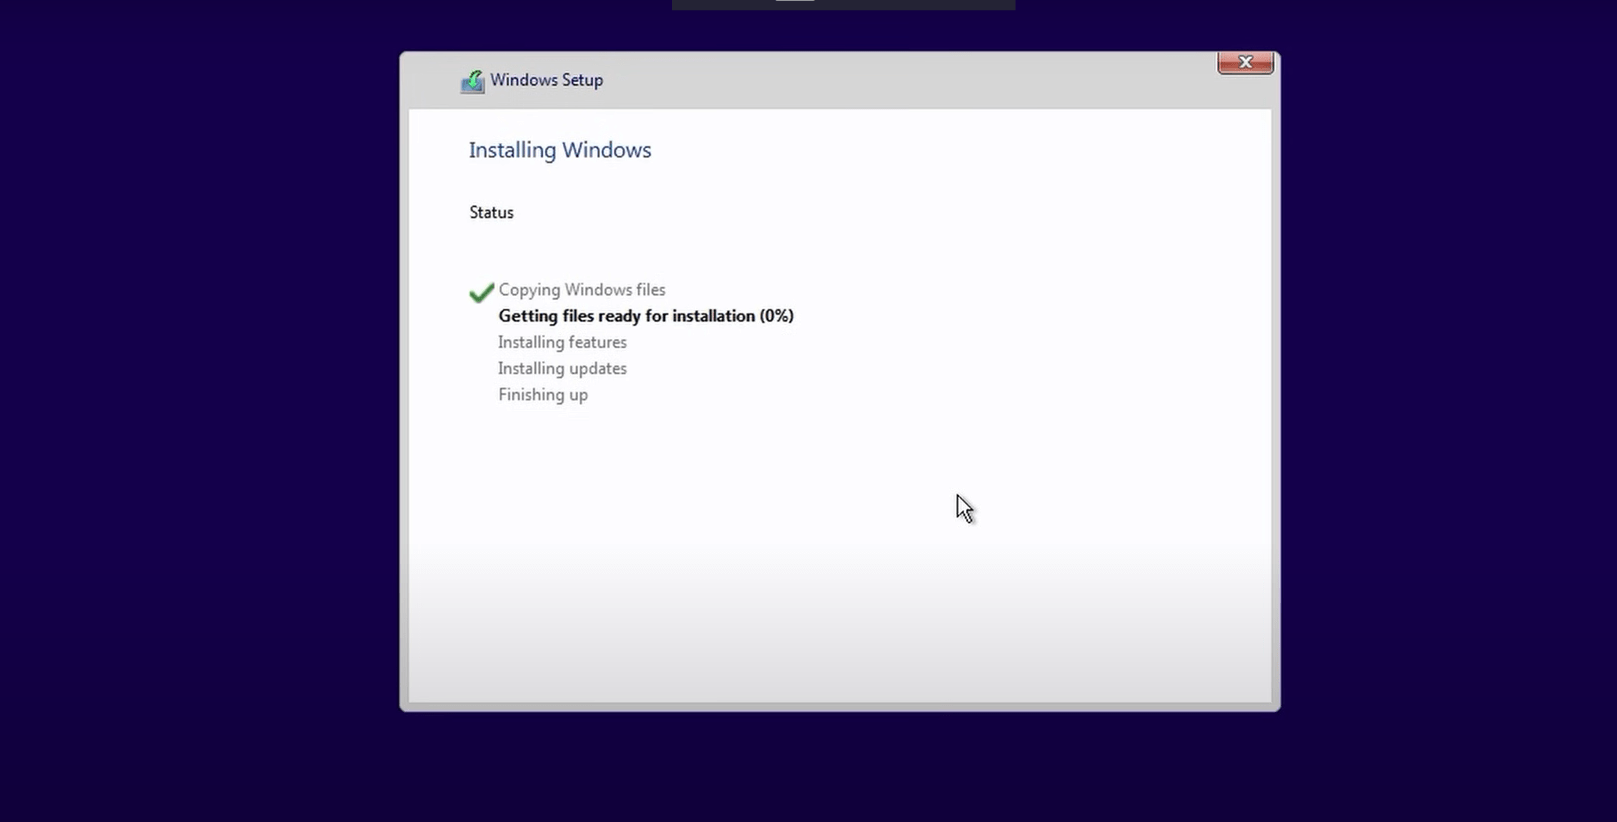
After the installation is complete, your PC will restart, and you will be presented with additional setup options.
Step 4: Post-Installation Setup and Personalization
Once the installation is complete, you will go through the post-installation setup process. This includes personalizing your Windows 11 experience and configuring various settings. Here are some essential steps to follow during the post-installation setup:
- Choose your region and language preferences.
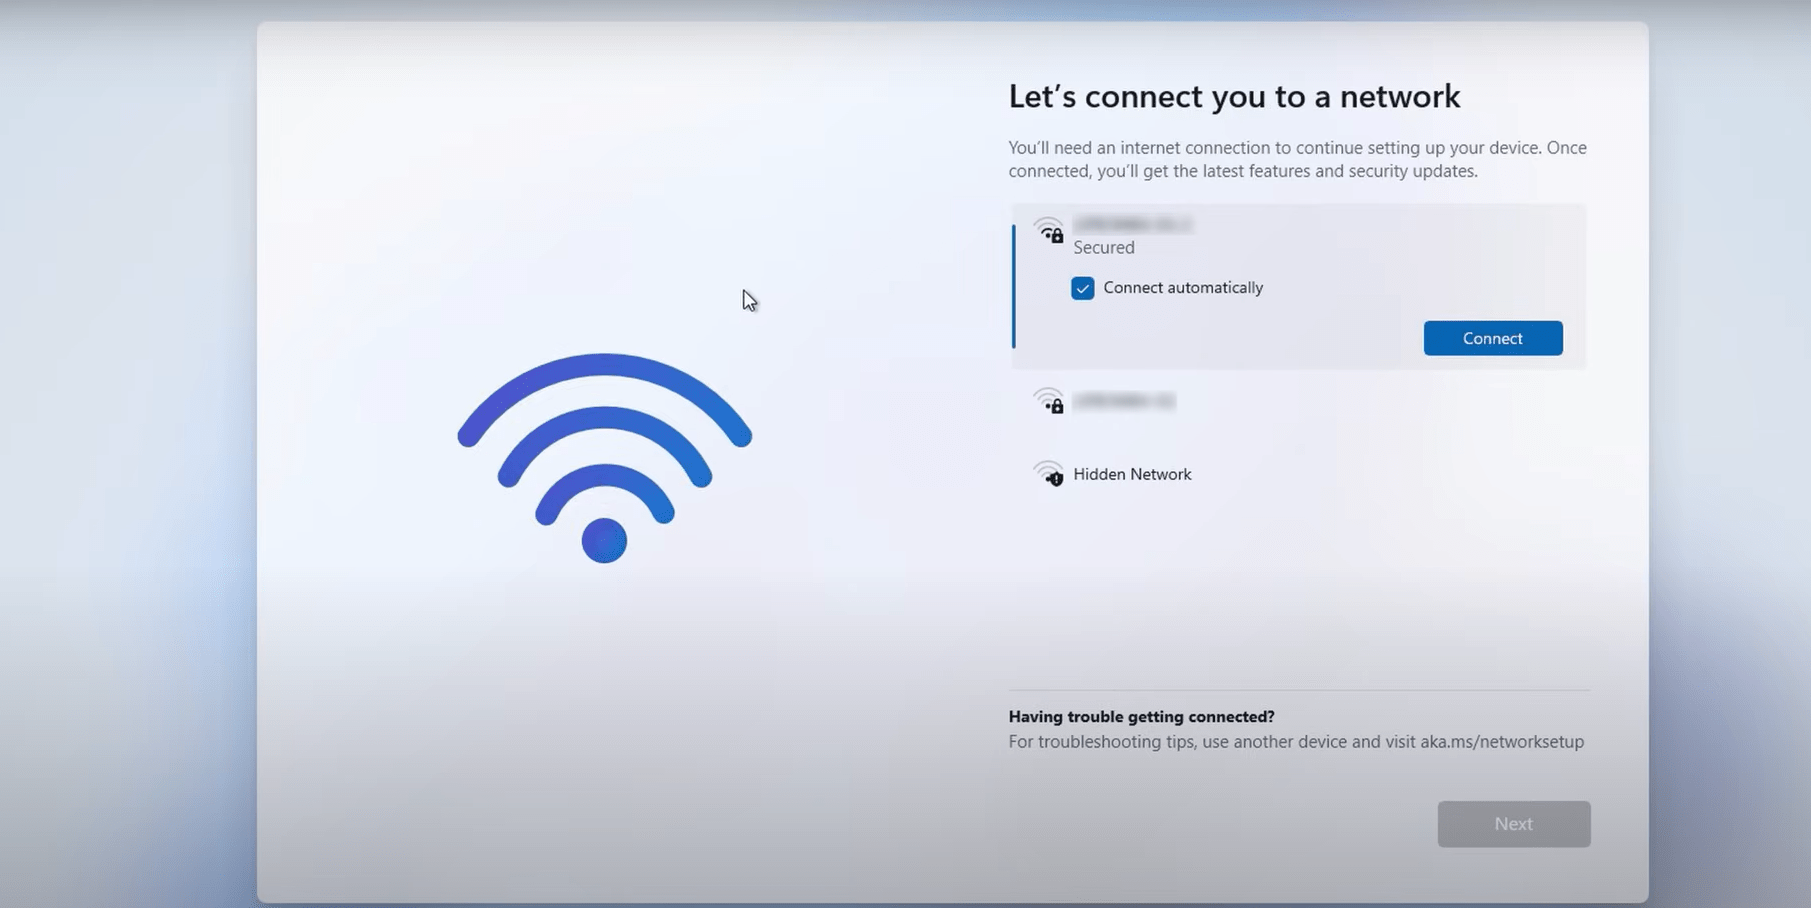
- Connect to a Wi-Fi network or configure a wired internet connection.
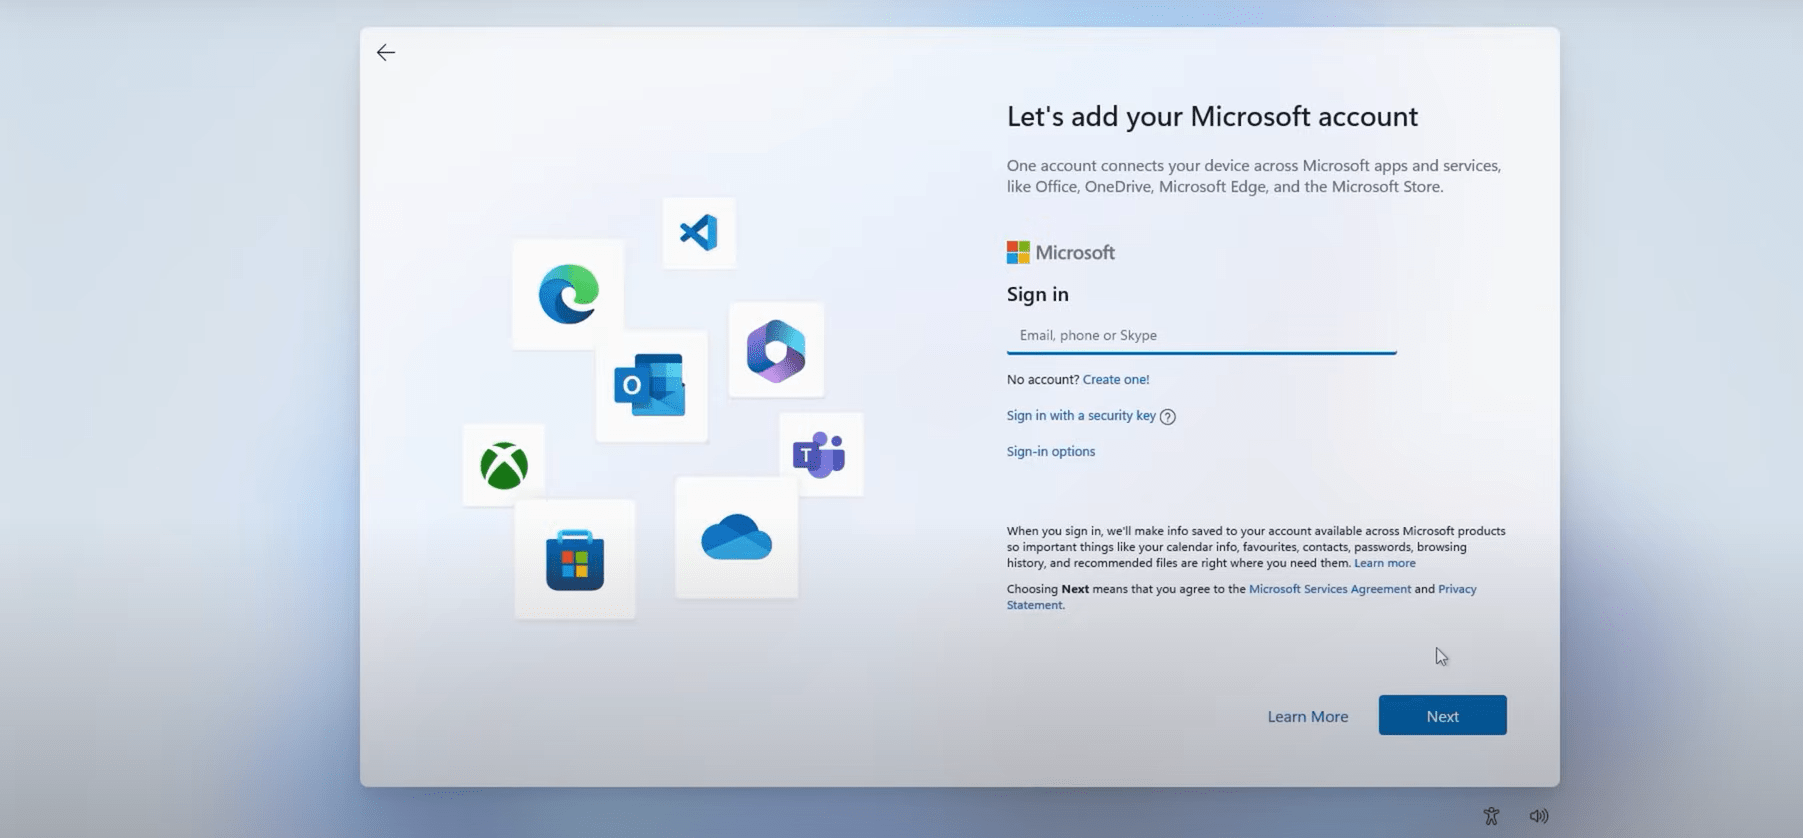
- Sign in with your Microsoft account or create a new one. Signing in with a Microsoft account allows you to access additional features and benefits, such as syncing settings across devices and accessing Microsoft Store apps.
- Set up privacy settings according to your preferences. Windows 11 offers various privacy options, allowing you to control how your data is collected and used by Microsoft and third-party apps.
- Customize your Windows 11 experience by choosing a color scheme, wallpaper, and other visual preferences.
- Install essential applications and software that you rely on for your day-to-day tasks.
- Explore the new features and enhancements that Windows 11 has to offer.
Conclusion: Enjoy The New Windows 11 Experience!
Congratulations! You have successfully installed Windows 11 on your PC. You are now ready to explore the new and exciting features that Windows 11 has to offer. From the new Start Menu and Taskbar design to the improved multitasking capabilities and enhanced gaming experience, Windows 11 is designed to provide a seamless and enjoyable user experience.
Remember, before proceeding with any operating system installation, it is essential to have a clear understanding of the process and requirements. Additionally, backing up your data ensures that you don’t lose any important files during the installation process.
By following this complete guide step by step, you can simplify your Windows 11 installation journey and ensure a smooth transition to the latest Windows iteration.