
Windows Blog
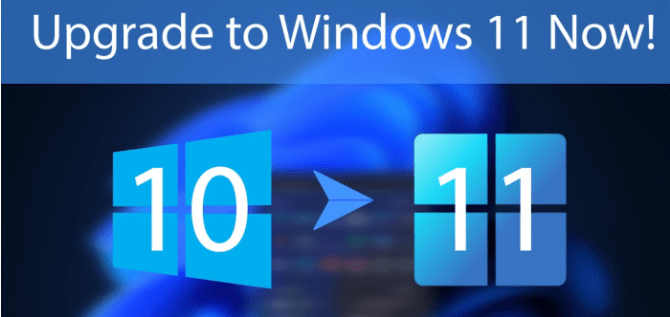
How to upgrade from Windows 10 to Windows 11
Are you ready to experience the new and exciting features of Windows 11? Upgrading from Windows 10 to Windows 11 is a straightforward process. In this step-by-step guide, we will walk you through the upgrade process, ensuring a smooth transition to the latest version of Windows.
Step 1: Check System Requirements
Before upgrading, it’s essential to ensure that your device meets the system requirements for Windows 11. Check if your device has:
- A compatible processor, such as an 8th generation Intel Core processor or newer, or an AMD Zen 2 processor or newer.
- A minimum of 4 GB of RAM and 64 GB of storage.
- A DirectX 12 compatible graphics card.
- UEFI firmware with Secure Boot capability.
- TPM version 2.0.
Step 2: Update Windows 10
Make sure your Windows 10 operating system is up to date by installing the latest updates. To do this, follow these steps:
- Press the Windows key on your keyboard and click the Settings icon (gear icon).
- In the Settings window, click on Update & Security.
- Click on Check for updates and install any pending updates.
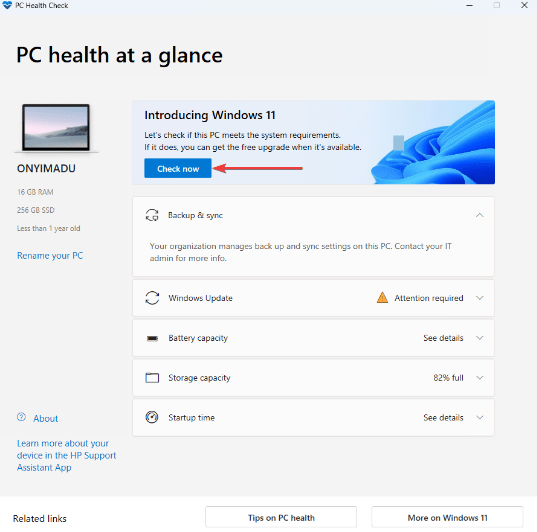
Step 3: Use the PC Health Check Tool
To verify your device’s compatibility with Windows 11, Microsoft provides a PC Health Check tool. Here’s how to use it:
- Visit the Microsoft website and search for “PC Health Check tool.”
- Download and install the tool on your Windows 10 PC.
- Open the tool and click on Check Now.
- The tool will analyze your device and inform you if it meets the requirements for Windows 11.
Step 4: Reserve the Windows 11 Upgrade
Once you have confirmed that your device is compatible, you can reserve the Windows 11 upgrade. Follow these steps:
- Visit the Microsoft website and search for the “Windows 11 Upgrade assistant.”
- Download and install the tool on your Windows 10 PC.
- Open the tool and click on Reserve now.
- Follow the prompts to reserve your copy of Windows 11.
Step 5: Perform the Windows 11 Upgrade
When Windows 11 is ready for installation, you will receive a notification. Follow these steps to proceed with the upgrade:
- Visit the Microsoft website and search for the “Windows 11 Upgrade assistant.”
- Click on Upgrade this PC now.
- The tool will start downloading and verifying the Windows 11 installation files.
- Once the files are downloaded, the tool will guide you through the installation process.
- Follow the on-screen instructions, selecting your preferences and agreeing to the license terms.
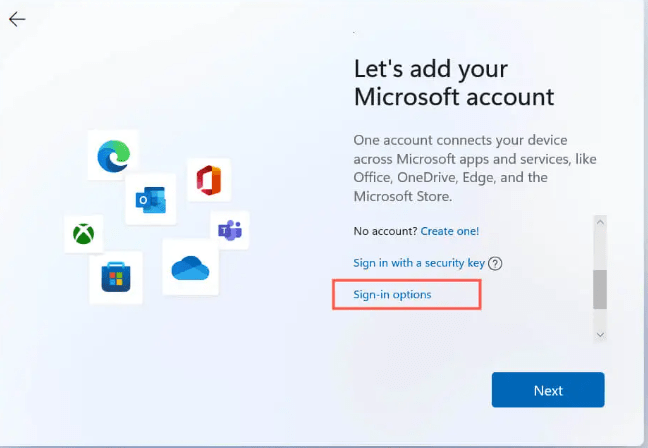
Step 6: Complete the Upgrade Process
After the installation process, Windows 11 will be installed on your device. Here are a few final steps to complete the upgrade:
- Sign in to your Microsoft account.
- Customize your settings, such as privacy preferences and Cortana settings.
- Reinstall any apps or programs that were not automatically migrated to Windows 11.
- Enjoy exploring and utilizing the new features and improvements available in Windows 11!
Note: It is always recommended to backup your important files and create a system restore point before performing any major upgrade.
Upgrade your device economically and smartly! Buy Windows 11 pro keys from our website and get the best value for your investment.