
Windows Blog
How do I Enable or Disable Windows Defender in Windows 10?

Windows Defender is a powerful built-in security feature in Windows 10, designed to provide comprehensive protection against malware and viruses. It acts as a first line of defense, safeguarding your system and personal data from potential threats.
In this easy-to-follow guide, we will explain how to enable or disable Windows Defender to cater to your specific security preferences. By following our step-by-step instructions, you can take control of your system’s security and ensure a safe computing environment.
Step 1: Open Windows Security
- Press the Windows key on your keyboard and type “Windows Security.”
- Click on the “Windows Security” app from the search results to open it.
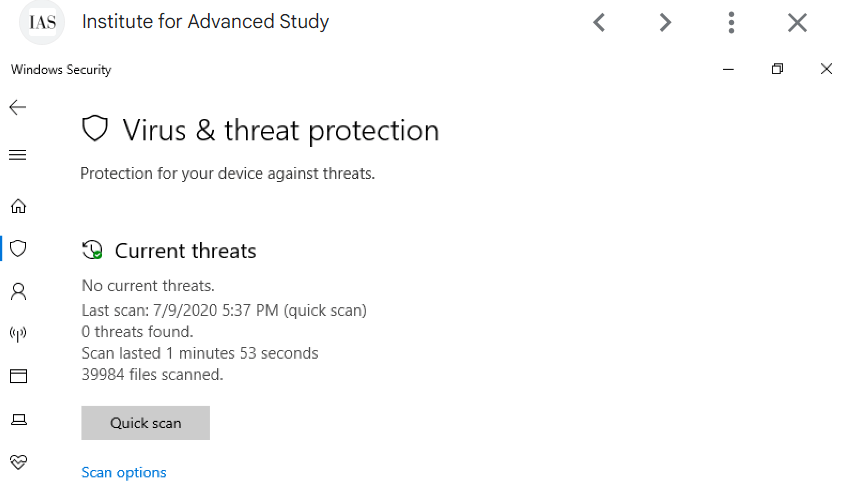
Step 2: Access Windows Defender settings
- In the Windows Security app, click on “Virus & threat protection” from the left-hand menu.
Step 3: Enable or disable Windows Defender real-time protection
- Under the “Virus & threat protection settings,” click on “Manage settings.”
- Toggle the switch for “Real-time protection” to enable or disable Windows Defender real-time protection.
Step 4: Enable or disable cloud-based protection
- In the “Virus & threat protection settings,” click on “Manage settings.”
- Toggle the switch for “Cloud-delivered protection” to enable or disable cloud-based protection.
Step 5: Enable or disable automatic sample submission
- In the “Virus & threat protection settings,” click on “Manage settings.”
- Toggle the switch for “Automatic sample submission” to enable or disable automatic sample submission.
Step 6: Enable or disable tamper protection
- In the “Virus & threat protection settings,” click on “Manage settings.”
- Scroll down to the “Virus & threat protection settings” section.
- Toggle the switch for “Tamper Protection” to enable or disable tamper protection.
Step 7: Enable or disable Windows Defender Firewall
- Press the Windows key on your keyboard and type “Windows Security.”
- Click on the “Windows Security” app from the search results to open it.
- Click on “Firewall & network protection” in the left-hand menu.
- Toggle the switch for “Windows Defender Firewall” to enable or disable it.
Conclusion:
By following these step-by-step instructions, you can easily enable or disable Windows Defender in Windows 10. Whether you prefer real-time protection, cloud-based protection, or specific features like tamper protection and automatic sample submission, Windows Defender can be customized to fit your security needs. Safeguard your system from malware and viruses using the built-in Windows Defender security features.
Invest wisely in your device upgrade! Buy cheap Windows 10 keys from our website and upgrade economically with the best value for your money.