
Office Blog
How do I Create a New Publication in Publisher?

Microsoft Publisher is a powerful desktop publishing tool that allows you to create stunning publications for various purposes. In this step-by-step guide, we will explore how to create a new publication in Publisher, enabling you to design and produce professional-looking documents.
Step 1: Open Microsoft Publisher
Launch Microsoft Publisher on your computer. If you don’t have Publisher installed, you can download it from the Microsoft Office website or use an alternative desktop publishing software.
Step 2: Choose a Publication Type
In the Publisher’s starting screen, click on the “New” tab to view the available publication templates. Select the appropriate publication type that matches your project’s requirements. These may include brochures, flyers, business cards, newsletters, or banners.
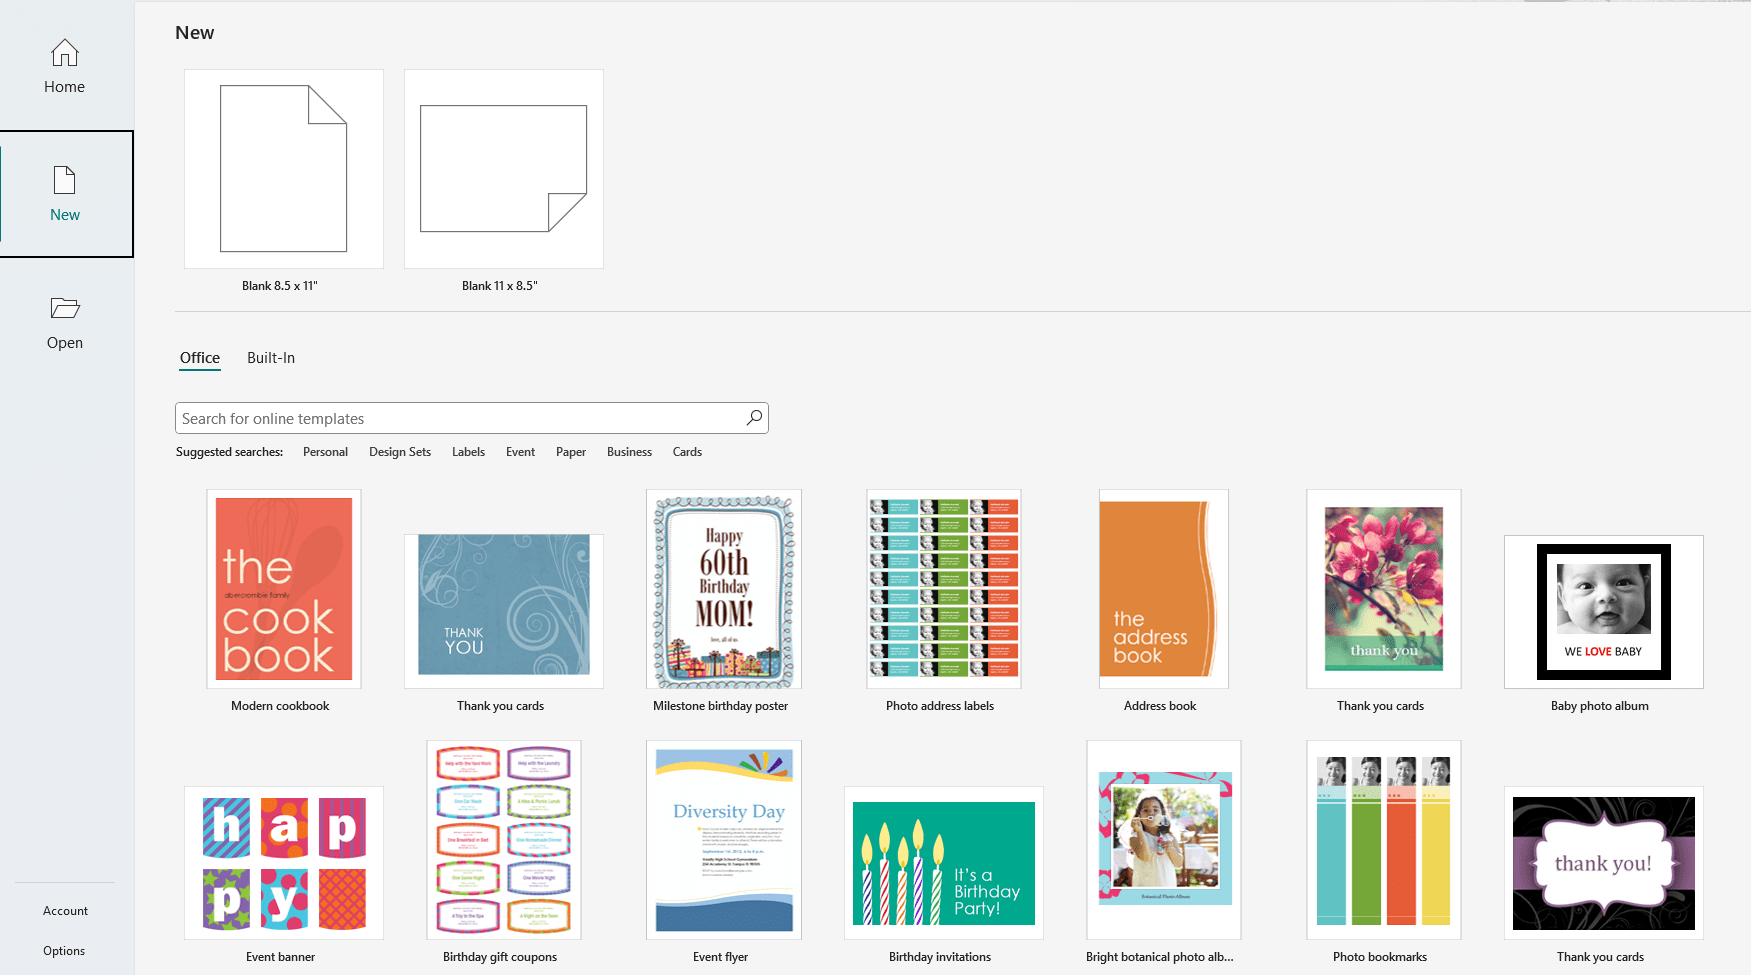
Step 3: Browse Template Categories
Browse through the template categories on the left-hand side of the screen to find the specific style or design that you want for your publication. Publisher offers a wide range of professionally designed templates to choose from.
Step 4: Select a Template
Click on a template that suits your needs. Preview the template by selecting the different pages or layouts available for that template. This will help you get a better idea of how your publication will look.
Step 5: Customize the Template
Once you have selected a template, click on the “Create” button. The template will open in the Publisher’s editing interface. Here, you can customize the various elements such as text, images, colors, and fonts to match your content and branding.
Step 6: Add Text and Images
To add text, click on the designated text boxes within the template and start typing. You can format the text using various font styles, sizes, and colors. To insert images or graphics, click on the “Insert” tab, select “Picture” or “Clip Art,” and choose the desired image from your computer or the Publisher’s built-in image library.

Step 7: Modify Layout and Design
Publisher provides tools to modify the layout and design elements of your publication. To change the layout, click on the “Page Design” tab and explore the different options available. You can adjust margins, create columns, include decorative objects, or change the overall color scheme or background design.
Step 8: Save Your Publication
Once you are satisfied with your publication, click on the “File” tab and select “Save” or use the keyboard shortcut Ctrl + S. Choose a location on your computer to save the file and give it a meaningful name. This will enable you to easily locate and retrieve the publication for future edits or printing.
Step 9: Print or Share Your Publication
To print your created publication, click on the “File” tab and select “Print“. Adjust print settings such as paper size, orientation, and quality. You can also export your publication in various formats like PDF, JPEG, or PNG by clicking on the “File” tab and selecting “Save As“. This allows you to share your publication digitally via email or upload it to a website.
By following these step-by-step instructions, you can unleash your creativity and produce high-quality publications for personal or business use. Experiment with different templates, layouts, and design elements in Publisher to create stunning publications that captivate your audience.
Enjoy the high-functioning features of Microsoft Office licence without breaking your budget thanks to our web’s competitive prices.