
Windows Blog
Can I rollback to a previous version of Windows after updating to Windows 10?

If you’ve recently updated to Windows 10 and are experiencing compatibility issues or simply prefer your previous version of Windows, you might be wondering if it’s possible to rollback. In this blog, we’ll guide you through the step-by-step process of rolling back to a previous version of Windows while preserving your files and settings.
Whether you upgraded from Windows 7, Windows 8, or a previous version of Windows 10, our detailed instructions will help you navigate the rollback process smoothly. We’ll cover the requirements, considerations, and precautions to take before initiating the rollback, ensuring a seamless transition back to your preferred Windows version. By following our instructions, you can easily revert to a previous version of Windows and regain the familiarity and functionality that you desire.
Step 1: Backup your files:
Before proceeding with the rollback process, it’s crucial to create a backup of your important files. Consider using an external hard drive, cloud storage, or a USB flash drive to ensure the safety of your data.
Step 2: Access the Recovery options:
To rollback to a previous version of Windows, go to the Start menu and click on the gear icon to access the Windows Settings. From there, select “Update & Security” and choose the “Recovery” option.
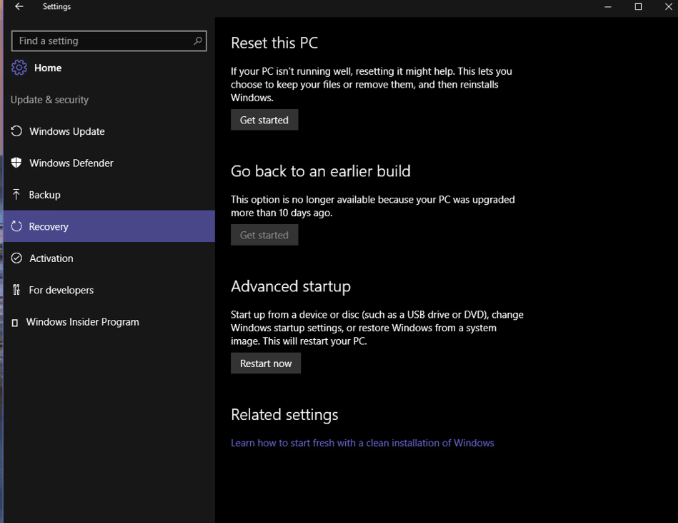
Step 3: Initiate the rollback:
Under the “Recovery” section, you will find the option “Go back to the previous version of Windows 10.” Click on the “Get started” button to begin the rollback process.
Step 4: Understand the rollback process:
A window will appear explaining that your files, apps, and settings will be saved during the rollback process. Take the time to read this information and understand what will happen during the rollback.
Step 5: Provide feedback (optional):
After reading the details, Windows may ask you for feedback regarding your reason for rolling back. This step is optional but can help Microsoft improve their services. Choose the relevant option and click “Next.”
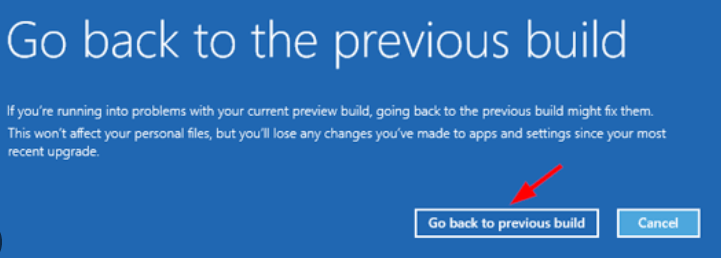
Step 6: Confirm the rollback:
Another window will appear with a final warning that rolling back to a previous version may take some time. Confirm your decision by clicking on the “Go back to the earlier build” button.
Step 7: Wait for the rollback to complete:
Now, Windows will begin the rollback process. The duration may vary depending on your system specifications. Make sure not to interrupt the process, and keep your device connected to a power source.
Step 8: Verify the rollback:
Once the rollback is complete, you will be logged back into your previous version of Windows. Take some time to ensure that all your files, apps, and settings are intact and functioning as expected.
Conclusion:
Yes, it is possible to rollback to a previous version of Windows after updating to Windows 10. By following the step-by-step instructions in this blog, you can seamlessly return to your preferred Windows version without losing your files and settings. Remember to always back up your data before making any major changes to your operating system.
Upgrade your device without spending a fortune! Visit our website to buy cheap Windows keys and get the best possible value for your investment.