
Windows Blog
How do I Uninstall Built-in or Pre-Installed Apps in Windows 10?

Windows 10 comes with a set of built-in apps that you may not use or need. Uninstalling these apps can help free up storage space and streamline your system. Follow these step-by-step instructions to easily uninstall built-in or pre-installed apps in Windows 10:
Step 1: Open the Start Menu
- Click on the Start menu button located at the bottom left corner of your screen.
Step 2: Access the App List
- From the Start menu, click on Settings (gear icon) to open the Windows Settings panel.
- In the Settings panel, select Apps.
Step 3: Choose the App to Uninstall
- In the Apps settings, click on Apps & features in the left-hand side menu.
- This will display a list of all installed apps on your system.
Step 4: Select the App for Uninstallation
- Scroll through the list of apps and locate the built-in app you want to uninstall.
- Click on the app to select it.
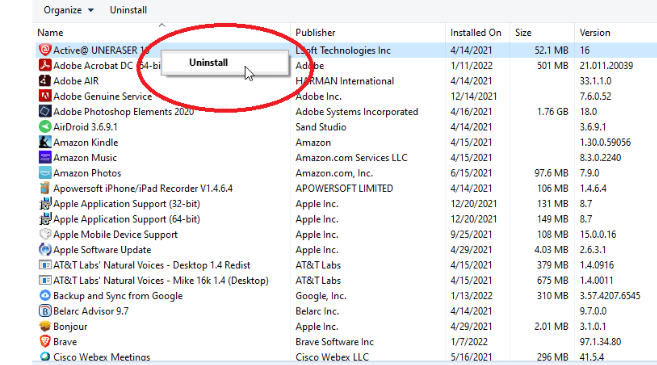
Step 5: Uninstall the App
- Once the app is selected, a Uninstall button will appear.
- Click on the Uninstall button to initiate the uninstallation process.
Step 6: Confirm the Uninstallation
- A confirmation window will appear asking if you want to uninstall the app.
- Click Uninstall again to confirm the uninstallation.
Step 7: Repeat for Other Apps (Optional)
- If you want to uninstall more built-in or pre-installed apps, repeat steps 4-6 for each app.
Note: System Apps
- While most built-in apps can be uninstalled using these steps, there are certain system apps that cannot be uninstalled.
By following these steps, you can easily uninstall built-in or pre-installed apps in Windows 10. Enjoy a more streamlined and efficient system by freeing up storage space and removing unnecessary apps from your computer.
Upgrade your device without spending a fortune! Get the best value for your investment , buy Windows 10 pro cd key from our website.