
Office Blog
How do I Insert a Line Shape in Microsoft Word?

Integrating line shapes into your Microsoft Word document can serve as a pivotal tool in enhancing visual clarity and structuring your content effectively. These simple yet versatile elements can delineate sections, highlight key points, or even create borders, thereby facilitating a more organized and aesthetically pleasing layout. In this comprehensive tutorial, we will meticulously outline the process of inserting line shapes using specific commands in Microsoft Word, empowering you to wield this feature with confidence and precision.
With the aid of Microsoft Word’s intuitive interface and dedicated commands, adding line shapes to your document becomes a seamless endeavor. Whether you’re a seasoned Word user or a novice seeking to enhance your document presentation skills, our step-by-step guide will equip you with the requisite knowledge to navigate through the process effortlessly. From adjusting the length and thickness of lines to customizing their color and style, you’ll learn how to tailor line shapes to suit your specific document requirements, thereby elevating the overall visual appeal and readability of your content.
Furthermore, by strategically incorporating line shapes, you can create visual hierarchies and guide the reader’s attention towards critical information or key sections within your document. Whether you’re crafting a report, designing a presentation, or drafting a newsletter, mastering the art of line shape insertion in Microsoft Word empowers you to enhance the organization, clarity, and impact of your content, thereby elevating the effectiveness of your communication efforts.
Step 1: Open Microsoft Word and create a new document or open an existing one.
- Launch Microsoft Word on your computer.
- Create a new document or open the existing document in which you want to insert a line shape.
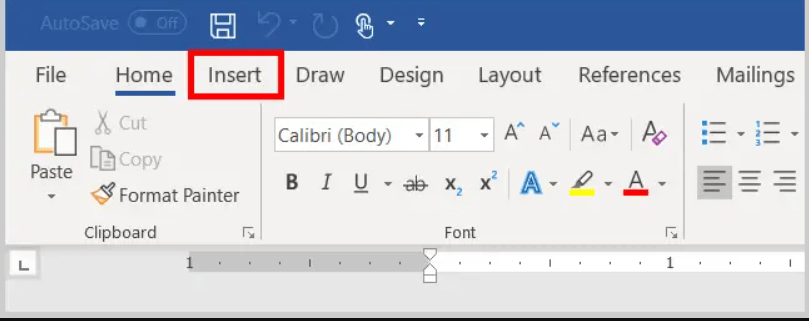
Step 2: Access the Insert tab.
- Click on the “Insert” tab in the ribbon at the top of the screen.
- This is where you will find the necessary commands for shape insertion.
Step 3: Choose the Line shape tool.
- In the “Illustrations” group of the “Insert” tab, click on the “Shapes” button.
- A drop-down menu will appear with various shape options.
Step 4: Select the Line shape.
- From the drop-down menu, select the Line shape tool.
- Your cursor will change to a crosshair shape.
Step 5: Draw the line shape.
- Click and drag your mouse to draw the line shape in your document.
- Adjust the length and angle of the line by dragging the endpoints.
Step 6: Customize the line shape.
- With the line shape selected, the “Drawing Tools” tab will appear in the ribbon.
- Click on the “Shape Outline” button to choose the color, weight, and style of the line.
- Additionally, you can use the “Shape Effects” button to apply various effects to the line shape.
Step 7: Position and align the line shape.
- Click and drag the line shape to the desired location in your document.
- Use the alignment options in the “Arrange” group of the “Format” tab to align the line shape with other elements.
Step 8: Save your document.
- Click on “File” and select “Save” to save your document with the inserted line shape.
- Choose a location on your computer and provide a name for the file.
- Click on “Save” to save the document.

Conclusion:
Inserting a line shape in Microsoft Word allows you to visually enhance your document and facilitate organization. By following our step-by-step guide and utilizing the specific commands provided, you can easily insert and customize line shapes in your Word document. Experiment with different line styles, colors, and effects to achieve the desired visual impact. Remember to save your document to preserve your changes and enjoy the improved visual appeal and structure of your content.
Looking for a Word license? Visit our website and find the version that suits you best – cheap Office 2016 keys, Office 2019 keys, and cheapest Office 2021 keys.