
Office Blog
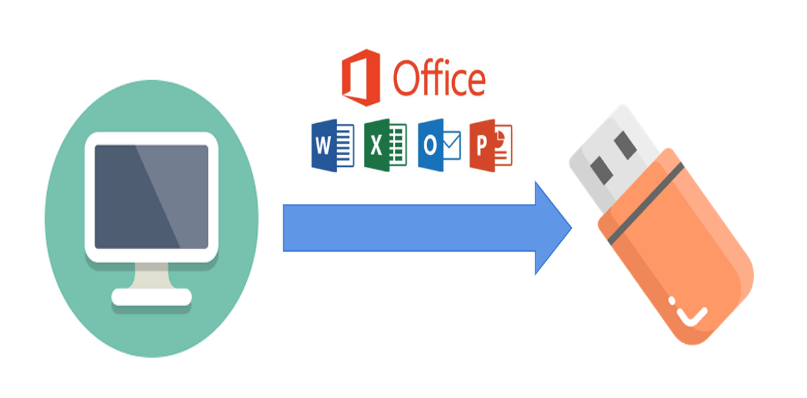
Can I Install Microsoft Office on an External Drive or USB Stick?

Have you ever wanted to use Microsoft Office on multiple computers, or take it with you on the go? If so, you may have wondered if it is possible to install Microsoft Office on an external drive or USB stick. The good news is that it is indeed possible, and in this step-by-step guide, we will explore how to do just that. We will cover everything from assessing system requirements to customizing installation location, to activating Office and using it from the external drive or USB stick. By following these steps, you can take advantage of the flexibility and portability that an external installation of Office offers. So, let’s get started and learn how to install Microsoft Office on an external drive or USB stick!
Step 1: Assessing System Requirements
- Check the system requirements for Microsoft Office to ensure compatibility with your external drive or USB stick.
- Make sure your external device has enough space to accommodate the Office installation files.
Step 2: Preparing the External Drive or USB Stick
- Connect the external drive or USB stick to your computer.
- Format the external device to NTFS or exFAT file system to ensure compatibility with Windows.
- For Windows: Open File Explorer, right-click on the external drive or USB stick, select “Format“, choose NTFS or exFAT as the file system, and click “Format“.
- For Mac: Open Disk Utility, select the external drive or USB stick, choose “Erase“, select the desired file system (exFAT is recommended for cross-platform compatibility), and click “Erase“.
Step 3: Downloading the Microsoft Office Installer
- Visit the Microsoft Office website or use your organization’s licensing portal to download the Office installation files.
- Choose the desired Office suite and select the appropriate language and version.
Step 4: Customizing the Installation Location
- Launch the Office installer.
- In the installation wizard, click “Install Now” or “Customize” if given the option.
- Choose the “Advanced” or “Custom” installation type.
- Select the external drive or USB stick as the installation location.
- Follow the prompts to complete the installation process.
Step 5: Activating Microsoft Office
- Open any Office application, such as Word, Excel, or PowerPoint, from the external drive or USB stick.
- Click on “Sign In” to activate your Office subscription/license or enter the product key if applicable.
- Follow the on-screen instructions to sign in with your Microsoft account or enter your license information.
Step 6: Configuring Office Settings
- Customize the Office settings according to your preferences.
- Adjust options for auto-saving, collaboration, default file locations, and other settings based on your needs.
Step 7: Using Microsoft Office from the External Drive or USB Stick
- Plug the external drive or USB stick into any compatible computer.
- Open the Office applications directly from the external device.
- Create, edit, and save files as you would on a regular installation of Office.
Step 8: Updating and Maintaining Office
- Periodically check for updates for Office applications.
- Download and install the updates to ensure you have the latest features and security patches.
By following these steps, you can successfully install and use Microsoft Office on an external drive or USB stick, making it portable and accessible across multiple computers. Enjoy the convenience and flexibility of using Office from your external storage device!
Delve into our website to discover the Outlook license that matches your precise database management needs. Buy cheap Office 2016 key, Office 2019 cdkey and cheapest Office 2021 cdkey and ensure you find the ideal fit.