
Windows Blog
Windows 11 – Clean Install Guide

Performing a clean install of Windows 11 ensures a fresh start and optimal performance. Please follow the step-by-step guide below to complete the installation process. Ensure that you have backed up your data before proceeding.
Step 1: Gather Some Information
- Note down your Windows 11 product key if you have one.
- Check your computer’s specifications, including processor, RAM, and storage capacity. Ensure that it meets the minimum requirements for Windows 11.
Step 2: Create a Windows 11 Installation USB
- Download the Windows 11 ISO file from the official Microsoft website.
- Connect a blank USB drive (with at least 8GB of space) to your computer.
- Download and install the Rufus tool for creating bootable USB drives.
- Open Rufus and select your USB drive as the device.
- Browse for the Windows 11 ISO file you downloaded.
- Click on the “Start” button to create a bootable USB drive.
Step 3: Backup Your Data
- Copy your important files and folders to an external hard drive, cloud storage, or another backup location.
- Make sure you have a backup of your bookmarks, contacts, and other essential data.
Step 4: Prepare Your Computer for Installation
- Restart your computer and access the BIOS or UEFI settings by pressing the appropriate key (usually Del, F2, or F12).
- Disable Secure Boot and enable Legacy Boot (if available).
- Save the changes and exit the BIOS/UEFI settings.
Step 5: Boot from the Windows 11 Installation USB
- Insert the bootable USB drive into your computer.
- Restart your computer and access the boot menu by pressing the appropriate key (usually F12 or Esc).
- Select the USB drive as the boot option and press Enter.
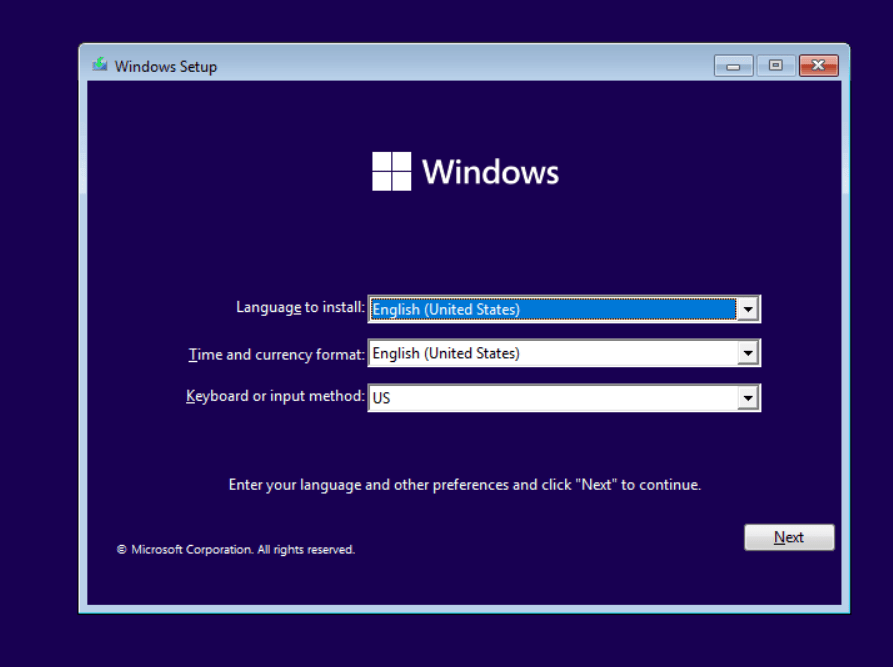
Step 6: Begin the Windows 11 Installation
- Select your language, time zone, and keyboard preferences.
- Click on the “Install Now” button.
- Enter your Windows 11 product key if prompted (skip if not available).
- Accept the license terms and click on the “Next” button.
- Choose the “Custom: Install Windows only (advanced)” option.
Step 7: Partition Selection and Formatting
- Select the partition where you want to install Windows 11.
- Click on the “Drive options” link to create additional partitions or delete existing ones.
- Format the selected partition by clicking on the “Format” button.

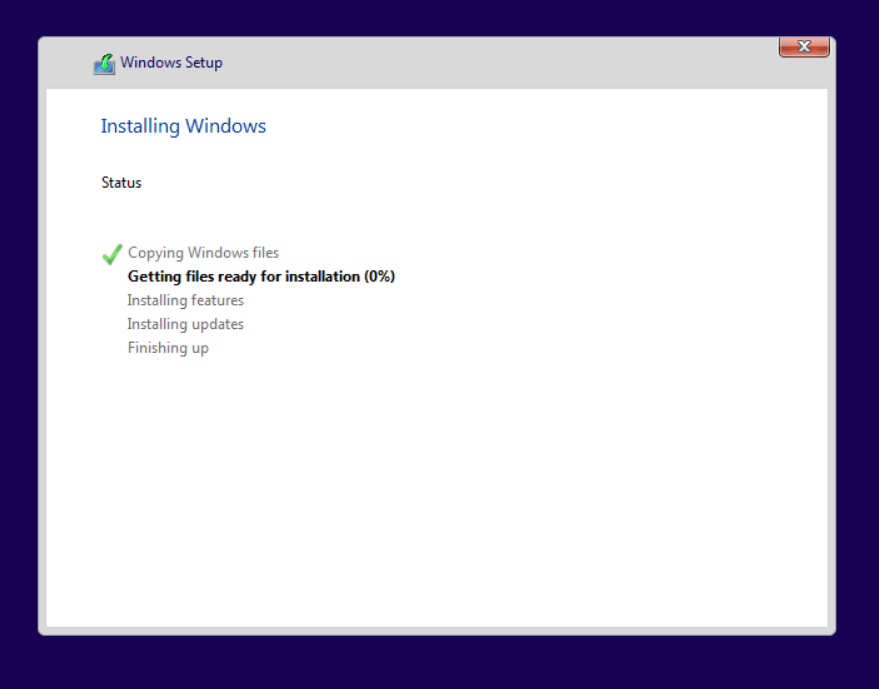
Step 8: Begin the Windows 11 Installation
- Click on the “Next” button to start the installation process.
- Wait for Windows 11 to install. This may take some time.
Step 9: Set Up Windows 11
- Follow the on-screen instructions to customize your Windows 11 settings.
- Create a username and password for your account.
- Select your preferred privacy settings and click on the “Next” button.
Step 10: Windows 11 Finalization
- Wait for Windows 11 to finish configuring your settings.
- Install necessary drivers for your computer’s hardware.
- Restart your computer if prompted.
Step 11: Update Windows and Device Drivers
- Connect your computer to the internet.
- Go to “Settings” > “Windows Update” and check for updates.
- Install any available updates, including device drivers.
Step 12: Install Essential Software
- Download and install any software programs that you use frequently.
- Restore your backed-up data to the appropriate locations.
- Install your preferred web browsers, productivity tools, and any other necessary software.
Congratulations! You have successfully completed a clean install of Windows 11. Explore the new features and enjoy the improved performance on your computer. Remember to keep your system updated and regularly back up your important files for a smooth experience.
Upgrade your device without breaking the bank! Buy cheap windows keys from our website and save on costs.