
Office Blog
How to Insert a Page Number in the Header Only in Microsoft Word?

Inserting page numbers into the header of your Microsoft Word document enhances its navigability. In this guide, we’ll show you how to insert page numbers exclusively in the header using specific commands in Word.
Open your document and navigate to the header section. Place your cursor where you want the page number. Then, go to the “Insert” tab, click “Page Number,” and select the desired format. Customize the appearance and positioning as needed. Once done, exit the header section. With these simple steps, you can effectively insert page numbers into the header of your Word document, facilitating easier navigation for your readers.
Step 1: Open Microsoft Word and open your document.
- Launch Microsoft Word on your computer.
- Open the document you want to insert page numbers into by clicking on “File” in the top-left corner and selecting “Open.”
Step 2: Activate the header section.
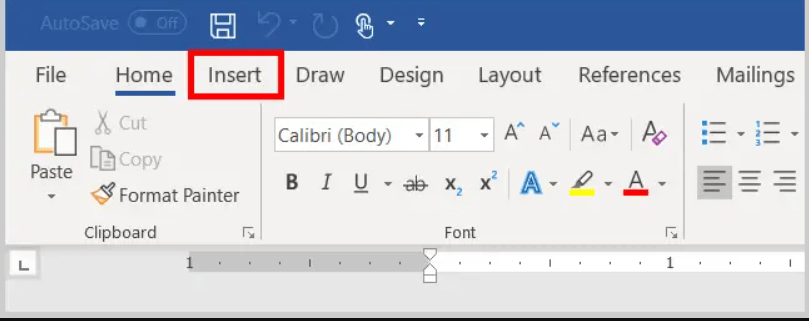
- Locate the “Insert” tab in the ribbon at the top of the screen.
- Click on the “Insert” tab to access the necessary commands for editing headers and footers.
- In the “Header & Footer” group, click on “Header” and select the desired header template or “Edit Header” to create a custom header.
Step 3: Navigate to the “Header & Footer Tools” tab.
- Once the header section is activated, a new tab called “Header & Footer Tools” will appear in the ribbon.
- Click on the “Header & Footer Tools” tab to display additional options for editing headers and footers.
Step 4: Insert the page number.
- In the “Header & Footer” group, click on the “Page Number” button.
- From the dropdown menu, select “Page Number > Current Position > Plain Number.”
- The page number will be inserted into the header section automatically.
Step 5: Format the page number.
- To change the format of the page number, double-click on it in the header section.
- Use the available options in the “Header & Footer” group to modify the font, size, style, and alignment of the page number.
- Adjust these settings according to your preferences.
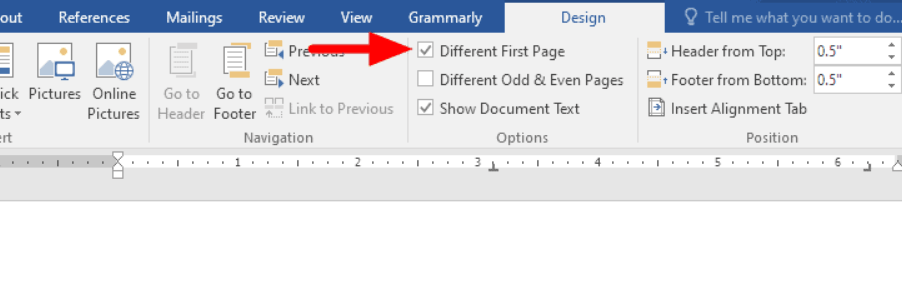
Step 6: Set the header to appear on the first page only (optional).
- If you want the header with the page number to appear only on the first page, click on the “Different First Page” checkbox in the “Options” group of the “Header & Footer Tools” tab.
- This step is optional if you want the header and page number to appear on all pages of your document.
Step 7: Close the header section.
- Once you have inserted and formatted the page number, click on the “Close Header and Footer” button in the “Close” group.
- The header section will be closed, and you will return to the main document.
Step 8: Save your document.
- Click on “File” and select “Save” to save your document with the inserted page number in the header section.
- Choose a location on your computer and provide a name for the file.
- Click on “Save” to save the document.
Conclusion:
Inserting page numbers in the header section of your Microsoft Word document can improve navigation and organization. By following our step-by-step guide and using the specific commands provided, you can easily insert, format, and customize page numbers in the header section of your Word document. Ensure a professional and organized look by incorporating page numbers that assist your readers in locating specific content.
Explore Word license options now! Visit our website and select from Office 2016, Office 2019, and Office 2021 with ease.