
Office Blog
How to Insert a Bookmark in Microsoft Word?

Inserting a bookmark in Microsoft Word allows you to easily jump to specific parts of your document. Follow these step-by-step instructions to learn how to insert a bookmark in Microsoft Word.
Step 1: Launch Microsoft Word and Open Your Document:
- Open Microsoft Word on your computer.
- Open the document where you want to insert the bookmark.
Step 2: Navigate to the Desired Location:
- Scroll through your document or use the “Find” feature to locate the specific spot where you want to insert the bookmark.
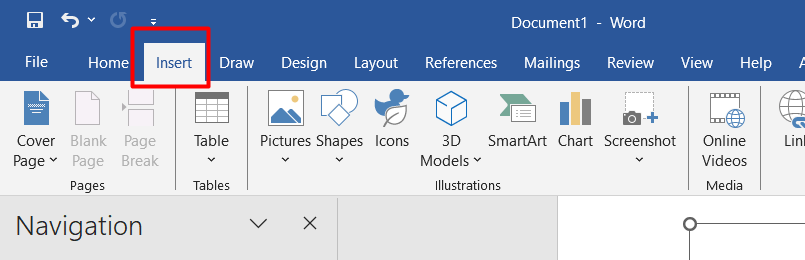
Step 3: Access the “Insert” Tab:
- Click on the “Insert” tab located on the top menu bar.
- This tab contains various options for inserting elements into your document.
Step 4: Insert the Bookmark:
- Place the cursor at the beginning of the text you want to bookmark.
- In the “Links” group of the “Insert” tab, click on the “Bookmark” button.
- A dialog box will appear.
Step 5: Name the Bookmark:
- In the dialog box, enter a name for your bookmark in the “Bookmark name” field.
- Make sure to choose a name that is descriptive and easy to remember.
Step 6: Save Your Document:
- Save your document to preserve the changes made, including the inserted bookmark.
Congratulations! You have successfully inserted a bookmark in Microsoft Word. By following these steps, you can easily navigate to specific sections of your document, improving efficiency and productivity.
If you don’t have an Excel license, we’ve got you covered! Get one from our website, bundled as part of the Office Suite. Choose from Office 2016, Office 2019, or Office 2021, based on your needs and preferences.