
Office Blog
How do I Insert a Chart in Microsoft Word?

Inserting a chart in Microsoft Word can help convey data and information in a visual format. Follow these step-by-step instructions to learn how to insert a chart in Microsoft Word.
Step 1: Launch Microsoft Word and Open Your Document:
- Open Microsoft Word on your computer.
- Open the document where you want to insert the chart.
Step 2: Access the “Insert” Tab:
- Click on the “Insert” tab located on the top menu bar.
- This tab contains various options for inserting elements into your document.
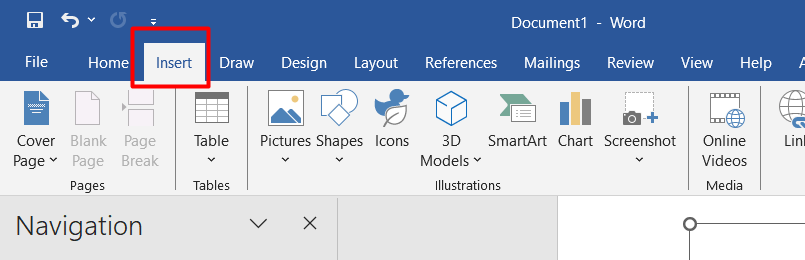
Step 3: Select the Chart Type:
- In the “Illustrations” group of the “Insert” tab, click on the “Chart” button.
- A dropdown menu will appear, displaying different chart types to choose from.
Step 4: Choose Your Data:
- The “Insert Chart” dialog box will open.
- Enter or import your data into the datasheet provided within the dialog box.
- You can also choose to link your chart to an external source like an Excel spreadsheet.
Step 5: Customize Your Chart:
- Once your data is entered or linked, click on the “OK” button.
- The chart will be inserted into your document.
- Use the “Chart Tools” tab that appears to customize the chart’s design, style, and formatting.
Step 6: Save Your Document:
- Save your document to preserve the changes made, including the inserted chart.
Congratulations! You have successfully inserted a chart in Microsoft Word. By following these steps, you can create visually appealing and informative documents that effectively present data and information.
No Excel license? No problem! Visit our website and obtain one as part of the Office Suite. We offer Office 2016, Office 2019, or Office 2021 options, so you can select the perfect fit for your requirements.