
Office Blog
How to Apply a Glitch or Distortion Effect to Images in PowerPoint?

Adding a glitch or distortion effect to images can create a visually striking impact in your PowerPoint presentations. In this step-by-step guide, we will walk you through the process of applying this effect to your images in PowerPoint.
Step 1: Launch PowerPoint:
Open PowerPoint on your computer and create a new slide. This will serve as a canvas for your glitch effects.
Step 2: Insert an image:
Click on the “Insert” tab at the top of the PowerPoint window. From the options, select “Picture” to insert an image from your local files or “Online Pictures” to browse and select images from online sources.
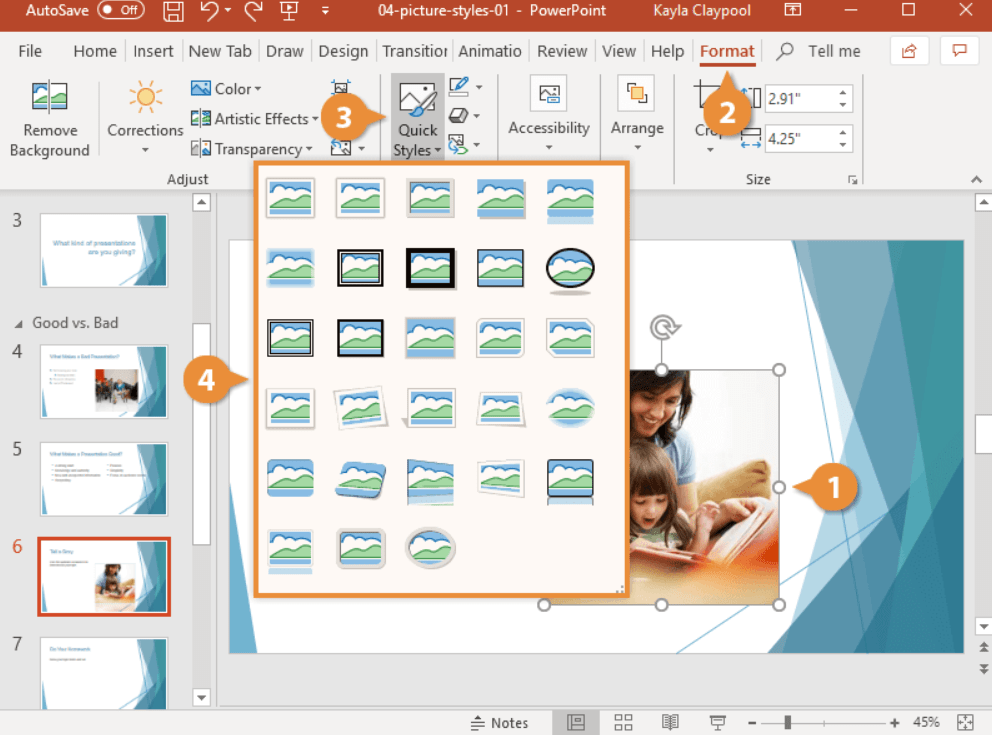
Step 3: Format the image:
Ensure the image is selected, then click on the “Format” tab. In the “Adjust” group, use the tools provided to resize, crop, or rotate the image as desired.
Step 4: Add glitch or distortion effect:
For PowerPoint 2010 and earlier versions:
- Right-click on the image and select “Format Picture” from the menu.
- In the “Format Picture” dialog box, navigate to the “Picture” tab.
- Click on the “Artistic Effects” option.
- Choose the desired glitch or distortion effect from the available options.
For PowerPoint 2013, 2016, and 2019:
- Select the image.
- Click on the “Format” tab.
- Locate the “Artistic Effects” group.
- Choose the glitch or distortion effect that best suits your presentation needs.
Step 5: Customize the effect:
Fine-tune the glitch or distortion effect using the options provided. Adjust parameters such as intensity, complexity, and duration to achieve the desired visual impact. Experiment with different settings to find the effect that works best for your image.
Step 6: Apply the effect to multiple images:
- Select the image with the desired effect and press “Ctrl+C” to copy it.
- Then, select the images you want to apply the effect to.
- Press “Ctrl+V” to paste the effect onto each image.
Step 7: Save and use your glitched images:
Once you are satisfied with the applied glitch or distortion effect, save your PowerPoint presentation. You can now use the glitched images in your PowerPoint slides or export them as standalone images to use in other projects.
Conclusion:
By following these step-by-step instructions, you can easily apply a glitch or distortion effect to images in PowerPoint. Use the glitched images to add an eye-catching and unique touch to your presentations, making them more visually engaging and memorable for your audience.
Don’t miss out on the opportunity to get the best price for Microsoft Office on our website, enabling you to unlock the full potential of this productivity suite.