
Office Blog
How to Create an Interactive Decision Tree in PowerPoint?

Decision trees are a great way to present complex information and guide your audience through a process. In this step-by-step guide, we’ll show you how to create an interactive decision tree in PowerPoint to enhance your presentations and engage your viewers.
Step 1: Set up your PowerPoint slide:
Open PowerPoint and create a new slide. Go to the “Design” tab and choose a suitable background for your decision tree. Consider using a neutral color that won’t distract from the content.
Step 2: Insert shapes:
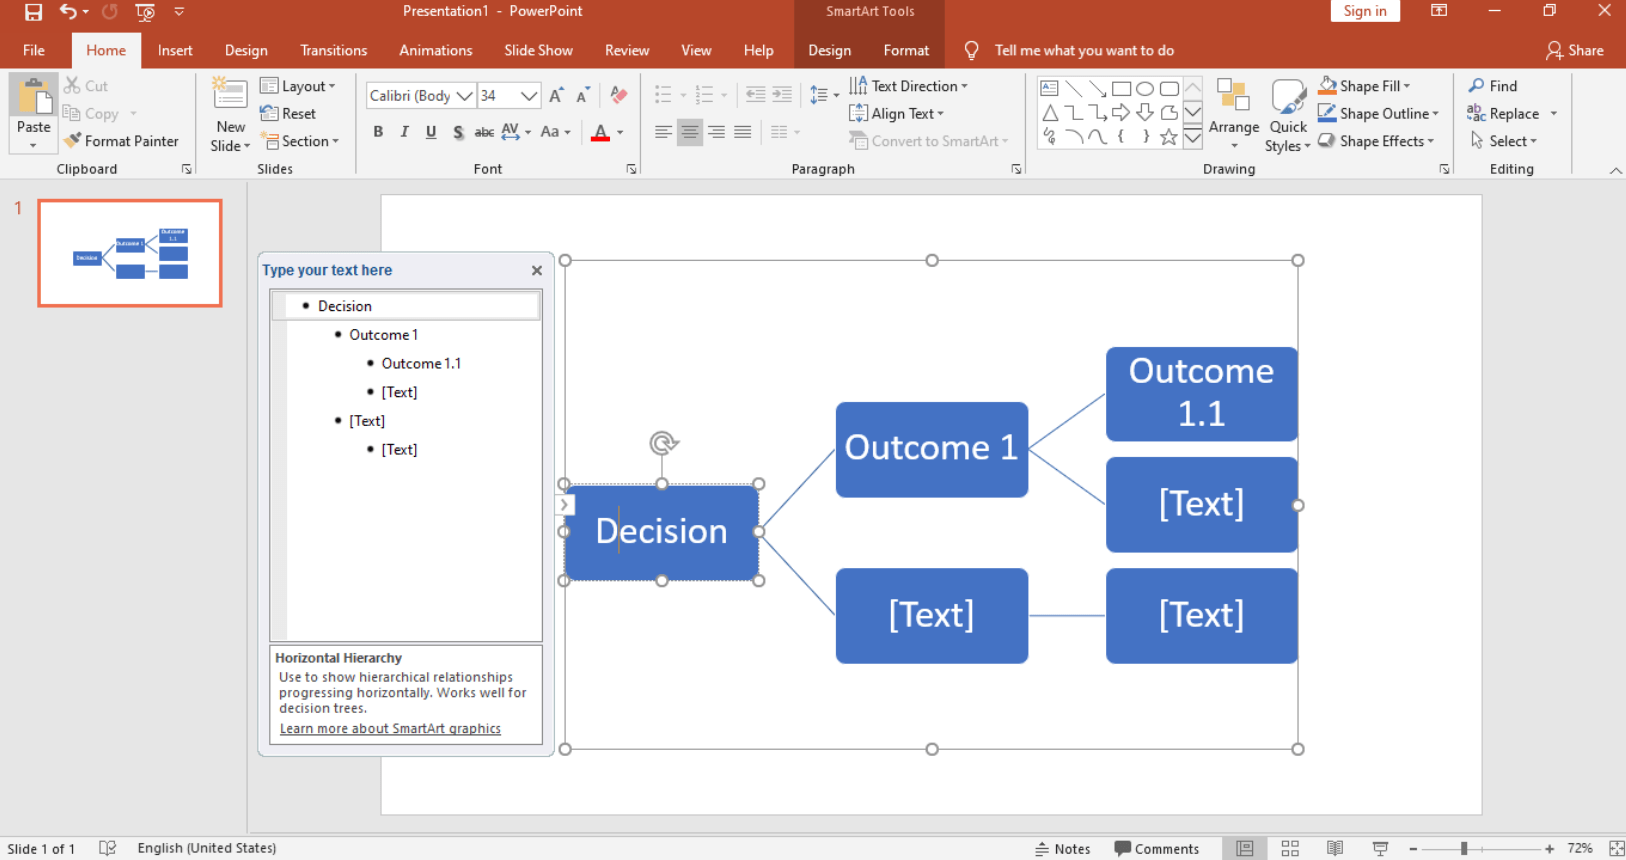
Decide on the structure of your decision tree and choose the appropriate shapes to represent each segment. Click on the “Insert” tab and select “Shapes.” Choose the shape that best suits your needs (e.g., rectangles for decisions, diamonds for outcomes).
Step 3: Create decision boxes:
Drag and draw rectangles on your slide to represent decision points. Label each box with a clear and concise description of the decision. To add text, simply double-click on the shape and type your content.
Step 4: Add arrows and connectors:
Connect the decision boxes using arrows and connectors. Go to the “Insert” tab, select “Shapes,” and choose the appropriate arrow or connector shape. Click on the starting point, then drag the cursor to the desired endpoint.
Step 5: Customize your decision tree:
Make your decision tree visually appealing and easy to follow by customizing it. Use different colors or patterns for different types of decisions or outcomes. Format the text to highlight important information. Add icons or symbols to enhance understanding.
Step 6: Add interactivity:
To make your decision tree interactive, you can use PowerPoint’s hyperlinks and action buttons. Select the decision box or outcome you want to link, go to the “Insert” tab, and choose either “Hyperlink” or “Action.” You can link to other slides, websites, or even specific locations within your presentation.
Step 7: Test and refine:
Before presenting, test your interactive decision tree to ensure a seamless user experience. Click on each decision box and outcome to verify that the hyperlinks and action buttons work correctly. Make any necessary adjustments to improve the flow and functionality.
Conclusion:
Creating an interactive decision tree in PowerPoint will not only make your presentations visually appealing but also facilitate understanding and engagement for your audience. By following these step-by-step instructions, you can easily create an interactive decision tree that will enhance the effectiveness of your PowerPoint presentations.
Unlock unparalleled savings on Microsoft Office by visiting our website, where the best price awaits you, opening up its full potential.