
Office Blog
How to Insert a Blank Page in Microsoft Word?

When working on a document in Microsoft Word, you may find the need to insert a blank page for various reasons – creating a new section, adding extra space, or simply for formatting purposes. In this step-by-step guide, we will walk you through the different methods to easily insert a blank page in Microsoft Word. Whether you’re a beginner or an experienced user, these simple instructions will help you enhance your document editing capabilities.
Step 1: Open Microsoft Word
Launch Microsoft Word on your computer by double-clicking the Word icon on your desktop or searching for it in your computer’s applications menu.
Step 2: Open the Document
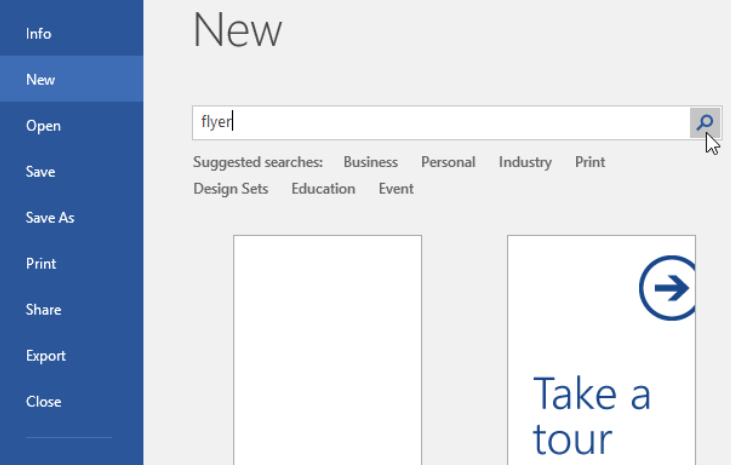
Click on “File” in the top left corner of the Word window, then choose “Open” from the dropdown menu. Browse and select the document in which you want to insert a blank page or create a new document using the “New Blank Document” option.
Step 3: Place the Cursor
Position the cursor at the location in your document where you want to insert the blank page. Click inside the document or use the arrow keys on your keyboard to move the cursor to the desired spot.
Step 4: Inserting the Blank Page
There are different ways to insert a blank page, depending on your version of Microsoft Word. Choose the relevant method below:
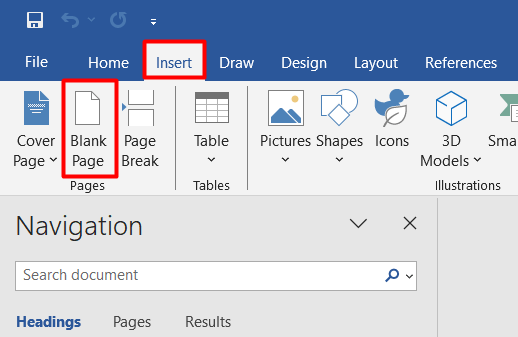
– Method 1: Insert Page Break
- Click on the “Insert” tab in the top toolbar.
- Select the “Blank Page” option from the “Pages” group.
– Method 2: Insert Page Break Shortcut
- Press the “Ctrl” + “Enter” keys on your keyboard simultaneously.
– Method 3: Insert “Blank Page” Command
- Right-click on the location in your document where you want to insert the blank page.
- Choose the “Insert” option from the context menu.
- From the submenu, select “Blank Page”.
Step 5: Verify the Insertion
Check if the blank page has been successfully inserted by scrolling through your document or looking at the page thumbnails on the left-hand side panel. You should see an additional page, blank and ready for editing.
Step 6: Save and Continue
Don’t forget to save your document by clicking on “File” and selecting “Save” or pressing “Ctrl” + “S” on your keyboard. Continue editing and adding content on the newly inserted blank page as desired.
Congratulations! You have successfully inserted a blank page in Microsoft Word. Use this feature to improve the organization and structure of your documents, whether you need extra space for further content or want to create clear divisions within your work.
Visit our website to get your Word license now! Choose from Office 2016, Office 2019, and Office 2021. Find the version that suits you hassle-free.