Office Blog
How do I Create Dynamic Labels and Mail Merge in Microsoft Publisher?
Microsoft Publisher offers powerful features for creating dynamic labels and performing mail merge operations. Follow this step-by-step guide to learn how to create dynamic labels and perform mail merge in Microsoft Publisher.
Step 1: Launch Microsoft Publisher
Start by launching Microsoft Publisher on your computer.
Step 2: Create a New Publication
Open a new publication by clicking on the “File” tab, selecting “New“, and choosing the appropriate publication template.
Step 3: Design the Label Template
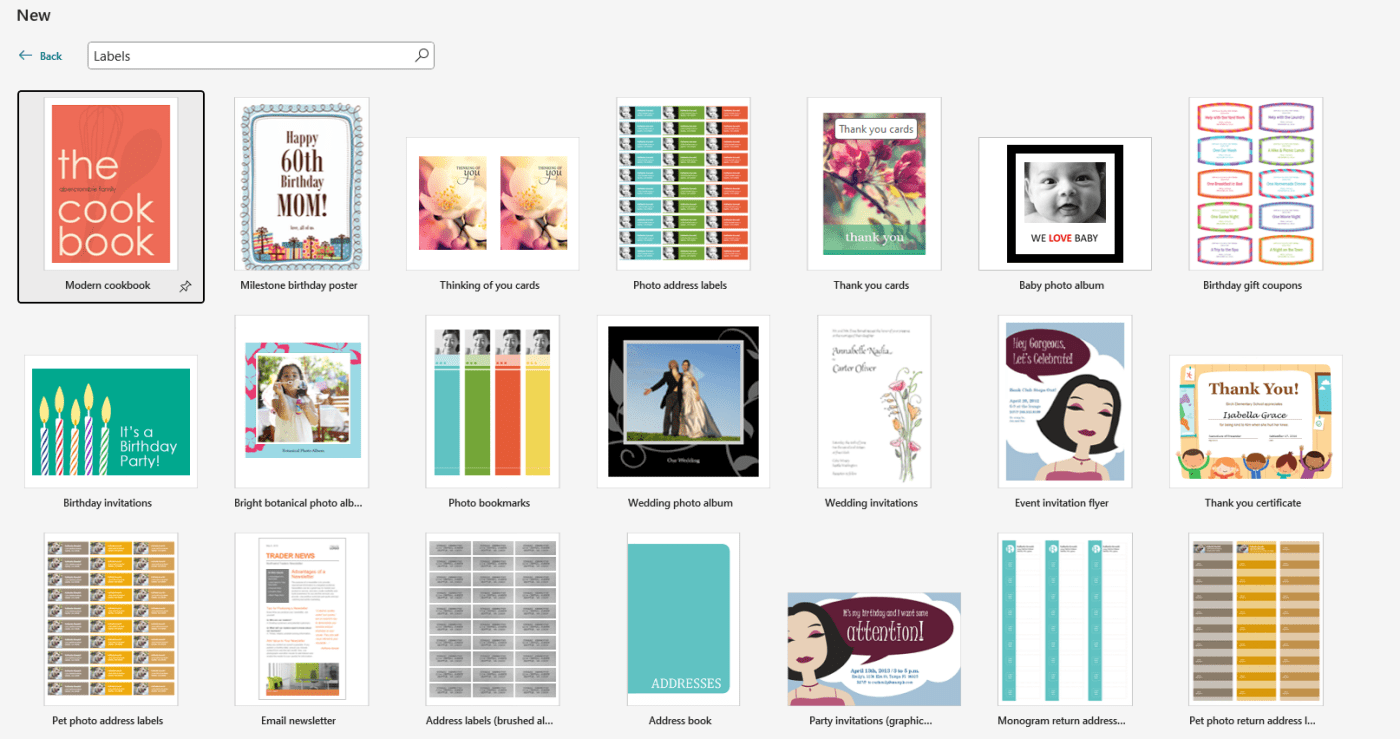
Design your label template by selecting the “Labels” category from the templates section. Choose the desired label size, layout, and design elements.

Step 4: Prepare the Data Source
Prepare the data source for the mail merge operation, such as an Excel spreadsheet or a Microsoft Access database. Ensure that the data is properly organized with column headings representing the information to be merged.
Step 5: Access Mail Merge
Navigate to the “Mailings” tab and click on the “Mail Merge” button. From the drop-down menu, select the “Labels” option.
Step 6: Select Label Options
In the “Label Options” dialog box, choose the label manufacturer and product number that matches your label sheets. Adjust other settings such as margins and page size if necessary.
Step 7: Import Data Source
In the “Mail Merge Recipients” dialog box, click on the “Select Recipients” button and choose the appropriate option to import the data source. Browse and select the file containing your data to complete the import.
Step 8: Insert Merge Fields
Position the cursor on the label where you want to insert a field from your data source. Click on the “Insert Merge Field” button and select the desired field name from the list.
Step 9: Preview and Complete Merge
To preview the merged labels, click on the “Preview Results” button. Review the labels and make any necessary adjustments. When satisfied, click on the “Finish & Merge” button and choose to either print the labels or create a new publication.
Step 10: Save and Print
Save your merged labels and choose the desired printing options. Ensure that your printer is properly set up, and then proceed to print the labels.
By following these step-by-step instructions, you can create dynamic labels and perform mail merge in Microsoft Publisher. Enhance your productivity and streamline your labeling tasks with this useful feature.
Get your Excel license from our website within the Office Suite. Choose from Office 2016, Office 2019, or Office 2021 depending on your specific needs.

