
Office Blog
How do I Create a Publication in Microsoft Publisher?

Microsoft Publisher is a powerful desktop publishing application that allows you to create professional-looking publications, such as brochures, flyers, and newsletters. In this step-by-step guide, we will walk you through the process of creating a publication in Microsoft Publisher.
Step 1: Launch Microsoft Publisher
- Click on the Microsoft Publisher icon on your desktop or search for it in the Start menu to launch the application.
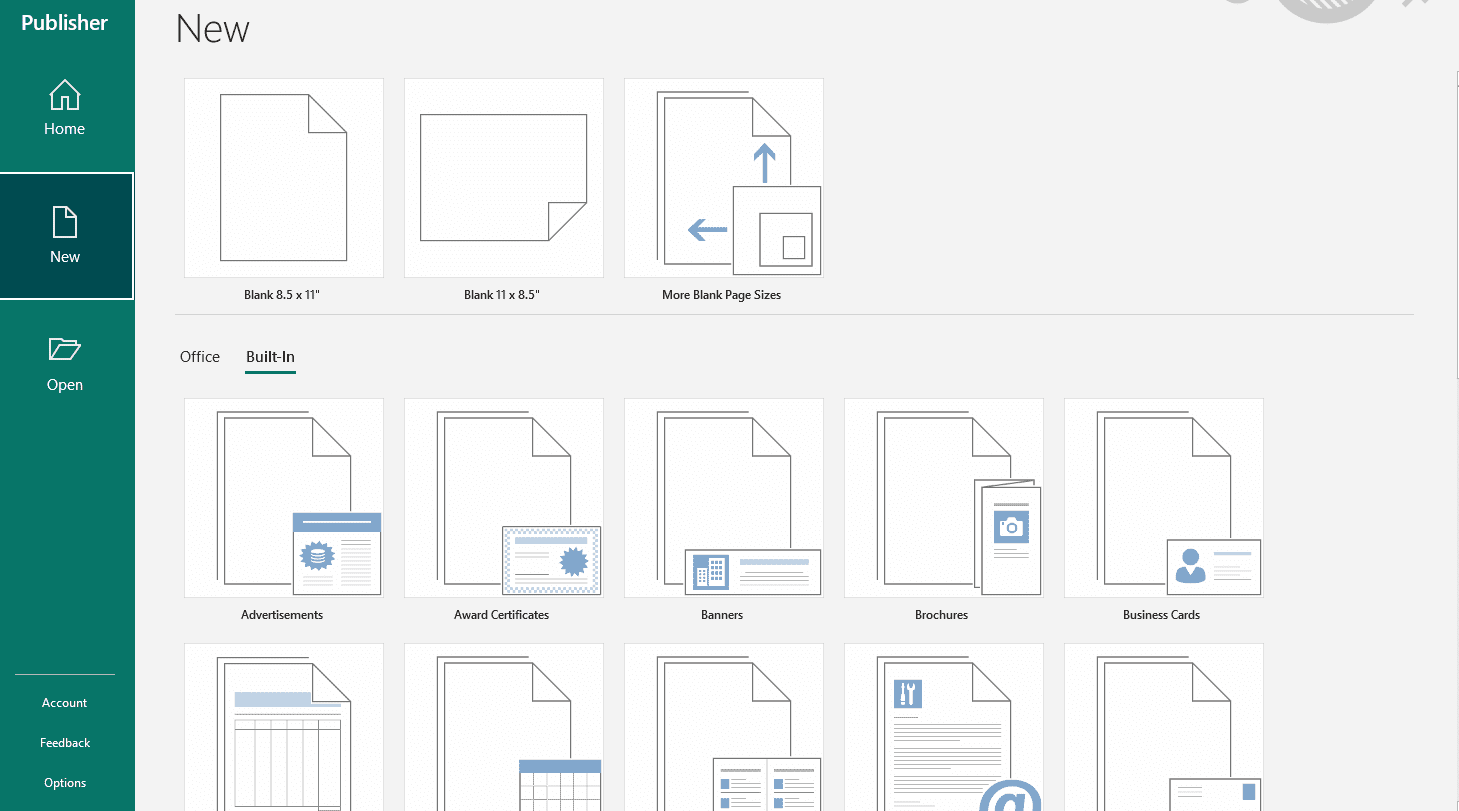
Step 2: Select a Publication Type
- In the Publisher startup window, click on the “New” tab.
- Choose a publication type from the available templates, such as brochures, flyers, or newsletters.
Step 3: Customize the Publication Template
- Once you have selected a publication type, choose a template that suits your needs.
- Click on the template to open it and begin customizing your publication.
Step 4: Add and Format Text
- Use the text tools in the toolbar to add and format text in your publication.
- Click on the “Draw Text Box” button to create a text box, then start typing or paste your content.
Step 5: Insert Images and Graphics
- To enhance your publication, you can insert images and graphics.
- Click on the “Pictures” button in the toolbar to insert images from your computer or online sources.
Step 6: Customize Colors, Fonts, and Layout
- Microsoft Publisher offers various options to customize your publication’s colors, fonts, and layout.
- Use the design tools in the toolbar to make adjustments and create a visually appealing publication.
Step 7: Add Shapes and Design Elements
- To add visual interest to your publication, you can insert shapes and design elements.
- Click on the “Shapes” button in the toolbar to choose from a variety of shapes and lines.
Step 8: Review and Finalize
- Before printing or sharing your publication, review it for any errors or formatting issues.
- Use the “Preview” button in the toolbar to view your publication and make necessary adjustments.
Step 9: Save and Export Your Publication
- Once you are satisfied with your publication, save it by clicking on the “File” tab and selecting “Save As“.
- Choose a location to save the file and provide a name for it. Select the desired file format and click “Save“.
Creating a publication in Microsoft Publisher is made easy with the step-by-step instructions provided above. Start by selecting a publication type and customizing a template, then add and format text, insert images and graphics, and customize the design elements.
If you require an Excel license, visit our website to obtain one within the Office Suite. Choose from Office 2016, Office 2019, or Office 2021 as per your preferences.