
Office Blog
How do I Create a New Database in Access?

Microsoft Access stands as a robust platform for database management, providing users with the tools they need to store, organize, and analyze their data effectively. Creating a new database in Microsoft Access is a fundamental step towards harnessing its capabilities for data management tasks. In this comprehensive guide, we’ll walk you through the step-by-step process of creating a new database in Microsoft Access, enabling you to get started with managing your data efficiently.
To begin, launch Microsoft Access and navigate to the “File” tab. From there, select the option to create a new database. You’ll be prompted to choose a location and name for your new database file. Once you’ve specified these details, click “Create” to initiate the creation process.
Next, you’ll be presented with a blank database window, where you can start building your database structure. Begin by defining the tables you’ll need to store your data, along with the fields (or columns) within each table. You can also set data types and properties for each field to ensure data integrity and consistency. As you add tables and define their structures, Access will automatically create a navigation pane to help you navigate and manage your database objects efficiently. By following these steps, you can create a new database in Microsoft Access and begin organizing and analyzing your data with ease.
Step 1: Open Microsoft Access:
- Launch Microsoft Access on your computer.
- If you already have Access open, click on “File” in the upper-left corner and select “New” to create a new database.
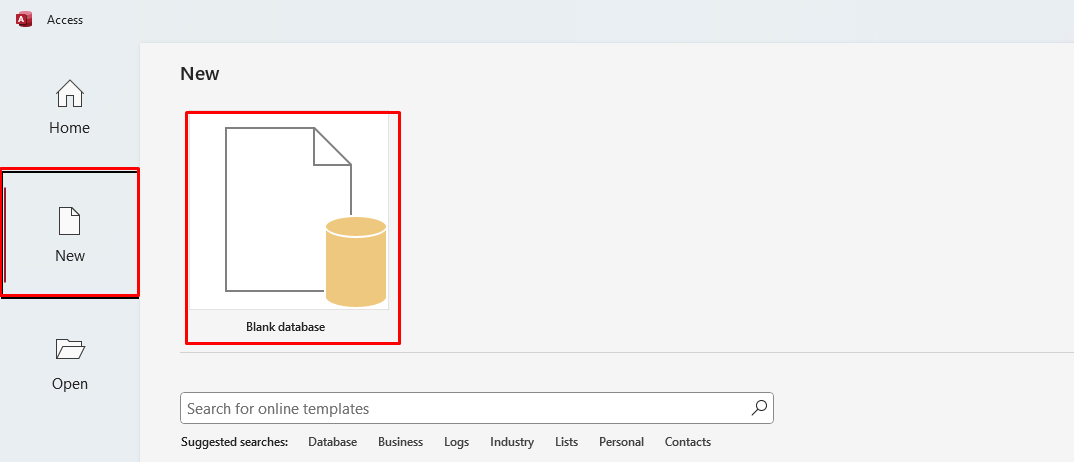
Step 2: Choose a Blank Database Template:
- In the Microsoft Access startup screen, select “Blank Database.”
- Choose a location on your computer where you want to save the new database.
Step 3: Name and Save the Database:
- Enter a name for your new database in the “File Name” field.
- Click on the “Browse” button to select a folder to save the database.
- Once you have specified the name and location, click on the “Create” button.
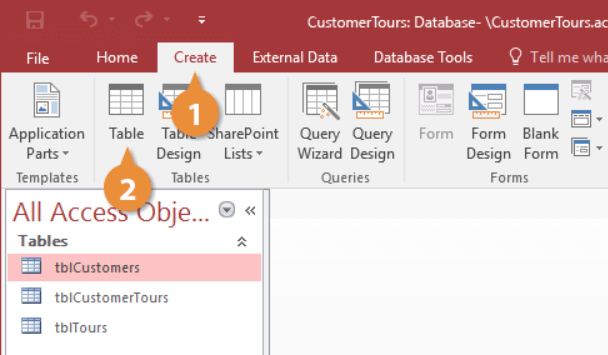
Step 4: Design the Database:
- Access will open a new blank database with a default table called “Table1.”
- To design your database, you can create tables, define fields, and set relationships between tables.
Step 5: Create Tables and Fields:
- Right-click on the “Table1” tab and select “Design View” to create a new table.
- Define the fields by entering the field names, data types (e.g., text, number, date/time), and any additional properties (e.g., field size, format).
Step 6: Set Relationships between Tables:
- Click on the “Database Tools” tab and select “Relationships.”
- Drag and drop the primary key field from one table onto the related foreign key field in another table.
- Specify any additional relationship properties, such as cascading updates or deletes.
- Repeat this process for all the tables in your database.
Step 7: Save and Close the Database:
- Click on the “Save” icon or go to “File” and select “Save” to save your database.
- Close Microsoft Access when you have finished creating and saving the new database.
By following these step-by-step instructions, you can create a blank database, design tables, define fields, and set relationships.
Find the cheapest Access license for your database management needs on our website. Choose from Office 2016 keys, Office 2019 keys, and Office 2021 keys to suit your specific requirements.