
Office Blog
How Can I Insert a Drop Cap With Multiple Lines in Microsoft Word?

Adding a drop cap with multiple lines can lend an air of sophistication and visual interest to your Microsoft Word documents, particularly at the beginning of a section or chapter. This decorative element enhances the layout and draws the reader’s attention to the text, making it ideal for publications such as books, newsletters, and invitations. In this detailed tutorial, we’ll walk you through the step-by-step process of inserting a drop cap with multiple lines using specific commands in Microsoft Word.
To begin, open your Word document and navigate to the paragraph where you want to insert the drop cap. Typically, drop caps are applied to the initial paragraph of a section or chapter. Once you’ve positioned your cursor within the desired paragraph, locate the “Insert” tab in the Word ribbon.
Next, click on the “Drop Cap” option within the “Text” group. From the dropdown menu that appears, select the “Dropped” option to apply the drop cap with multiple lines. Instantly, Word will format the first few lines of the paragraph into a visually striking drop cap style. You can further customize the drop cap by adjusting its size, font, color, and positioning to suit your document’s aesthetic. By following these simple steps, you can effortlessly elevate the visual appeal of your Microsoft Word documents with a drop cap featuring multiple lines.
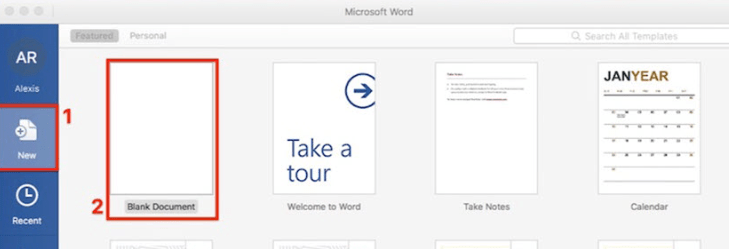
Step 1: Open Microsoft Word and create a new document.
- Launch Microsoft Word on your computer.
- Click on “File” in the top-left corner and select “New Blank Document” to create a new document.
Step 2: Type your text and format it.
- Start typing or paste your text into the document.
- Format your text by selecting it and applying the desired font, size, and style.
Step 3: Position the cursor where you want the drop cap.
- Scroll to the beginning of the paragraph or line where you want to insert the drop cap.
- Place the cursor at the position where the drop cap should appear.
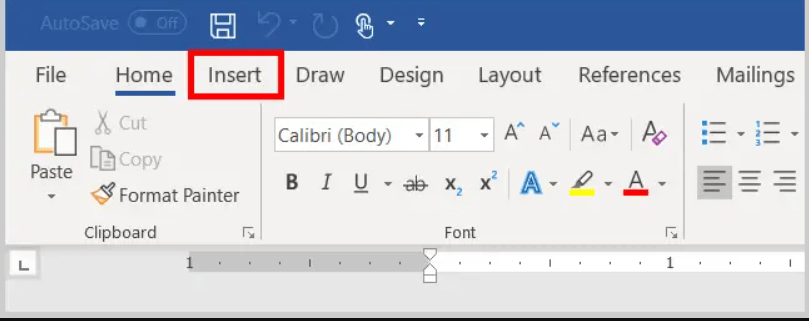
Step 4: Go to the “Insert” tab.
- Locate the “Insert” tab in the ribbon at the top of the screen.
- Click on the “Insert” tab to access the necessary commands for adding drop caps.
Step 5: Click on “Drop Cap” and select “Dropped.”
- Within the “Insert” tab, find the “Text” group.
- Click on the “Drop Cap” button and select “Dropped” from the dropdown menu.
Step 6: Modify the drop cap options.
- After selecting “Dropped,” additional options will appear.
- In the “Options” section, choose the number of lines you want the drop cap to occupy.
- Adjust the font, size, and position of the drop cap as desired.
- Preview the changes in the “Preview” section.
Step 7: Insert the drop cap.
- Once you are satisfied with the drop cap options, click on the “OK” button.
- The drop cap with multiple lines will be inserted at the specified location in your document.
Step 8: Save your document.
- Click on “File” and select “Save” to save your document with the inserted drop cap.
- Choose a location on your computer and provide a name for the file.
- Click on “Save” to save the document.
Conclusion:
By following the step-by-step instructions and using specific commands in Microsoft Word, you can easily add a drop cap with multiple lines to enhance the visual appeal of your documents. Experiment with different formatting options and make your text more captivating with stylish drop caps. Impress your readers and make a lasting impression with this simple yet effective design element.
Looking for the cheapest Microsoft Office 2019 Pro Plus? Look no further! Purchase your license from our website and unleash the full potential of this feature-rich suite without breaking your budget.