
Windows Blog
Can I schedule Windows 10 updates for a specific time?

If you want more control over when Windows 10 updates are installed, scheduling updates for a specific time can be a helpful solution. In this blog, we will guide you through the process of scheduling Windows 10 updates, allowing you to choose a convenient time for installation.
With the ability to specify a specific time for updates, you can avoid interruptions during critical work hours or ensure that updates are installed during times when your device is not in use. By following our step-by-step instructions, you’ll be able to easily set up and manage your update schedule, ensuring that your computer stays up to date without disrupting your workflow.
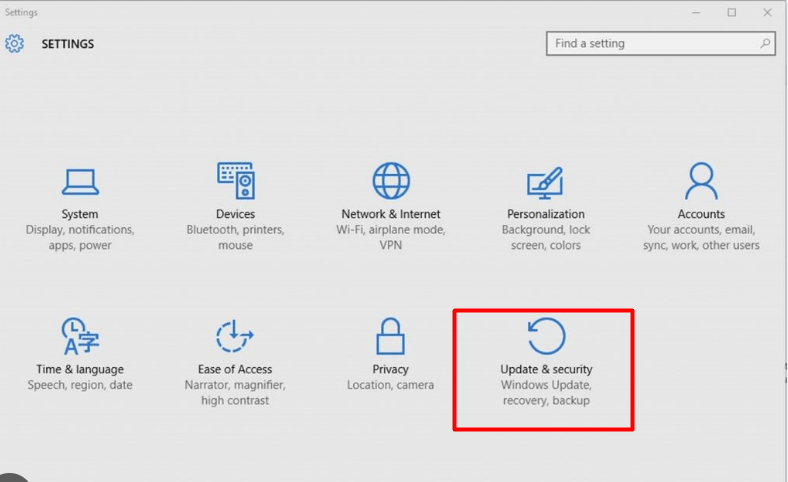
Step 1: Open the Settings app:
- Click on the “Start” menu located on the left side of the taskbar.
- Click on the gear-shaped icon to open the “Settings” app.
Step 2: Go to the Update & Security settings:
- In the Settings app, click on the “Update & Security” option.
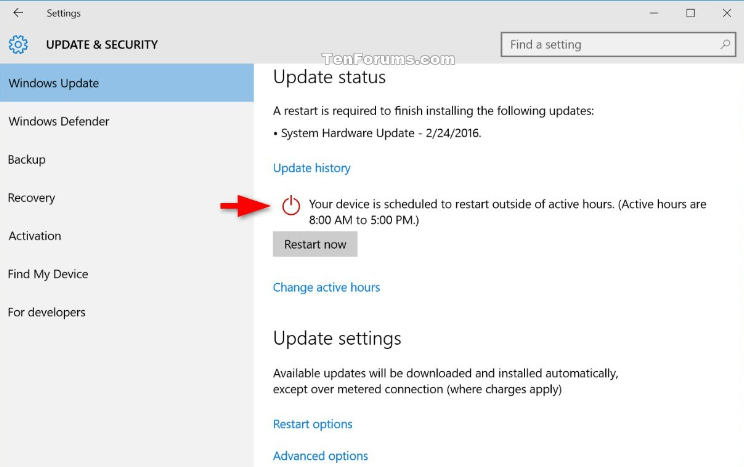
Step 3: Access the Windows Update settings:
- In the left sidebar, click on the “Windows Update” tab.
Step 4: Configure the Active Hours:
- Scroll down and locate the “Change active hours” option.
- Click on the “Change” button below the active hours time range.
Step 5: Set the active hours:
- In the pop-up window, select the start and end times for your preferred active hours – the period when you usually use your computer without interruption.
- Click on the “Save” button to apply the changes.
Step 6: Schedule Windows Update restarts:
- Scroll down to the “Restart options” section.
- Toggle on the “Schedule a time” option.
Step 7: Choose a scheduled time:
- From the drop-down menu that appears, select the desired time for Windows to install updates and restart your computer.
- Adjust the day and time based on your preferences.
- Click on the “Save” button to save the settings.
Step 8: Confirm the scheduled updates and restarts:
- After setting the scheduled time, Windows will display a notification indicating the scheduled time for updates and restarts.
Step 9: Customize additional update settings (optional):
- For further customization, click on the “Advanced options” link under the “Windows Update” tab.
- Here, you can explore options such as pausing updates, deferring updates, or adjusting the delivery optimization settings.
Conclusion:
By following these steps, you can schedule Windows 10 updates for a specific time, allowing for a more convenient and uninterrupted update installation process. Take control of when updates are installed by configuring active hours and scheduling restarts in the Windows Update settings. Enjoy a more tailored and efficient update experience on your Windows 10 system.
Don’t compromise on your device upgrade. Get the best value for your investment by purchasing cheap Windows 10 Pro keys from our website.