
Office Blog
Advanced Word Document Layout Techniques

Master the art of creating visually appealing and organized documents in Microsoft Word with our expert guidance on advanced layout techniques. In this informative blog post, we will provide you with step-by-step instructions to elevate your Word skills and create impressive document designs.
Learn how to effectively use features like columns, tables, and styles to create a professional and aesthetically pleasing layout. Discover the power of advanced formatting options, such as section breaks and headers, to streamline your document structure and improve readability. With our comprehensive guide, you’ll be able to create stunning Word documents that make a lasting impact on your audience.
Unlock the full potential of Microsoft Word by incorporating these advanced layout techniques into your document creation process. Elevate your skills and impress others with visually appealing and well-structured documents that showcase your professionalism and attention to detail.
Step 1: Adjusting Page Margins
Properly adjusting page margins can improve readability and give your document a professional look. To adjust the page margins, follow these steps:
- Open your Word document.
- Click on the “Layout” tab in the ribbon.
- Locate the “Margins” button and click on it.
- Choose the desired margin preset or select “Custom Margins” to set your own values.
- Enter the specific margin measurements and click “OK” to apply the changes.
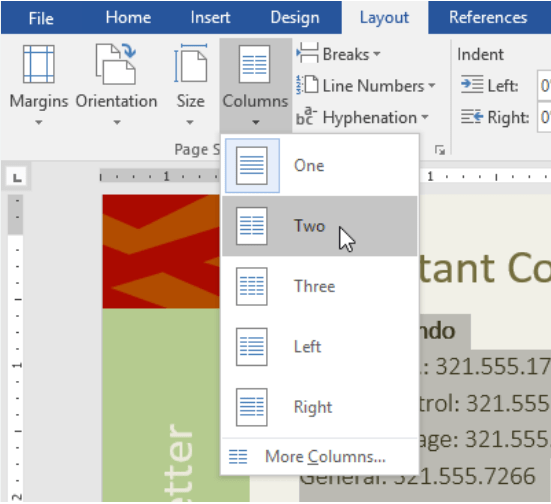
Step 2: Formatting Columns
Formatting your document into multiple columns can make it easier to read and visually appealing. To format your document into columns, use the following instructions:
- Select the text you want to format into columns.
- Navigate to the “Layout” tab in the ribbon.
- Locate the “Columns” button and click on it.
- Choose the number of columns you want to use or select “More Columns” for advanced options.
- Customize the column width, spacing, and line between columns as desired.
- Click “OK” to apply the column formatting to your selected text.
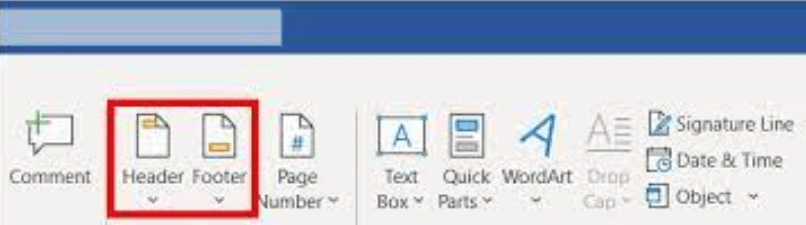
Step 3: Utilizing Headers and Footers
Headers and footers provide additional information and branding elements to your document. Follow these steps to add headers and footers to your Word document:
- Go to the “Insert” tab in the ribbon.
- Locate the “Header” or “Footer” button and click on it.
- Choose the desired header or footer layout from the available options.
- Customize the header or footer by adding text, images, page numbers, or other elements.
- Adjust the header and footer settings by using the “Header & Footer Tools” Design tab.
Step 4: Applying Styles and Themes
Applying consistent styles and themes to your document helps create a cohesive and professional appearance. Follow these instructions to apply styles and themes:
- Select the text or section you want to apply a style to.
- Go to the “Home” tab in the ribbon.
- Locate the “Styles” group and choose a style from the available options.
- To apply a theme to the entire document, go to the “Design” tab in the ribbon and select a theme from the gallery.
- Customize the styles and themes further by using the “Styles” and “Themes” pane.
Step 5: Using Tables and Grids
Tables and grids can aid in organizing information and making it easier to consume. Follow these steps to insert tables and grids into your document:
- Place the cursor at the location in your document where you want to insert the table or grid.
- Go to the “Insert” tab in the ribbon.
- Locate the “Table” or “Grid” button and click on it.
- Choose the desired number of rows and columns or use the “Insert Table” dialog box for advanced options.
- Customize the table or grid by adjusting the column widths, adding borders, shading, or applying pre-defined table styles.
By following these step-by-step instructions, you can expertly utilize advanced Word document layout techniques and create visually appealing and well-structured documents. Experiment with different formatting options and unleash your creativity using Word’s extensive features. Happy document designing!
Boost your database management capabilities with the perfect Microsoft Office license from our website. Discover the options available, such as cheap Office 2016 cd keys, Office 2019 cd keys, and the cheapest Office 2021 license, and revolutionize the way you handle your data.