
Windows Blog
How to use Snipping Tool and where files are saved on Windows 11

Introduction: The Snipping Tool on Windows 11 is a handy tool that lets you capture and share specific parts of your screen. It’s perfect for grabbing screenshots of important information, creating tutorials, or simply highlighting interesting content. In this guide, we’ll walk you through the steps of using the Snipping Tool and show you where your snipped files are saved.
Why Use Snipping Tool? The Snipping Tool makes it easy to capture and annotate parts of your screen. Whether you want to share a funny meme, highlight a section of a document, or save a moment from a video, the Snipping Tool has got you covered.
Step-by-Step Guide: How to Use Snipping Tool on Windows 11:

1. Open Snipping Tool:
- Click on the Start menu.
- Type “Snipping Tool” in the search bar and open the app.
2. Choose a Snip Type:
- Click on “Mode” to choose the type of snip you want: Freeform, Rectangular, Window, or Fullscreen.
3. Capture the Snip:
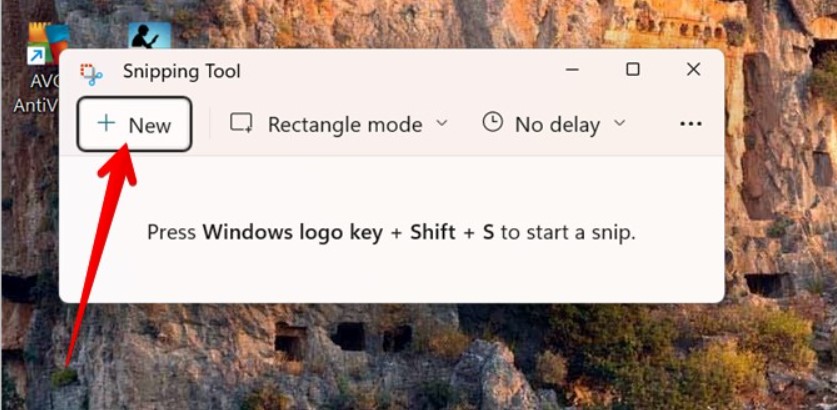
- Once the mode is selected, click “New” to capture the snip.
- For freeform or rectangular snips, drag the cursor around the area you want to capture.
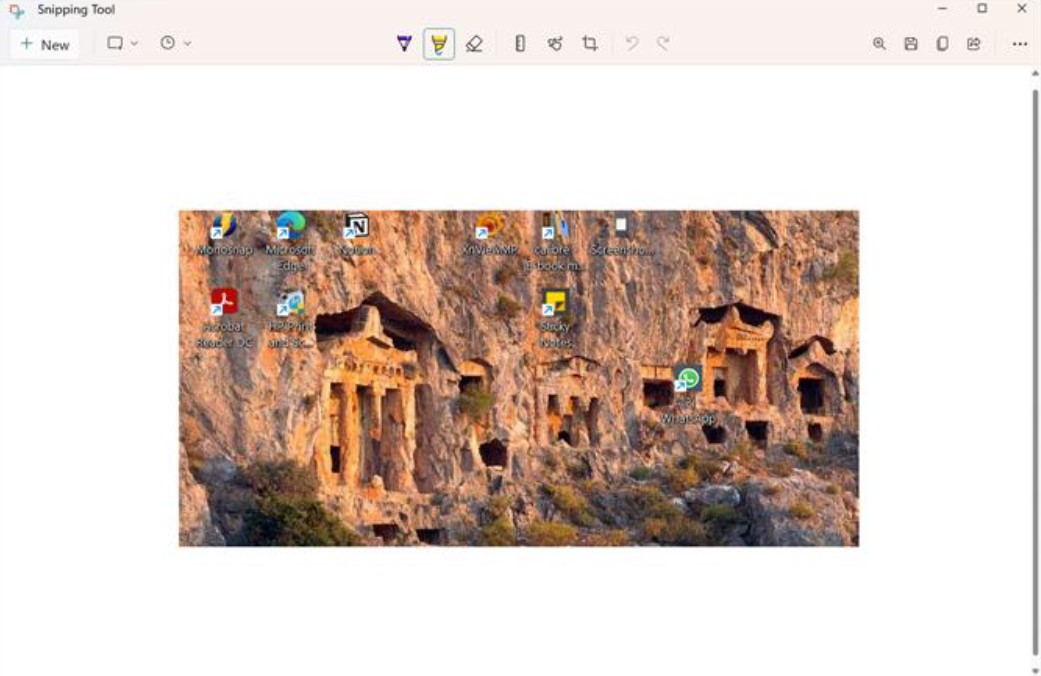
4. Annotate (Optional):
- After capturing, use the toolbar to annotate the snip with a pen, highlighter, or text.
5. Save the Snip:
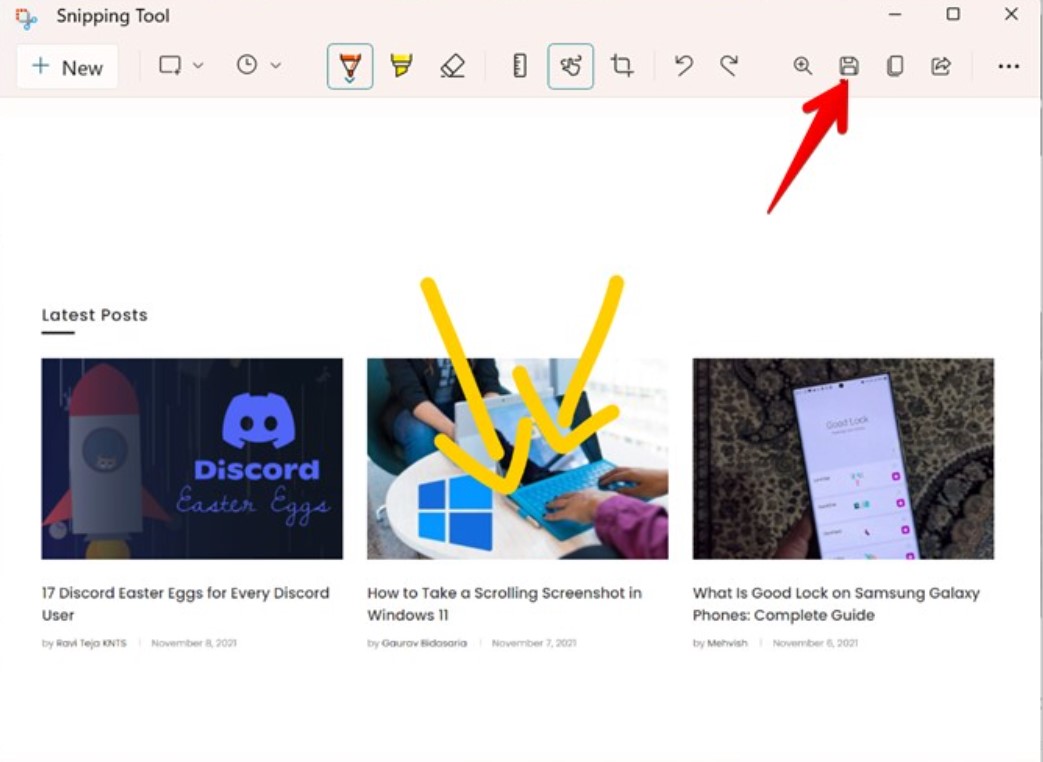
- Click “File” and choose “Save As” to save your snip.
- Select the location on your computer where you want to save the file.
Locating Your Snipped Files:
By default, your snipped files are saved in the “Screenshots” folder within the “Pictures” library. You can easily access them later for sharing or reference.
Now you’re all set to capture and save specific parts of your screen using the Snipping Tool on Windows 11. It’s a versatile and user-friendly tool for enhancing your screen-capturing experience.
Upgrade your device and boost your productivity! Buy cheap Windows 10, Windows 11 Pro key, and Windows Server keys from our website and maximize the value of your upgrade.