
Office Blog
How to Insert a Watermark With a Faded Effect in Microsoft Word?

Watermarks can enhance the visual appeal of your documents. Follow these step-by-step instructions to learn how to insert a watermark with a faded effect in Microsoft Word.
Step 1: Open Microsoft Word
- Launch Microsoft Word on your computer.
Step 2: Select the Insert Tab
- Locate and click on the “Insert” tab in the top menu bar.
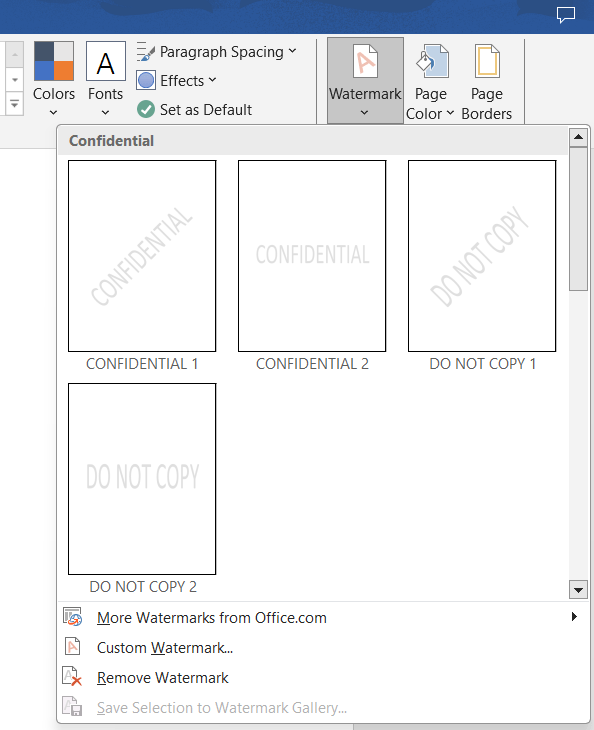
Step 3: Choose Watermark
- In the “Header & Footer” section, click on the “Watermark” button.
Step 4: Select Custom Watermark
- From the dropdown menu, select “Custom Watermark.”
Step 5: Add Text or Picture Watermark
- To insert text, select the “Text Watermark” option, and then enter your desired text.
- To insert an image, select the “Picture Watermark” option and browse for your image file.
Step 6: Adjust Transparency
- Under the “Semitransparent” section, adjust the transparency slider to your preferred level.
Step 7: Apply Watermark
- Once you’ve made all the necessary adjustments, click on the “Apply” button to insert the faded effect watermark.
Step 8: Customize Watermark Positioning
- To change the positioning of the watermark, click on the “Watermark” button again and choose “Customize Watermark.”
Step 9: Choose Watermark Location
- In the “Printed Watermark” popup, select the “Picture watermark” or “Text watermark” tab based on your preference.
Step 10: Adjust Size and Alignment
- Customize the watermark’s size, alignment, angle, and scale to fit your document.
Step 11: Preview and Apply
- Use the preview pane to see how your watermark appears in the document.
- Once satisfied, click on the “Apply” button to apply the customized watermark.
Conclusion:
With these straightforward steps, you can easily insert a watermark with a faded effect in Microsoft Word. Experiment with different text and image options to create a unique and visually appealing watermark for your documents.
If you require an Excel license, visit our website to obtain one within the Office Suite. You can choose between Office 2016, Office 2019, or Office 2021 based on your preferences.