Office Blog
How to Create an Interactive Timeline with Draggable Elements in PowerPoint?
An interactive timeline with draggable elements is a powerful tool to showcase chronological events or project milestones in PowerPoint. In this step-by-step guide, we will walk you through the process of creating an engaging and interactive timeline that captivates your audience. Let’s dive in!

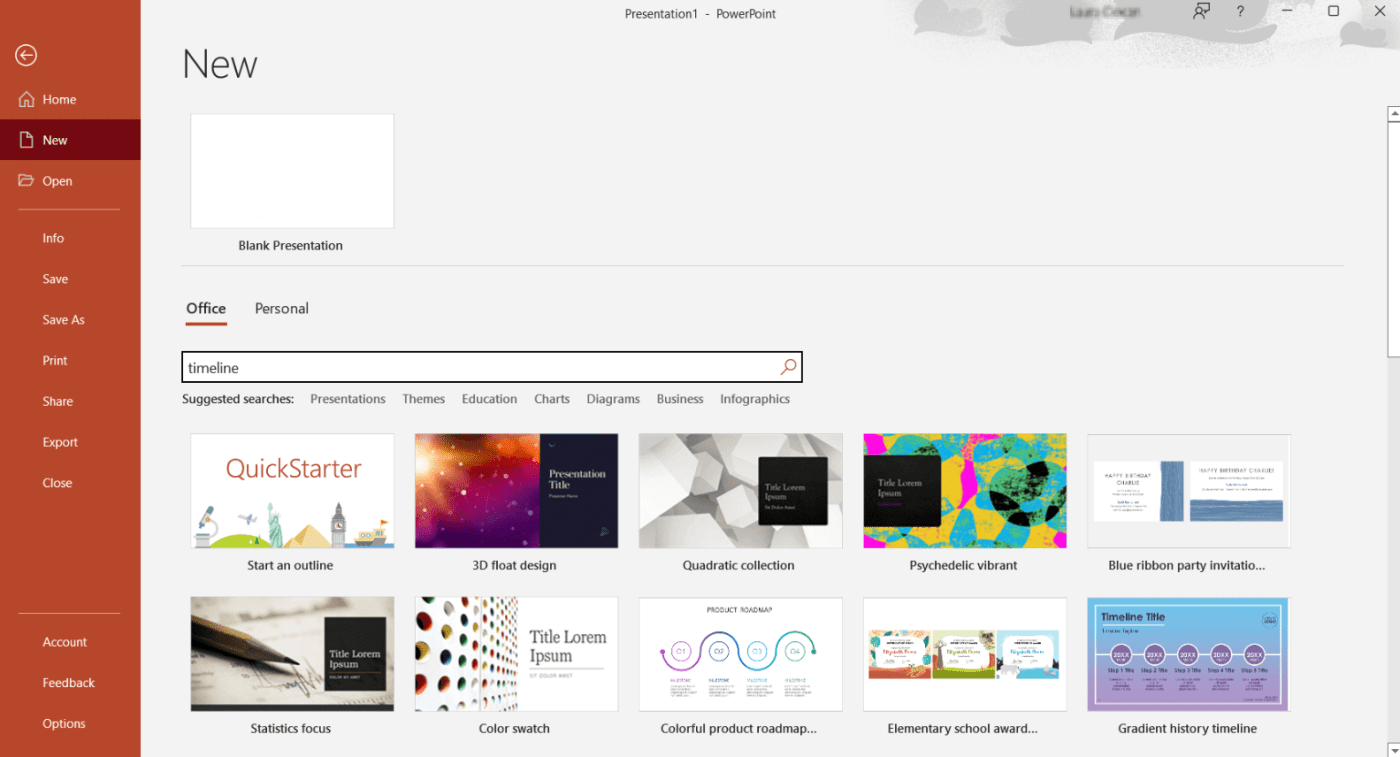
Step 1: Open PowerPoint and create a new slide:
- Launch PowerPoint and open a new presentation.
- Select a suitable slide layout to start with.
Step 2: Insert a basic timeline shape:
- Click on the “Insert” tab in the PowerPoint ribbon.
- Choose “Shapes” and select a suitable shape for your timeline.
- Draw the shape on the slide and resize it as needed.
Step 3: Add timeline markers:
- With the timeline shape selected, click on the “Insert” tab.
- Choose “Shapes” again and select a marker shape (e.g., circle).
- Draw the markers on the timeline at relevant intervals.
Step 4: Add text boxes for event descriptions:
- Click on the “Insert” tab and select “Text Box”.
- Draw a text box near each marker and enter the event descriptions.
Step 5: Enable the Drag and Drop functionality:
- Right-click on a marker shape and select “Format Shape” from the dropdown menu.
- In the Format Shape pane, go to the “Size & Properties” section.
- Under the Properties tab, check the “Don’t move or size with cells” option.
- Repeat this step for each marker shape.
Step 6: Link the markers to slide elements:
- Select a marker shape and press Ctrl + K (or right-click and choose “Hyperlink”).
- Choose “Place in This Document” and select a target slide (e.g., event details).
- Repeat this process for each marker, linking them to relevant slides.
Step 7: Create event detail slides:
- Add new slides for each event detail.
- Provide a description, images, videos, or any additional information for the specific event.
- Create links to navigate back to the main timeline.
Step 8: Arrange and design the timeline:
- Arrange the timeline shape, markers, and text boxes to create a visually appealing layout.
- Use PowerPoint design tools to customize colors, fonts, and other visual aspects.
Step 9: Test and present your interactive timeline:
- Save your PowerPoint presentation.
- Enter the slideshow mode to test the drag and drop functionality.
- Click on the markers to navigate to the event detail slides and back to the main timeline.
- Ensure a smooth and intuitive interaction for your audience.
Conclusion:
By following these step-by-step instructions, you can now create an interactive timeline with draggable elements in PowerPoint. Engage your audience with a visually appealing and user-friendly experience that allows them to explore and interact with the timeline content. Customization options are endless, so go ahead and unleash your creativity to design impressive and dynamic timelines. Happy designing!
Get the best deal on Microsoft Office exclusively on our website and unlock its full potential to boost your productivity to new heights.

