
Office Blog
How to Apply a 3D Liquid Effect to Text or Shapes in PowerPoint?

In this tutorial, we will show you a step-by-step guide on how to apply a 3D liquid effect to text or shapes in PowerPoint. This effect creates a visually appealing and dynamic look to your presentations, making your content stand out. Let’s dive in!
Step 1: Open PowerPoint and create a new slide:
- Launch PowerPoint on your computer.
- Click on “New Slide” or press Ctrl+M to create a new slide.
Step 2: Insert the text or shape:
- Click on the “Insert” tab in the PowerPoint ribbon.
- Choose “Text Box” to add a text box or “Shapes” to insert a shape.
- Type in your desired text or select the shape you want to apply the effect to.
Step 3: Format the text or shape:
- Select the text or shape by clicking on it.
- Right-click on the selected object and choose “Format Shape” or “Format Text” from the context menu.
- Customize the size, font, color, and any other formatting options according to your preference.
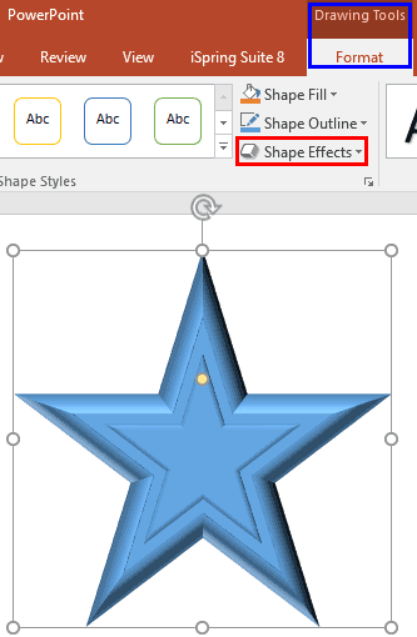
Step 4: Apply the 3D effect:
- With the text or shape still selected, go to the “Format” tab in the PowerPoint ribbon.
- Click on the “Text Effects” or “Shape Effects” button, depending on your object type.
- Choose the “3D Rotation” category.
- Scroll down and select the “Perspective” effect or any other liquid-like style that suits your needs.
Step 5: Adjust the 3D effect:
- With the 3D effect applied, you can fine-tune it to your liking.
- Right-click on the text or shape and select “Format Shape” or “Format Text” from the context menu.
- In the Format Shape pane, navigate to the “3D Format” or “Text Options” section.
- Adjust the settings, such as depth, rotation, contour, bevel, and lighting, until you achieve the desired liquid effect.
Step 6: Add animation (optional):
- To further enhance the liquid effect, you can add animation to the text or shape.
- Select the text or shape and go to the “Animations” tab.
- Choose the desired entrance or motion path animation.
- Customize the animation, duration, and delay according to your preference.
Step 7: Preview and save your presentation:
- Click on the “Slide Show” tab and choose “From Beginning” to preview your presentation.
- If satisfied, save your presentation by clicking on the “File” tab and then “Save” or “Save As”. Give it a proper name and choose the desired location on your computer.
Conclusion:
By following these easy steps, you can now apply a visually stunning 3D liquid effect to your text or shapes in PowerPoint. Experiment with different styles, adjust settings, and incorporate animation to create captivating presentations that leave a lasting impression on your audience. Happy designing!
Don’t break the bank. Our website offers the best price for Microsoft Office, allowing you to unlock its full potential and boost your productivity without sacrificing your budget.