
Office Blog
How do I insert a ruler in Microsoft Word?

A ruler in Microsoft Word is a useful tool that allows you to precisely align your text and objects. In this step-by-step guide, we will show you how to insert a ruler in your Word document.
Step 1: Open Microsoft Word
Launch Microsoft Word on your computer by clicking on the application icon.
Step 2: Open the Document
Open the document in which you want to insert a ruler.
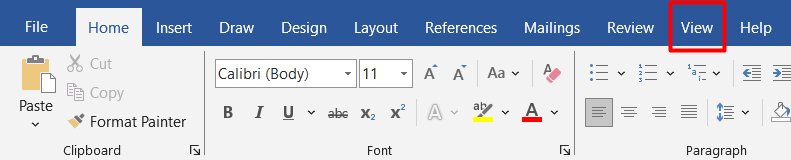
Step 3: Navigate to the View Tab
In the top menu bar, locate and click on the “View” tab. This tab contains all the tools and commands related to changing the view of the document.
Step 4: Click on the Ruler Checkbox
In the “Show” section of the “View” tab, you will find the “Ruler” checkbox. Click on this checkbox to activate the ruler.
Step 5: Adjust Ruler Settings
If you want to customize the settings of the ruler, right-click on the ruler itself and select “Ruler Options”. Here, you can adjust settings such as measurement units, tab spacing, and more.
Step 6: Use the Ruler
Once the ruler is inserted, you can use it to align text and objects precisely. Click and drag the ruler markers to create and adjust tabs, spacing, and other layout elements.
Congratulations! You have successfully inserted a ruler in Microsoft Word. Now you can align text and objects with ease, thanks to the precision offered by this useful tool. Enjoy the benefits of the ruler and experience hassle-free formatting in your Word document.
Explore our website to get your Word license today as part of the Office Suite. Choose from options like Office 2016, Office 2019, and Office 2021, tailored to fit your preferences and requirements.