
Office Blog
What is the Purpose of the Outline View in Word?

The Outline View in Microsoft Word is a powerful tool that helps you organize and structure your documents effectively. It allows you to see the hierarchical structure of your content, making it easier to manage large documents, rearrange sections, and create a clear and well-organized outline. Here’s a step-by-step guide to understanding and using the Outline View in Word.
Step 1: Open Your Word Document
First, you need to open the Word document in which you want to use the Outline View.
- Launch Microsoft Word.
- Click on
Filein the top left corner. - Select
Openfrom the menu. - Navigate to the location of your Word document.
- Double-click the file to open it.
Step 2: Access the Outline View
Once your document is open, you can switch to the Outline View.
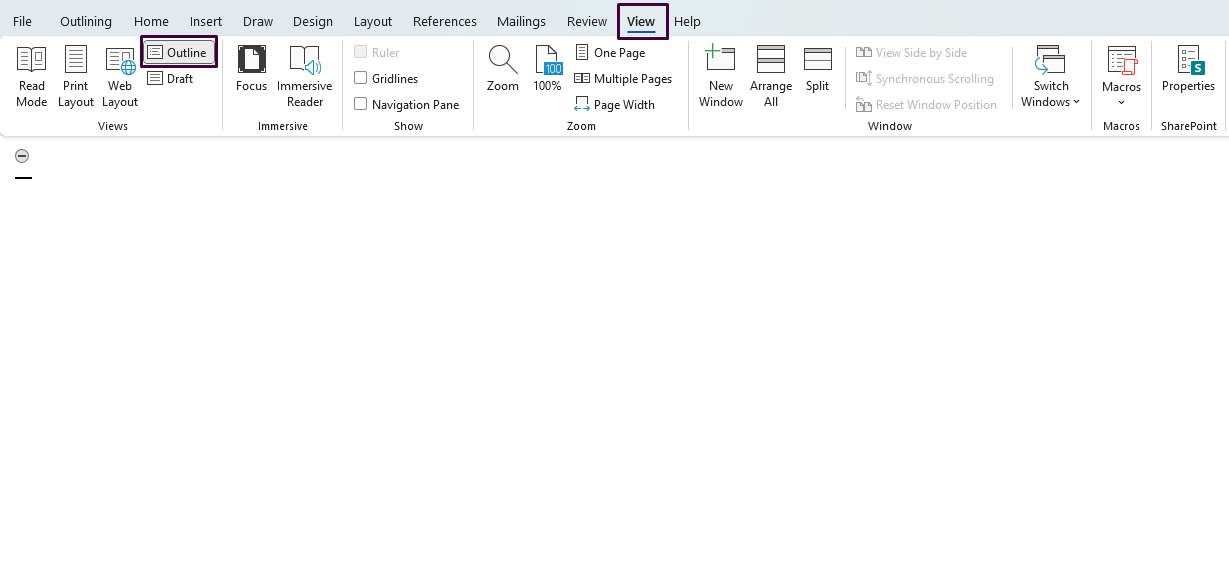
- Click on the
Viewtab in the Ribbon. - In the
Viewsgroup, click onOutline.
Step 3: Understand the Outline Layout
The Outline View will display your document in a structured layout, showing the headings and subheadings.
- Headings are organized in levels, which you can expand or collapse.
- Regular text (body text) will appear indented under its corresponding heading.
Step 4: Create and Modify Headings
To fully utilize the Outline View, you need to apply heading styles to your document.
- Select the text you want to make into a heading.
- Go to the
Hometab in the Ribbon. - In the
Stylesgroup, select a heading style (e.g.,Heading 1,Heading 2).
To create more levels within your outline:
- Click on a heading in the Outline View.
- Click the
PromoteorDemotebuttons in theOutline Toolsgroup to adjust the level.Promote: Moves the heading one level up (e.g.,Heading 2toHeading 1).Demote: Moves the heading one level down (e.g.,Heading 1toHeading 2).
Step 5: Rearrange Sections Easily
One of the key benefits of Outline View is the ability to move sections around with ease.
- Click on the plus sign (+) or minus sign (-) next to a heading to expand or collapse its content.
- Select a heading you want to move.
- Use the up and down arrow buttons in the
Outline Toolsgroup to reposition the entire section.
Step 6: Collapse or Expand Headings
Outline View allows you to focus on the big picture or drill down into details by collapsing or expanding headings.
- Click on the small triangle (or plus/minus sign) next to a heading to expand or collapse it.
- To expand or collapse all sections simultaneously, use the
ExpandandCollapsebuttons in theOutline Toolsgroup.
Step 7: Switch Back to Print Layout View
After structuring your document in Outline View, you can return to the Print Layout to see how it looks in its final form.
- Click on the
Viewtab in the Ribbon. - Select
Print Layoutfrom theViewsgroup.
Get genuine Office Keys at unbeatable low prices for all your productivity needs!