
Excel Blog
What is the Difference Between a Margin and a Gutter in Word?

When working with Word documents, understanding the difference between margins and gutters is important for proper formatting. Follow these steps to learn about the distinction between these two elements.
Step 1: Open Your Word Document
Start by opening the Word document where you want to adjust the margins and gutters. If you don’t have a document yet, create a new one.
Step 2: Navigate to the Page Layout Tab
Go to the “Page Layout” tab in the Word ribbon. This tab contains various options related to page setup and formatting.
Step 3: Access the Margins Settings
In the “Page Setup” group, click on the “Margins” button. A drop-down menu will appear, displaying different margin presets to choose from.
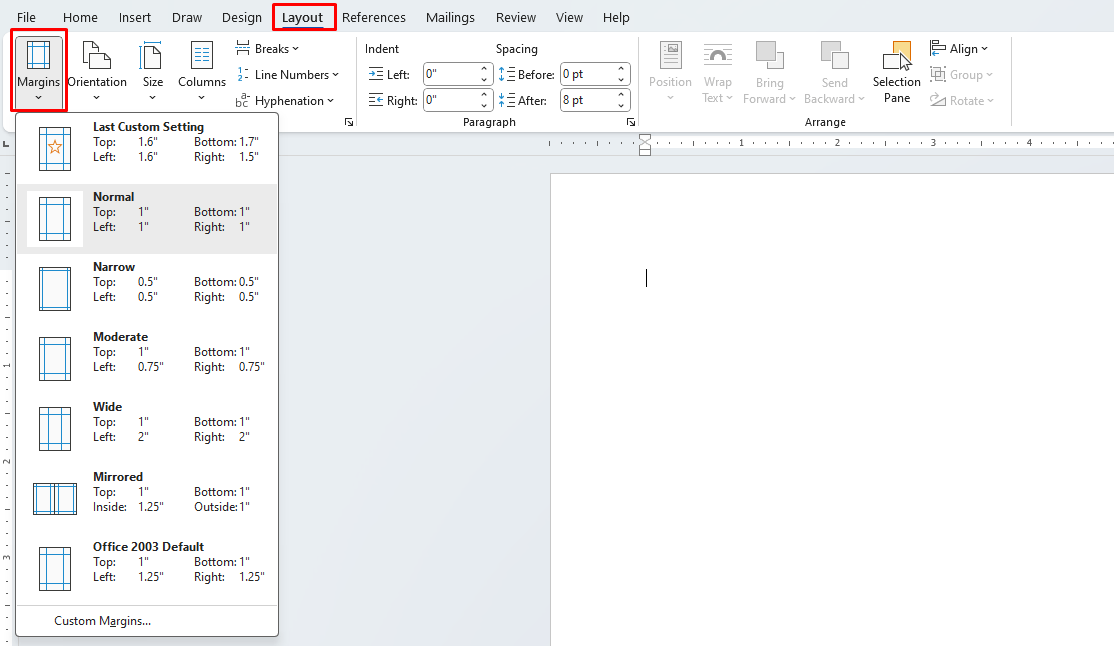
Step 4: Understand Margins
Margins are the space surrounding the content of the document from the edges of the paper. Word provides default margin options like normal, narrow, wide, and custom. Select “Custom Margins” to adjust the margins manually.
Step 5: Adjust the Margins
In the “Page Setup” dialog box, you can adjust the margin values for the top, bottom, left, and right edges. Enter specific measurements or use the up and down arrows to modify the values. Preview the changes in the miniature page display and click “OK” to apply the new margins.
Step 6: Access the Gutter Settings
Gutter refers to the additional space between the main content area and the binding side of a document (typically used for books or documents that will be bound). To access the gutter settings, click on the “Page Setup” dialog box’s “Layout” tab.
Step 7: Understand Gutters
In the “Gutter” section of the “Page Setup” dialog box, you can adjust the gutter margin by entering a value in inches or centimeters. This margin is particularly useful for binding, ensuring that the text does not get obscured or cut off.
Step 8: Preview and Apply the Gutter Setting
Enter the desired gutter margin value in the designated field. Preview the changes in the miniature page display and click “OK” to apply the gutter setting to your document.
Step 9: Save and Share Your Document
After understanding and adjusting the margins and gutters in your Word document, save your changes. Use the “Save” option in the top toolbar or press Ctrl + S. Share the document with others to maintain the formatting consistency.
By following these step-by-step instructions, you can grasp the difference between margins and gutters in Word. Achieve proper document formatting and enhance the readability of your content with this knowledge.
If you’re lacking an Excel license, we’ve got you covered! Visit our website and get one as part of the Office Suite. Choose from Office 2016, Office 2019, or Office 2021 to cater to your individual needs.