Windows Blog
Maximizing Security on Windows 11: What You Should Know
Windows 11 offers a host of powerful security features designed to protect your data and privacy. As the latest operating system from Microsoft, it introduces several advancements over its predecessors, providing users with enhanced protections against cyber threats. Whether you’re new to Windows 11 or an experienced user, this guide will walk you through the best practices and tools to maximize security on your PC.
1. Enable TPM 2.0 for Hardware Security
One of the most significant security features of Windows 11 is the requirement for TPM 2.0 (Trusted Platform Module). This dedicated hardware chip encrypts sensitive data and ensures the integrity of your system from the ground up. TPM 2.0 plays a vital role in protecting information, such as passwords and encryption keys, from malicious actors.
- Why it matters: TPM 2.0 is integral for features like BitLocker and Windows Hello, which provide full disk encryption and secure biometric login, respectively.
Make sure TPM 2.0 is enabled in your BIOS settings. For most modern devices, TPM is already available, but you can verify its status by running tpm.msc in the Run dialog.
2. Turn On BitLocker for Full Disk Encryption
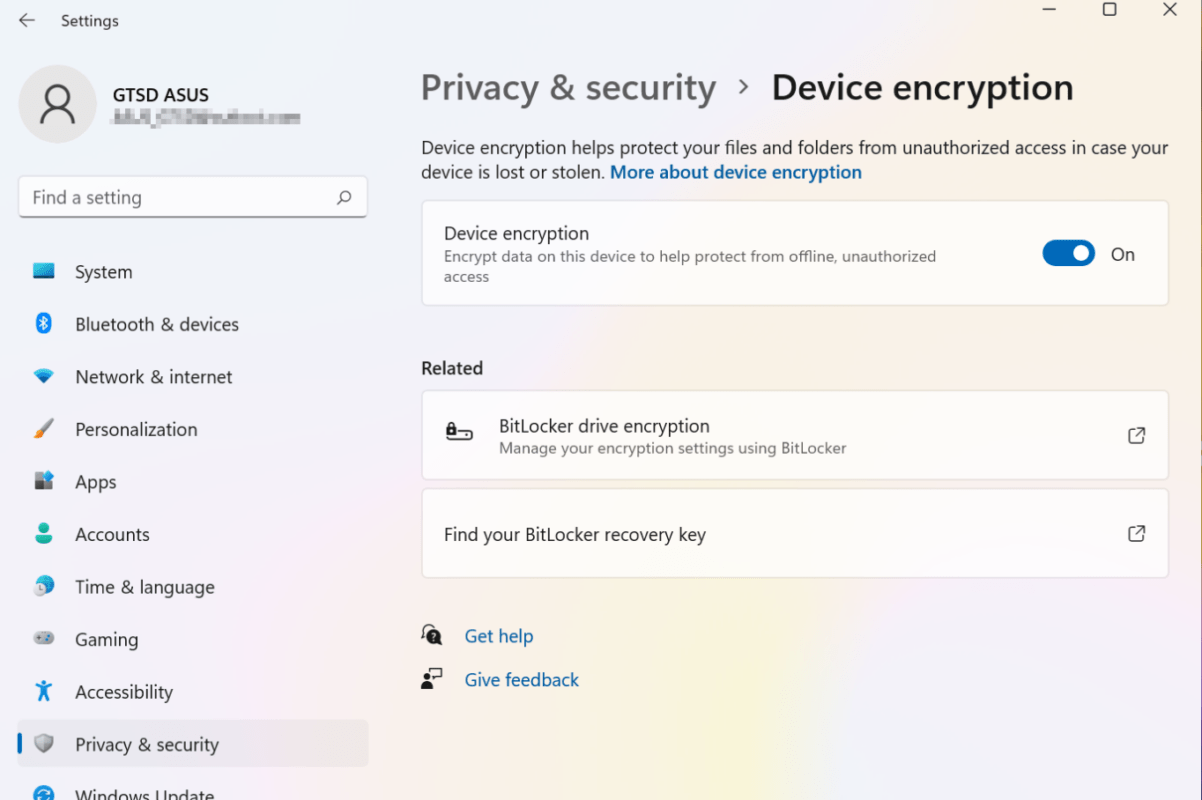
BitLocker is a powerful encryption tool that secures your entire system drive. With BitLocker enabled, all data stored on your Windows 11 PC is encrypted, protecting it from unauthorized access if your device is lost, stolen, or compromised.
- How to enable: Navigate to Settings > Privacy & Security > Device Encryption or search for BitLocker in the Start Menu. You can set up a PIN or password as an additional layer of protection.

3. Use Windows Hello for Secure Sign-In
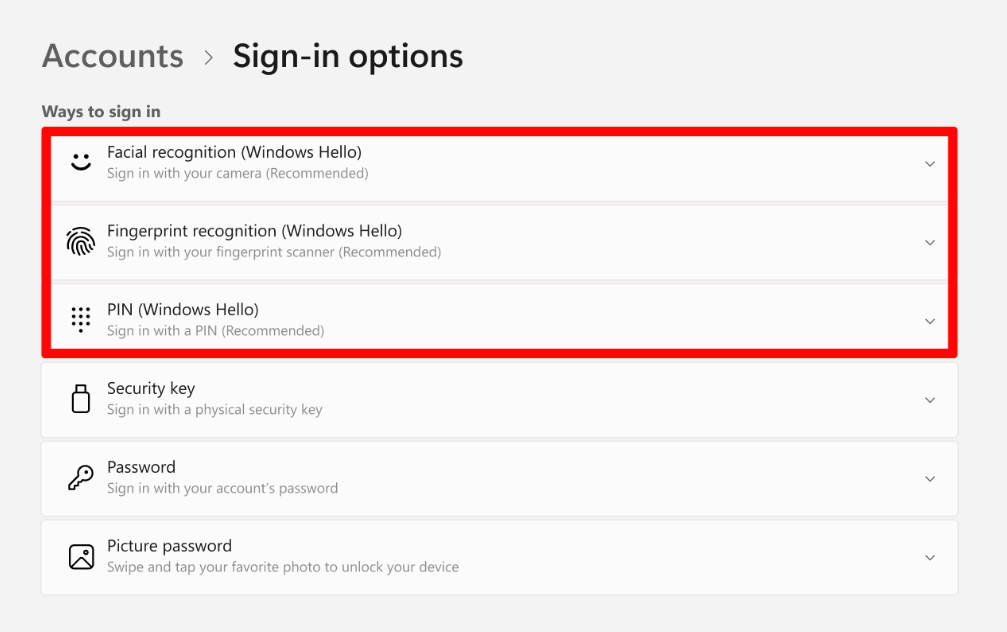
Windows Hello allows you to sign in to your PC using biometrics, such as fingerprint recognition or facial recognition, or by using a PIN instead of a traditional password.
- Why it’s secure: Windows Hello uses encrypted data and advanced biometric sensors, making it more secure than passwords, which can be stolen or guessed. It’s a quick and easy way to authenticate your identity with enhanced security.

To set up Windows Hello, go to Settings > Accounts > Sign-In Options and choose your preferred method.
4. Activate Windows Defender Antivirus
Windows 11 comes with Windows Defender, a built-in antivirus solution that provides real-time protection against viruses, malware, and other threats. The program automatically scans your device and helps identify and block malicious software.
- Why it matters: While third-party antivirus software is also available, Windows Defender provides strong protection out of the box and is optimized for performance on Windows 11.
To ensure it’s active, navigate to Settings > Privacy & Security > Windows Security and click on Virus & Threat Protection to check your protection status.
5. Keep Windows Up to Date
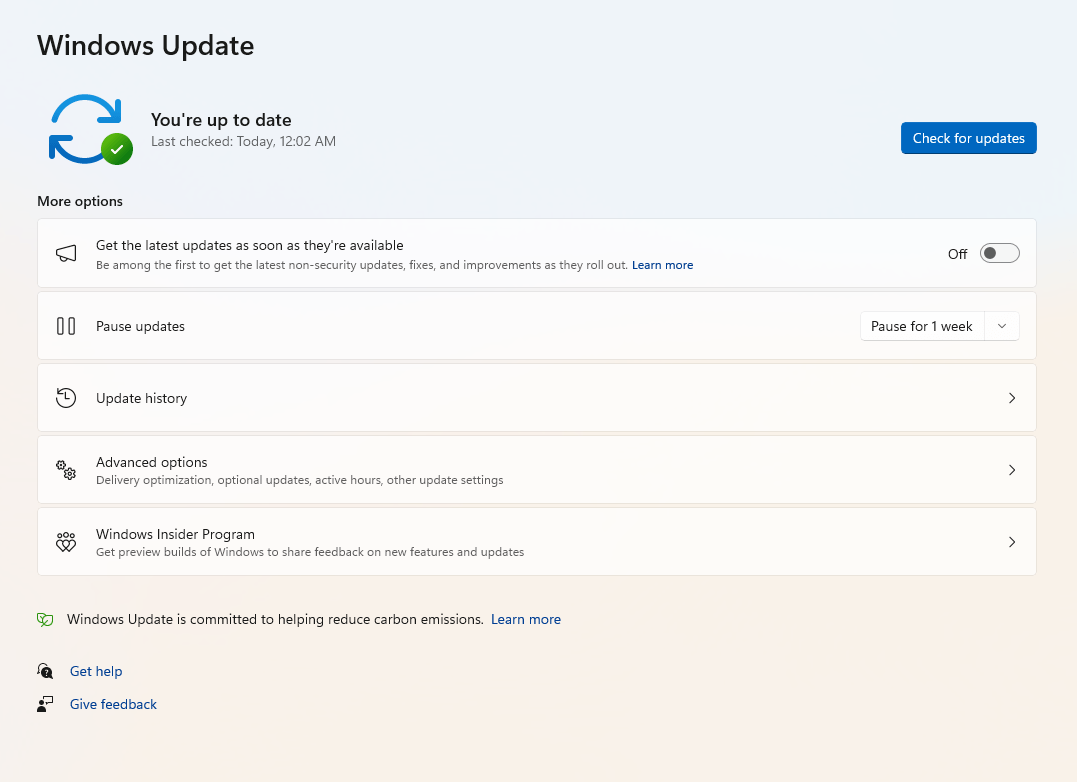
Security vulnerabilities are constantly being discovered, so keeping your system up to date is one of the easiest ways to protect your PC from cyber threats. Windows 11 makes it simple to install the latest updates automatically.
- Why it’s important: Updates often include patches for security holes that hackers can exploit. By enabling automatic updates, you ensure your system is always up to date with the latest protections.

Go to Settings > Windows Update and turn on Automatic Updates. You can also check for updates manually from this page.
6. Use Secure Boot and Virtualization-Based Security (VBS)
Windows 11 supports Secure Boot, which ensures your PC only boots using software that is trusted by the manufacturer. Additionally, Virtualization-Based Security (VBS) creates a secure environment for important system functions, protecting against advanced threats like rootkits.
- Why it’s important: Secure Boot and VBS work together to prevent unauthorized software from compromising your system during the boot process.
Check your BIOS/UEFI settings to make sure both Secure Boot and VBS are enabled for the best protection.
7. Enable Microsoft Defender Firewall
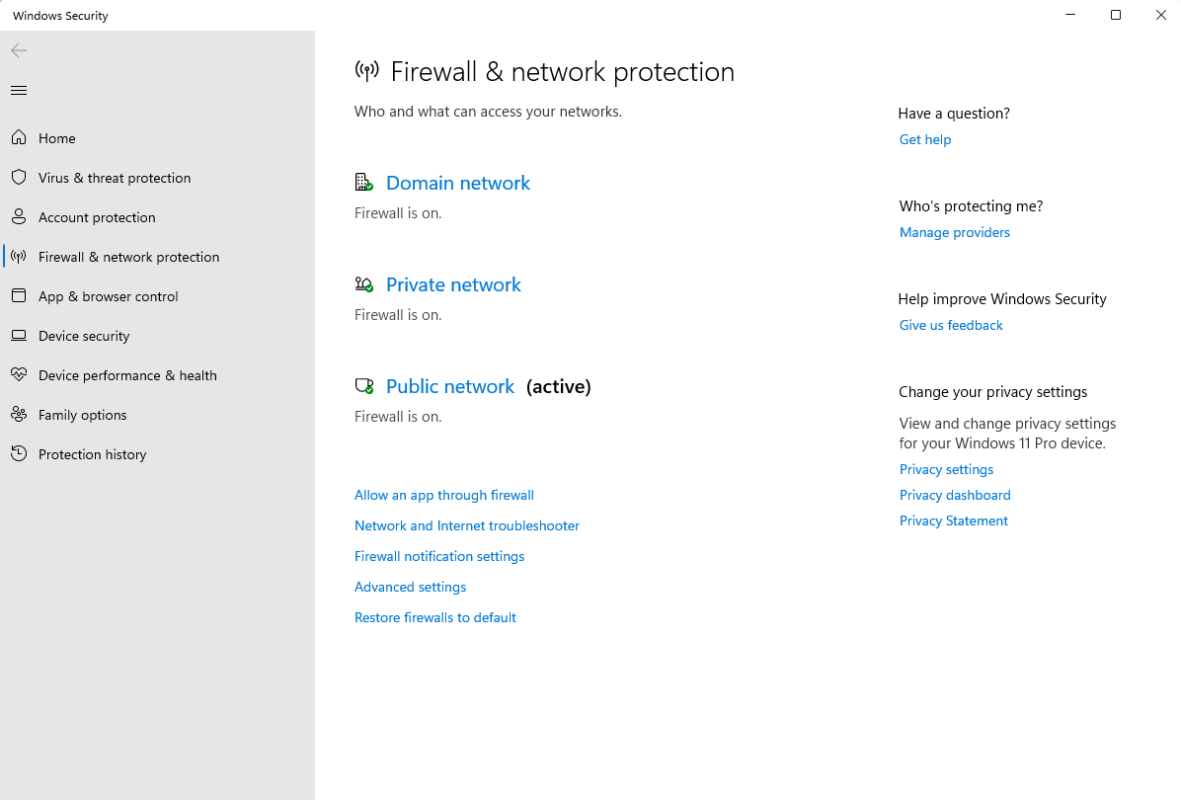
The built-in Microsoft Defender Firewall blocks unauthorized network traffic from entering or leaving your device. It helps safeguard your system from malicious connections that could expose your personal data.
- How to enable: It’s enabled by default, but you can verify by going to Settings > Privacy & Security > Windows Security > Firewall & Network Protection. You can also customize the firewall settings based on your network needs.

8. Activate Privacy Settings for Data Protection
Windows 11 provides several privacy settings that give you more control over the data collected by Microsoft and third-party apps. By managing these settings, you can reduce the amount of personal information shared with the system and apps.
- Key Privacy Features:
- Diagnostic Data: You can limit the data Windows sends to Microsoft by going to Settings > Privacy & Security > Diagnostics & Feedback and choosing Required instead of Full.
- App Permissions: Control which apps have access to your location, camera, microphone, and other sensitive information under Settings > Privacy & Security > App Permissions.
9. Secure Your Online Accounts with Two-Factor Authentication (2FA)
For online accounts and services, use two-factor authentication (2FA) wherever possible. 2FA adds an extra layer of security by requiring you to verify your identity through a second method, like an SMS code or authenticator app, when logging in.
- Why it matters: Even if your password is compromised, an attacker would still need the second form of authentication to access your account.
You can set up 2FA for Microsoft accounts by visiting account.microsoft.com and enabling Two-Step Verification.
10. Backup Your Data Regularly
Data loss can happen for various reasons—whether it’s a hardware failure, a cyber attack, or a system issue. Regular backups ensure that your important files are safe and can be restored if necessary.
- How to back up: Use OneDrive, File History, or a third-party backup solution to create regular backups of your files.
To enable File History, go to Settings > Privacy & Security > Backup and toggle on Automatically back up my files.
Get your Windows 11 keys at the best prices and enjoy all the latest features without breaking the bank!

