
Office Blog
How do I Customize the Margins in a Word Document?
Customizing the margins in a Word document allows you to adjust the spacing and layout according to your specific needs. In this step-by-step guide, we will explore how to customize the margins in a Word document.
Step 1: Open the Document:
- Launch Microsoft Word and open the document where you want to customize the margins.
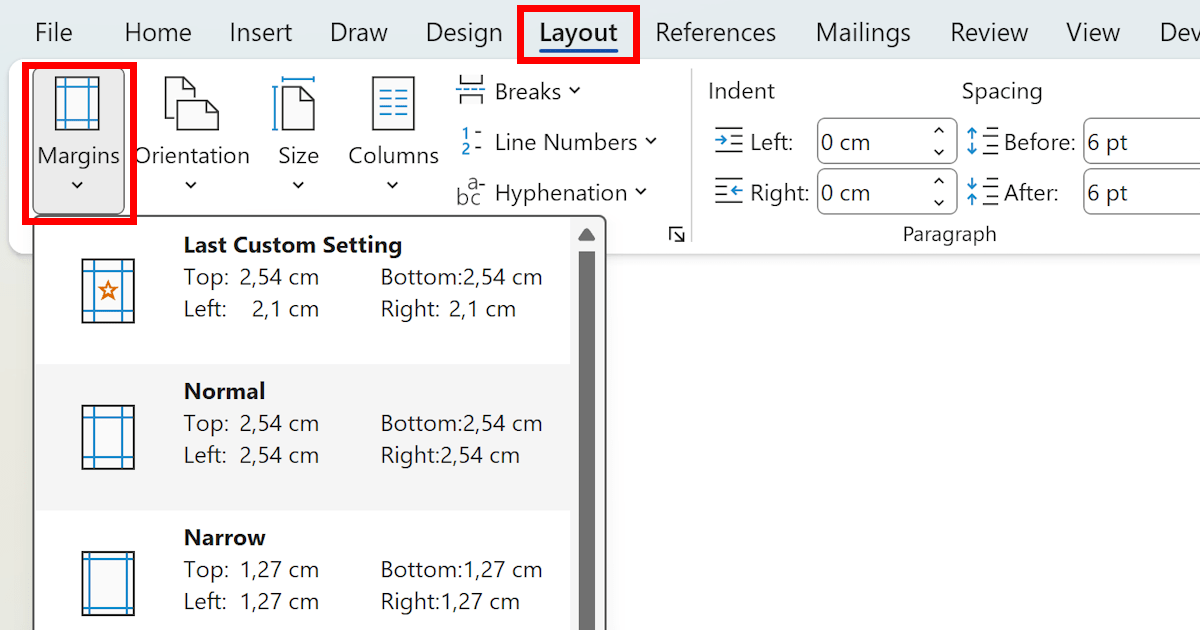
Step 2: Access the Page Layout Tab:
- Click on the “Page Layout” tab in the ribbon at the top of the Word window.
Step 3: Open the Margins Menu:
- In the “Page Setup” section of the “Page Layout” tab, click on the “Margins” button.
- A drop-down menu with preset margin options will appear.
Step 4: Select a Preset Margin:
- Choose one of the preset margin options from the drop-down menu, such as “Normal”, “Narrow”, “Wide”, or “Moderate”.
- Word will automatically adjust the margin settings based on your selection.
Step 5: Customize Margins:
- If you want to customize the margins further, click on the “Custom Margins” option at the bottom of the drop-down menu.
- A “Page Setup” dialog box will appear with various tab options.
Step 6: Adjust the Margins:
- In the “Margins” tab of the “Page Setup” dialog box, enter specific values for the top, bottom, left, and right margins.
- Alternatively, you can use the arrows or drag the margin markers on the displayed preview to adjust the margins visually.
Step 7: Apply Margins:
- After setting the desired margins, click on the “OK” button in the “Page Setup” dialog box.
- The margins will be applied to your document.
Step 8: Preview and Make Additional Adjustments (Optional):
- It is recommended to preview your document with the new margins before finalizing.
- Use the “Print Layout” view to see how your content looks within the adjusted margins.
- If necessary, repeat the customization process by going back to the “Page Layout” tab and adjusting the margins accordingly.
Step 9: Save the Document:
- Once you have customized the margins to your satisfaction, don’t forget to save the document.
By following these step-by-step instructions, you now have the knowledge to easily customize the margins in a Word document.
Ready to improve your data analysis and modeling with Excel? Visit our website and obtain the license through the Office Suite, with options available for different scenarios.