Windows Blog
A Beginner’s Guide to Windows 11: Getting Started
Windows 11 is Microsoft’s latest operating system, offering a modern design, improved performance, and new features tailored to enhance your computing experience. Whether you’re upgrading from Windows 10 or starting fresh, this guide to Windows 11 will walk you through the basics to help you get started with Windows 11 confidently.
1. Installing or Upgrading to Windows 11
Before diving in, ensure your PC meets the system requirements for Windows 11. Key requirements include:
- A compatible 64-bit processor
- 4GB of RAM
- 64GB of storage
- TPM 2.0 and Secure Boot enabled
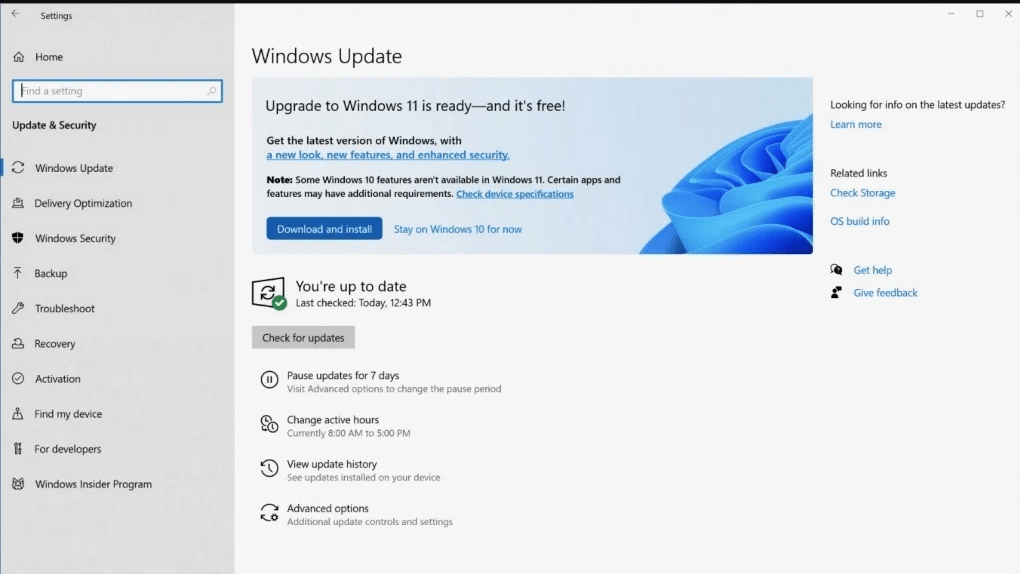
To upgrade, go to Settings > Update & Security > Windows Update and check for the Windows 11 upgrade. If installing fresh, download the installation media from Microsoft’s official website and follow the step-by-step instructions.
2. Setting Up Your PC
After installation, Windows 11 will guide you through the setup process:
- Microsoft Account: Sign in with a Microsoft account to access cloud features like OneDrive and syncing settings across devices.
- Privacy Settings: Adjust privacy settings for location services, diagnostic data, and app permissions.
- Wi-Fi Connection: Connect to the internet to ensure a smooth setup process.
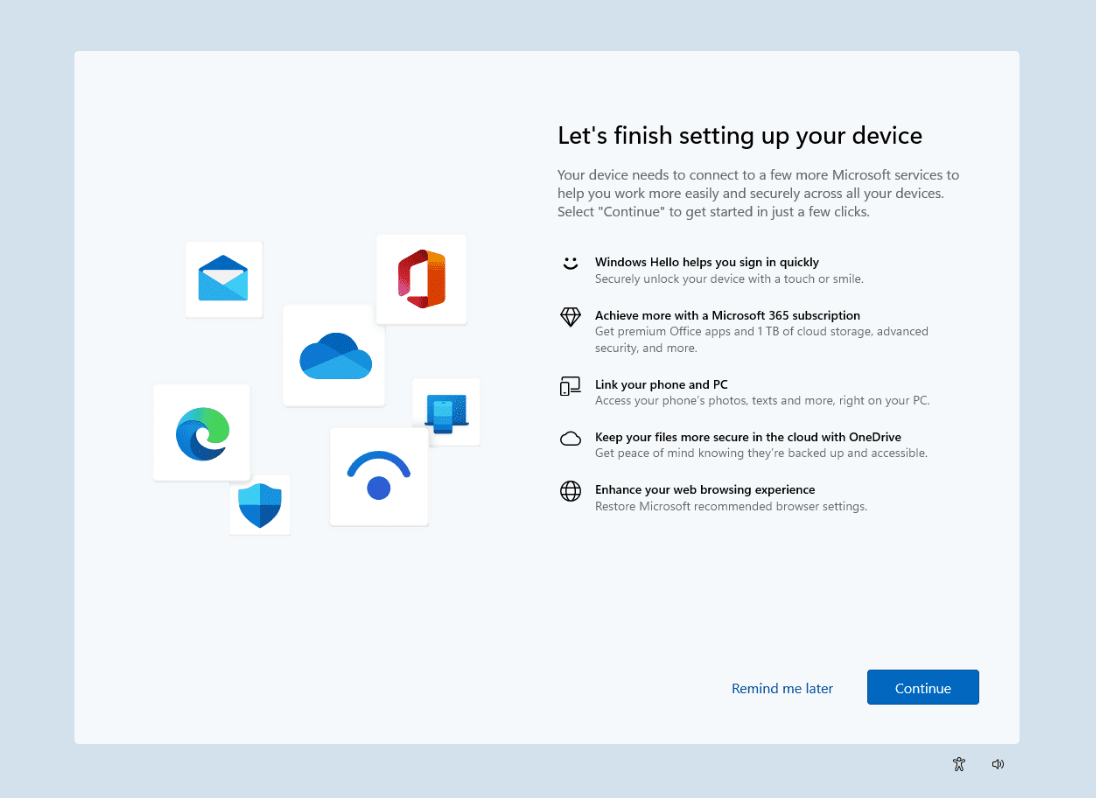
Once complete, you’ll be greeted by the redesigned Windows 11 desktop.
3. Exploring the New Start Menu
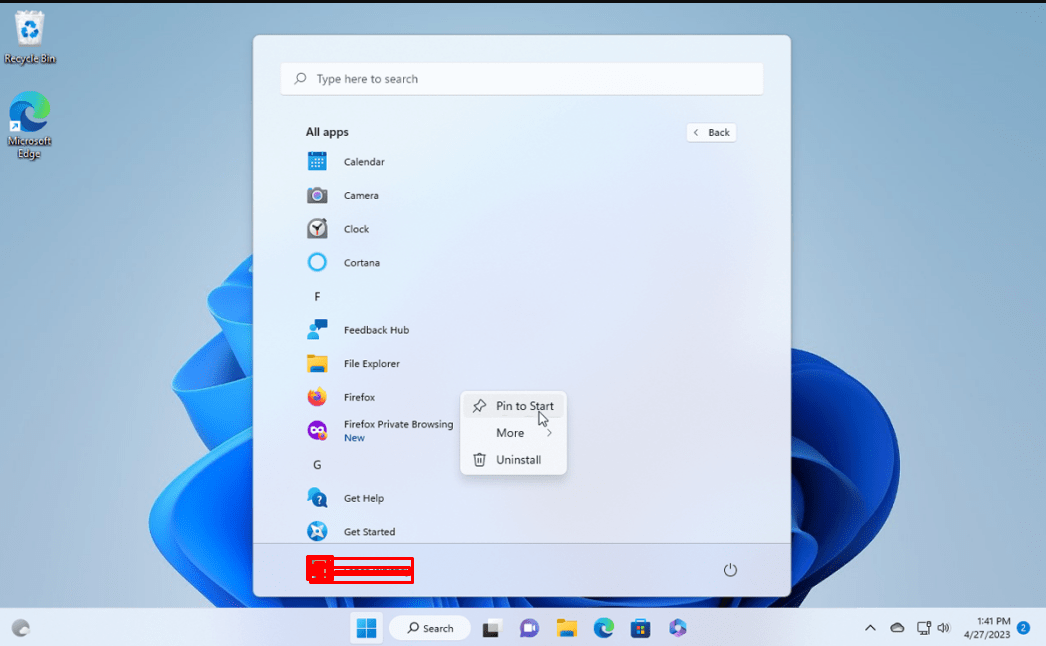
The Start Menu in Windows 11 is centered on the taskbar for a clean, modern look.
- Pinned Apps: Access frequently used apps at the top of the menu.
- All Apps: Click “All Apps” to view the complete list of installed programs.
- Search Bar: Use the built-in search bar to find files, settings, and web results quickly.
4. Personalizing Your Desktop
Make Windows 11 your own by customizing the appearance:
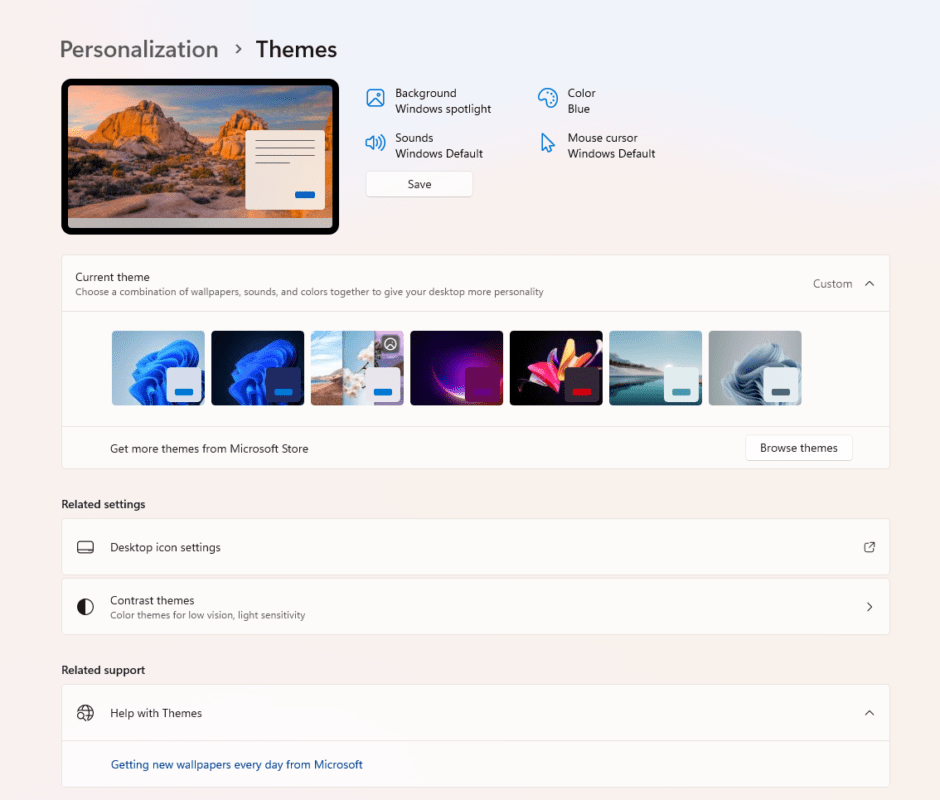
- Themes: Go to
Settings > Personalization > Themesto choose a theme or create a custom one. - Taskbar: Adjust taskbar alignment, pin apps, or hide it for a cleaner look.
- Backgrounds: Add a personal touch with wallpapers or slideshows.
5. Getting Familiar with Snap Layouts
Snap Layouts is one of Windows 11’s standout features. Hover over the maximize button on any window to access predefined layouts for multitasking. Arrange apps side-by-side effortlessly, boosting productivity.
6. Using Widgets
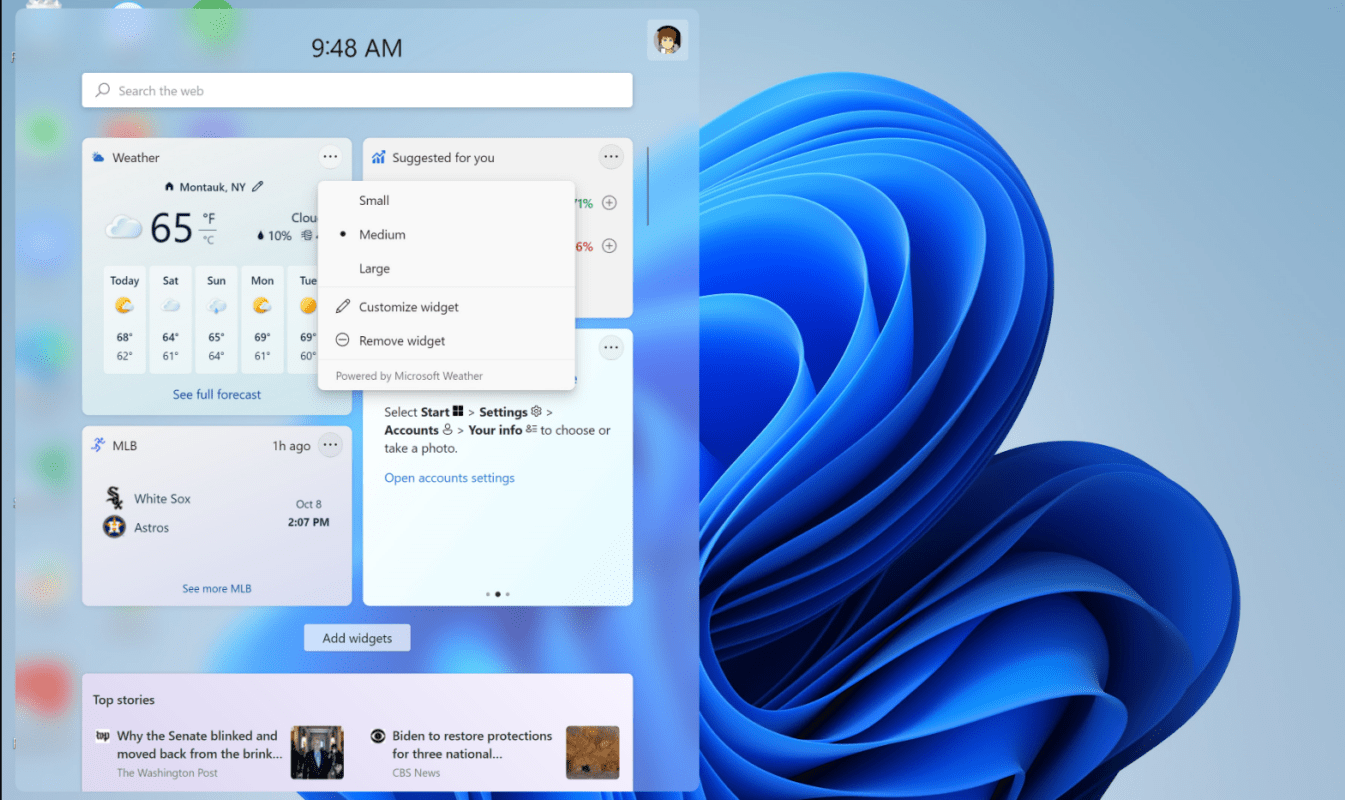
Widgets provide at-a-glance updates on weather, news, and calendar events. Click the Widgets icon on the taskbar or press Win + W to access them. Customize your feed by adding or removing widgets that suit your interests.
7. Installing Apps
The Microsoft Store in Windows 11 has been revamped for a better experience. Browse and install apps, games, and even Android apps (if supported). To install:
- Open the Microsoft Store from the taskbar.
- Search for the app you want.
- Click Get or Install to download and set it up.
8. Managing Updates
Windows 11 ensures your system stays secure and up-to-date. Manage updates by going to Settings > Windows Update. Enable automatic updates for a hassle-free experience.
9. Exploring the Settings App
The redesigned Settings app in Windows 11 is intuitive and user-friendly. Use it to:
- Adjust system settings, like display resolution and power management.
- Manage accounts and devices.
- Access advanced options, such as storage cleanup and backup settings.
10. Learning New Shortcuts
Familiarize yourself with Windows 11 keyboard shortcuts for efficiency:
- Win + A: Open the Quick Settings panel.
- Win + N: Access the Notification Center.
- Win + Tab: View open apps and virtual desktops.
Get your Windows 11 keys at the best prices and enjoy all the latest features without breaking the bank!

