
Office Blog, PowerPoint Blog
How do you Adjust Preset Animations in PowerPoint?

Adding animations to your PowerPoint slides can make your presentation more engaging and dynamic. PowerPoint provides a range of preset animations that you can easily apply and adjust to suit your needs. In this blog, we’ll walk you through the step-by-step process to fine-tune these preset animations.
Step 1: Open Your PowerPoint Presentation
- Launch Microsoft PowerPoint.
- Open the presentation that you want to add animations to.
- Navigate to the slide where you want to adjust an animation.
Step 2: Select the Object
- Click on the object (text box, image, shape, etc.) that you wish to animate.
- Ensure that the object is selected by clicking directly on it.
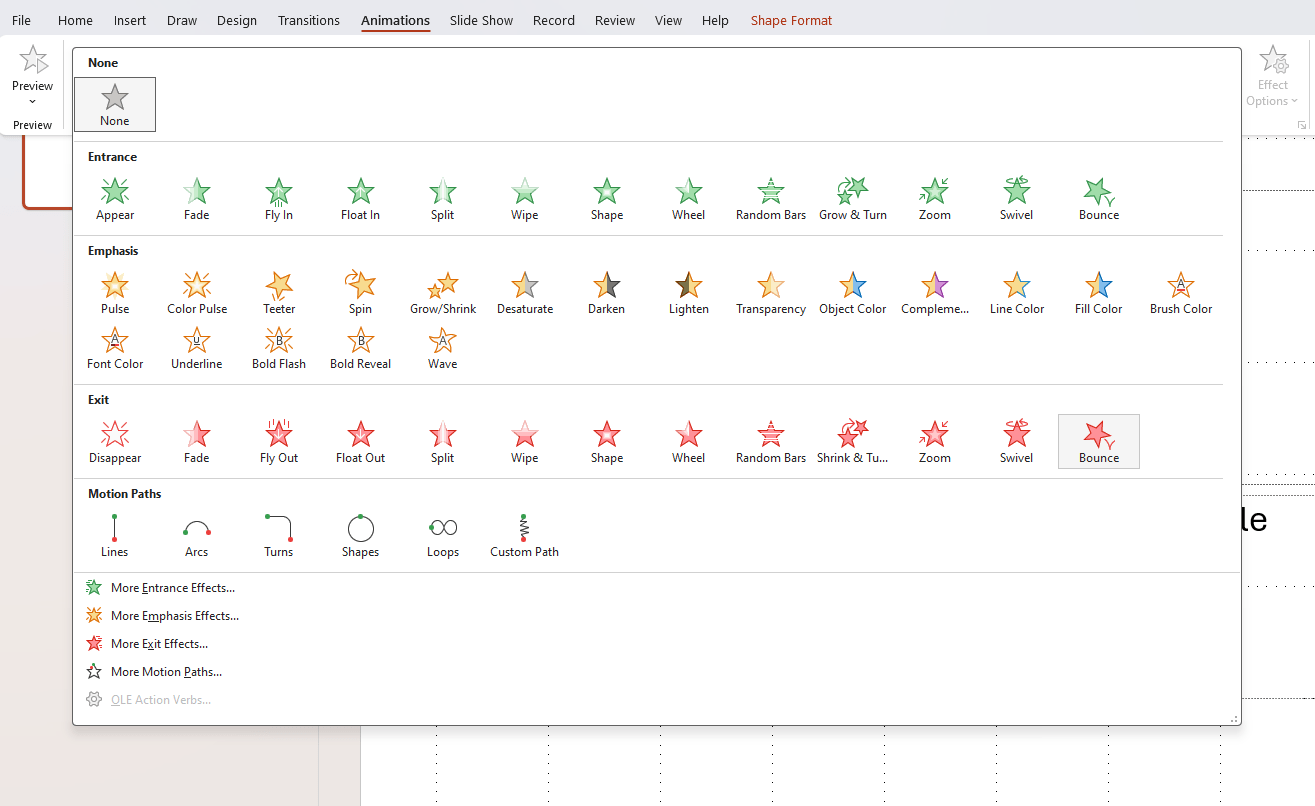
Step 3: Apply a Preset Animation
- Go to the Animations tab on the Ribbon.
- In the Animation group, click on the drop-down menu to view the animation effects.
- Choose an animation from the Entrance, Emphasis, Exit, or Motion Paths categories by clicking on it.
Step 4: Open the Animation Pane
To adjust the details of your animation, you’ll use the Animation Pane.
- Still on the Animations tab, click on Animation Pane in the Advanced Animation group.
- The Animation Pane will appear on the right side of your screen, listing all animations on the current slide.
Step 5: Adjust Timing and Effect Options
You can further customize your animation using the Timing and Effect Options.
Adjust Timing:
- Click the animation in the Animation Pane to select it.
- In the Timing group on the Ribbon, click on Start to choose when the animation begins: On Click, With Previous, or After Previous.
- Adjust the Duration by clicking the up or down arrows or entering a specific time.
- Set a Delay if you want the start of the animation to be postponed by a certain amount of time.
Adjust Effect Options:
- Click the animation in the Animation Pane to select it.
- Click Effect Options in the Animation group on the Ribbon to customize the effect. This option varies by the type of animation selected.
- A dialog box will appear where you can adjust settings specific to the chosen animation effect. For example, you can change the direction, sound, and animation start or end behavior.
- Click OK to apply the changes.
Step 6: Preview the Animation
- Click Preview in the Animations tab to preview the animation.
- Alternatively, press the Slide Show button at the bottom of the screen to view the animation in full-screen mode.
- Observe the animation and decide if any further adjustments are needed.
Step 7: Reorder Animations (if Necessary)
If you have multiple animations on one slide, you may need to reorder them.
- In the Animation Pane, click and drag an animation to move it up or down the list.
- Release the mouse button to place the animation in the desired order.
Get cheap Office keys and unlock premium productivity tools without breaking the bank!