Windows Blog
How do I Enable or Disable Windows Firewall in Windows 10?
Windows Firewall is a core security feature in Windows 10 that helps protect your system from unauthorized network access. Whether you want to enable or disable the Windows Firewall, follow these step-by-step instructions to manage your system’s firewall settings:
Step 1: Open the Start Menu
- Click on the Start button located at the bottom left corner of your screen.
Step 2: Go to Windows Security Settings
- From the Start menu, click on the Settings (gear icon) to open the Windows Settings panel.
- In the Settings panel, select Update & Security.
Step 3: Access the Firewall & Network Protection Section
- In the Update & Security settings, click on Windows Security from the left-hand side menu.
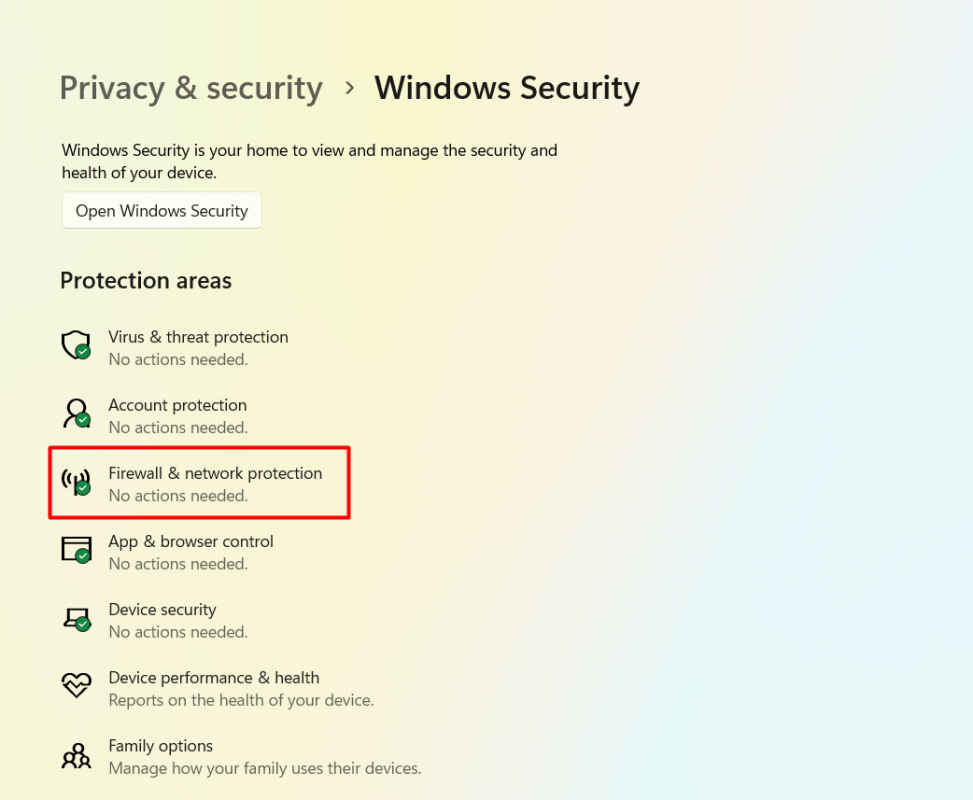
- Now, click on Firewall & network protection.

Step 4: Enable or Disable Windows Firewall
To Enable Windows Firewall:
- Under Firewall & network protection, you will find the currently active network profile(s).
- Locate the network profile you want to enable the Windows Firewall for (e.g., Domain network, Private network, or Public network).
- Click on the desired network profile to expand the options.
- Click on the Turn on button to enable Windows Firewall for that network profile.
To Disable Windows Firewall:
- Follow the same steps as mentioned above to reach the Firewall & network protection section.
- Locate the network profile for which you want to disable Windows Firewall.
- Click on the desired network profile to expand the options.
- Click on the Turn off button to disable Windows Firewall for that network profile.
Step 5: Confirm Action
- A confirmation prompt will appear asking if you want to proceed with enabling or disabling Windows Firewall.
- Click Yes to confirm your choice.
By following these steps, you can easily enable or disable Windows Firewall in Windows 10 according to your preferences. Take control of your system’s security and protect it from unauthorized access.
Make the most out of your device upgrade! Purchase cheap Windows 10 Pro cdkey from our website to upgrade economically and smartly.

