
Office Blog
What is the Process for Creating Custom Styles in Word?

Microsoft Word is a versatile tool that can help you create professional-looking documents by enabling you to customize styles. Custom styles make your documents consistent, aesthetically pleasing, and easy to format. In this blog, we’ll take you through the step-by-step process to create your custom styles in Word.
Step 1: Open Microsoft Word and the Styles Pane
- Open Microsoft Word:
- Launch Microsoft Word by double-clicking the application icon.
- Access the Styles Pane:
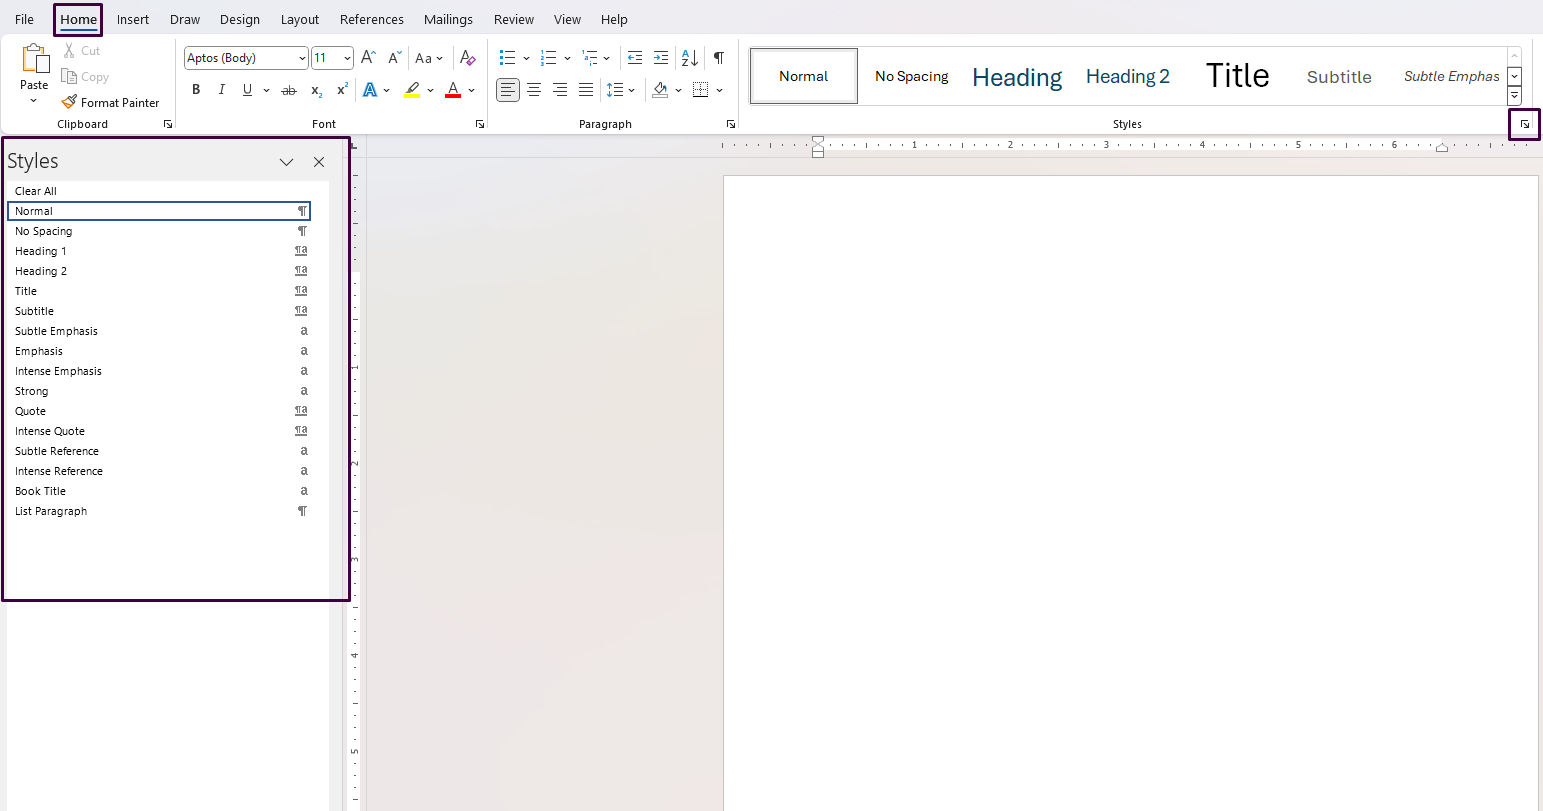
- Navigate to the “Home” tab in the Ribbon at the top of the window.
- Locate the “Styles” group.
- Click on the small diagonal arrow at the bottom-right corner of the “Styles” group to open the “Styles Pane.”
Step 2: Create a New Style
- Click on ‘New Style’:
- In the Styles Pane, click on the “New Style” button, usually represented by an “A” icon with a plus sign.
- Choose a Name and Style Type:
- In the “Create New Style from Formatting” dialog box, enter a name for your new style.
- Select the Style Type from the drop-down menu. You can choose from options like Paragraph, Character, or Linked (Paragraph and Character).

Step 3: Define Formatting Options
- Set Font and Size:
- Choose the desired font and font size from the dropdown menus.
- Apply Formatting Features:
- Use the options available to apply bold, italic, or underline.
- Change the font color, highlight color, and other text effects as needed.
- Adjust Paragraph Settings:
- Click on the “Format” button at the bottom left of the dialog box and choose “Paragraph.”
- Here, you can set alignment, indentation, and spacing.
Step 4: Customize More Advanced Options
- Configure Border and Shading:
- Click “Format” again and select “Border” to add borders to your paragraphs.
- Select “Shading” to add background color.
- Control Text Flow:
- Use the “Text Flow” options to manage hyphenation and keep lines of text together on the same page.
Step 5: Save and Apply the Style
- Save the Style:
- Click “OK” to save all your customized settings.
- Apply the Style:
- Select the text you wish to format.
- From the Styles Pane, click on the name of the new style you’ve created to apply it to the selected text.
Step 6: Modify or Update Existing Styles
- Open the Styles Pane:
- As before, navigate to the “Home” tab and open the Styles Pane.
- Modify an Existing Style:
- Right-click on the style you want to modify and select “Modify.”
- Update the Style:
- Make any necessary changes in the “Modify Style” dialog box.
- Click “OK” to save the changes.
Unlock your productivity with official Office Keys now available for purchase on our website.