Windows Blog
How to Resolve Driver Issues on Windows 11?
Drivers are essential software components that allow your operating system to communicate with hardware devices. However, outdated, missing, or corrupted drivers can cause performance issues, hardware malfunctions, or even system instability. If you’re using Windows 11 and encountering driver issues, don’t worry—this guide will walk you through the steps to identify and resolve them effectively.
Step 1: Identify the Problem
Before diving into fixes, pinpoint the issue. Here’s how:
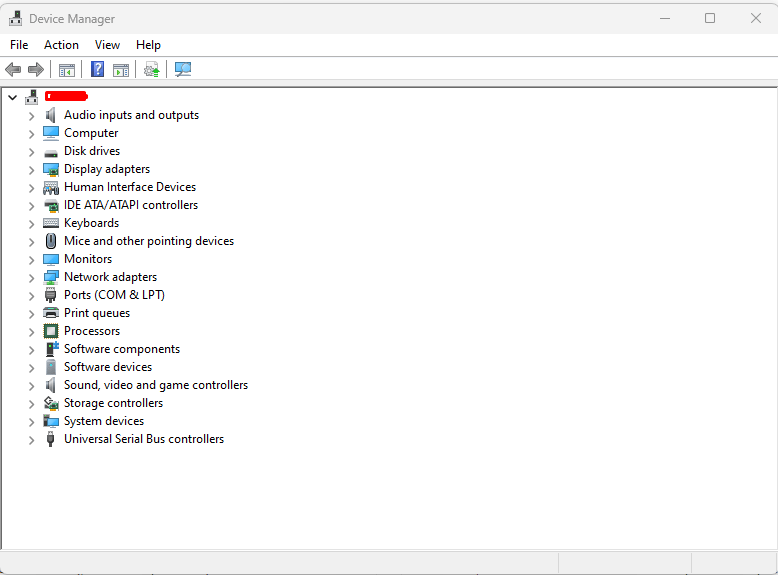
- Device Manager:
- Press
Win + Xand select Device Manager. - Look for devices with a yellow triangle or red cross, indicating a driver problem.
- Press
- Error Messages:
- Pay attention to specific error messages or codes that might appear when using certain hardware or software.
- Performance Symptoms:
- Is your device not functioning as expected (e.g., printer not printing, sound issues, or laggy peripherals)?

Step 2: Update Drivers
Updating drivers can often resolve issues. There are several ways to do this:
1. Use Windows Update
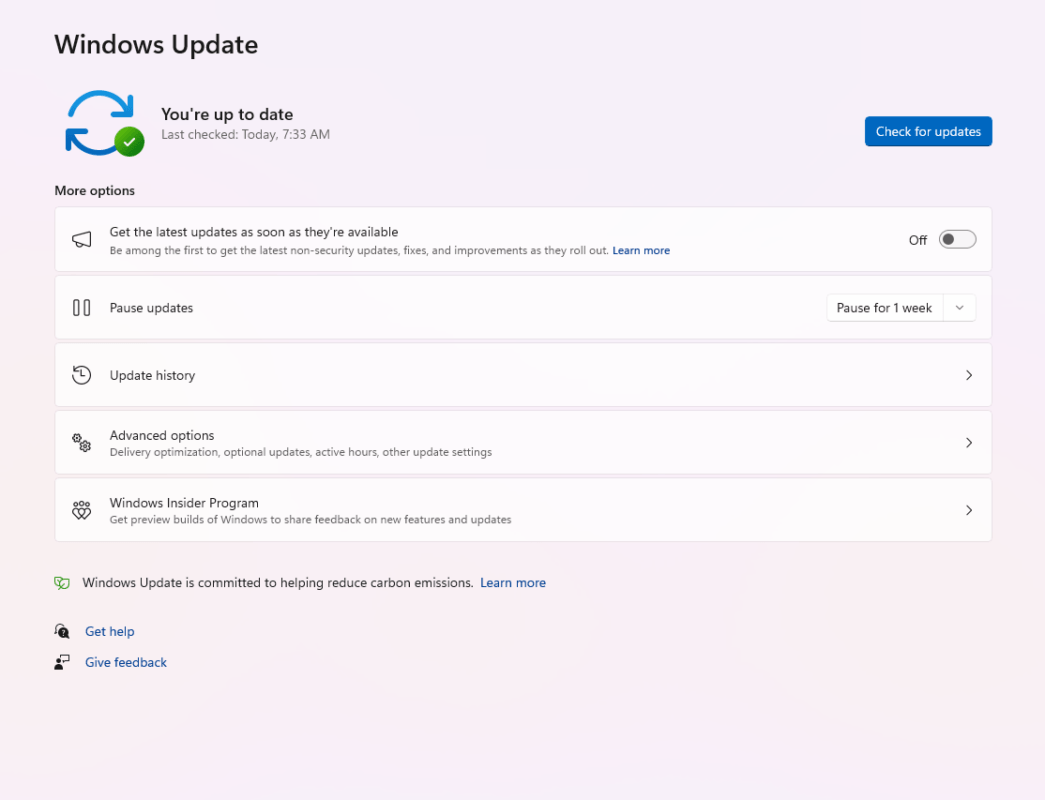
- Go to Settings > Windows Update.
- Click on Check for updates.
- Install any available updates, especially those under the “Optional updates” section.

2. Update via Device Manager
- Open Device Manager.
- Right-click on the problematic device and select Update driver.
- Choose Search automatically for updated driver software.
3. Download from the Manufacturer’s Website
- Visit the hardware manufacturer’s official website.
- Download the latest driver version compatible with Windows 11.
- Follow the installation instructions provided by the manufacturer.
Step 3: Roll Back Drivers
If a recent driver update caused the issue, rolling back to the previous version might help:
- Open Device Manager.
- Right-click on the device and select Properties.
- Go to the Driver tab and click Roll Back Driver (if available).
- Follow the prompts and restart your PC.
Step 4: Reinstall the Driver
Sometimes, uninstalling and reinstalling the driver can resolve conflicts:
- Open Device Manager.
- Right-click on the problematic device and select Uninstall device.
- Restart your computer. Windows will attempt to reinstall the driver automatically.
- If not, manually install the driver using the manufacturer’s software.
Step 5: Use a Driver Update Tool
Driver update tools can automate the process of finding and installing the latest drivers for your system. Popular tools include:
- Driver Booster
- DriverPack Solution
- Snappy Driver Installer
Choose a reputable tool, scan your system, and update outdated or missing drivers.
Step 6: Check for Compatibility
Sometimes, a hardware device might not be fully compatible with Windows 11. Check the manufacturer’s website for compatibility information or contact their support team for assistance.
Step 7: Perform System Troubleshooting
Windows 11 includes built-in troubleshooting tools to help identify and fix driver issues:
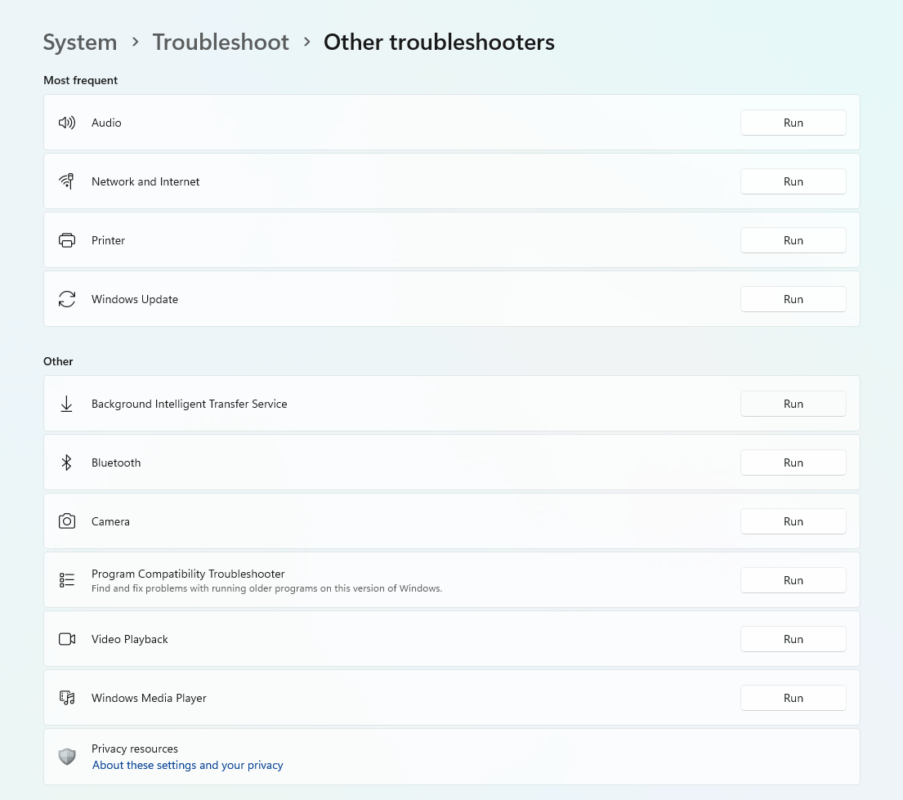
- Go to Settings > System > Troubleshoot.
- Select Other troubleshooters and run the relevant troubleshooter (e.g., Audio, Printer, etc.).

Step 8: Restore Your System
If all else fails and the issue persists, consider restoring your system to an earlier point:
- Search for Create a restore point in the Start menu and open it.
- Click on System Restore.
- Choose a restore point created before the driver issue occurred.
Get your genuine Windows 11 key today at the lowest price, ensuring secure activation and top-notch performance for your PC!

