
Windows Blog
How do I Join a Domain using Windows 10 Pro?

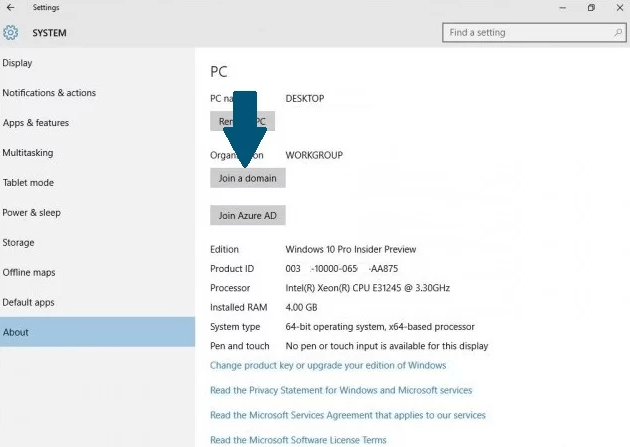
Joining a domain in Windows 10 Pro allows you to connect your computer to a network managed by a domain controller, enabling centralized management of user accounts, security settings, and resources. This is particularly useful in enterprise environments. Follow this guide to join a domain using Windows 10 Pro.
Step 1: Check Your Network Connection
- Ensure your computer is connected to the network where the domain controller is located. You can connect via Ethernet or Wi-Fi.
- Confirm that you have access to the internet or the local network.
Step 2: Access System Settings
- Click on the Start menu (Windows icon) in the bottom-left corner of your screen.
- Select Settings (the gear icon).
- In the Settings window, choose Accounts.
Step 3: Navigate to Work or School Account
- In the Accounts section, select Access work or school from the left pane.
- Click on Connect.
Step 4: Join the Domain
- In the pop-up window, select the option Join this device to a local Active Directory domain.
- Enter the domain name provided by your network administrator (e.g.,
example.com). - Click Next.
Step 5: Enter Domain Credentials
- You will be prompted to enter your domain account credentials.
- Enter your username and password.
- Click OK to proceed.
Step 6: Complete the Joining Process
- Once your credentials are verified, you will see a confirmation screen.
- You may be prompted to provide additional information, such as a device name. If so, enter your desired device name.
- Click Next, and then select Restart now to complete the process. Your computer will restart.
Step 7: Log In to the Domain
- After restarting, on the login screen, click on Other user.
- Enter your domain credentials in the format
DOMAIN\usernameand your password. - Press Enter to log in.
Step 8: Verify Domain Connection
- After logging in, you can verify that your computer is connected to the domain.
- Right-click on This PC and select Properties.
- Under Computer name, domain, and workgroup settings, you should see the domain name listed.
Get the best deals on the cheapest Windows 10 Pro keys—unlock premium features for your PC at an unbeatable price today!