
Office Blog
How can you use the Grid and Guides Feature in PowerPoint?

Using the Grid and Guides feature in PowerPoint provides precise control over the placement of objects on your slides, ensuring a neat and professional layout. Follow this step-by-step guide to master the Grid and Guides feature.
Step 1: Open Your PowerPoint Presentation
Command:
- Open PowerPoint on your computer.
- Open an existing presentation or create a new one by selecting
Newand thenBlank Presentation.
Step 2: Access the Grid and Guides Settings
Command:
- Click on the
Viewtab in the Ribbon at the top of the window. - In the
Showgroup, ensure that theRuleroption is checked if you want to see the measurements along the slide.
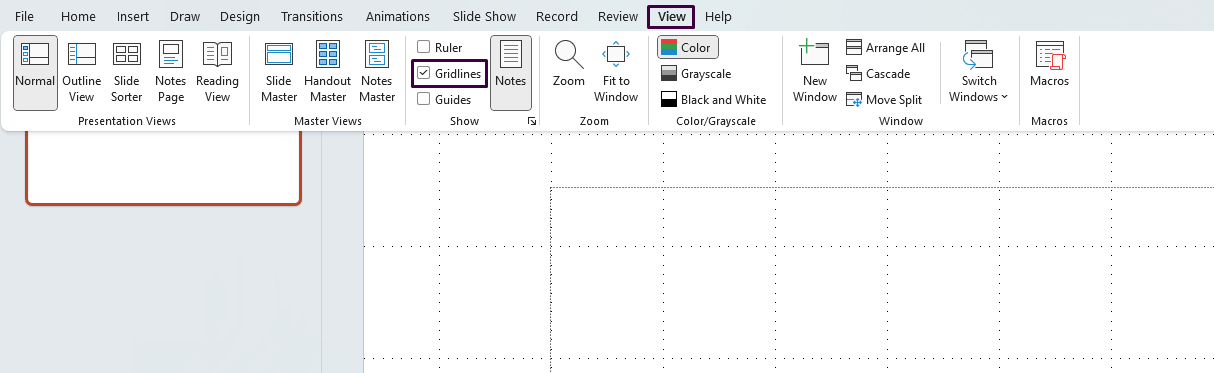
Step 3: Enable Gridlines
Command:
- In the
Viewtab, check theGridlinesbox. This will show a grid overlay on your slide to help you align objects.
Step 4: Adjust Grid Settings
Command:
- Still in the
Viewtab, click the drop-down arrow next toGrids and Guides. - Select
Grid Settingsto open the Grid and Guides dialog box. - In the dialog box, you can:
- Snap objects to grid: Check this box if you want objects to snap to the nearest grid intersection.
- Spacing: Adjust the spacing of gridlines by selecting a value for
Grid spacing.

Step 5: Use Guides for Precision
Command:
- In the
Viewtab, check theGuidesbox to enable the guides on your slide. - To add more guides, right-click on an existing guide line and select
Add Vertical GuideorAdd Horizontal Guide. - Drag the guides to your desired position for precise alignment of text boxes, images, and other objects.
Step 6: Move and Adjust Guides
Command:
- Click and drag any guide line to a new location.
- Guides will help you align objects by snapping them to the lines, ensuring a symmetrical layout.
Step 7: Snap Objects to Guides and Gridlines
Command:
- After enabling Snap to Grid, as you move objects (text boxes, images, etc.), they will automatically align with the gridlines.
- For a more flexible arrangement, uncheck the
Snap objects to gridoption in the Grid and Guides dialog box.
Step 8: Configure Object Alignment
Command:
- Select the objects you want to align (press
Shiftwhile clicking to select multiple objects). - Click on the
Formattab that appears. - In the
Arrangegroup, use theAligndropdown menu to align objects relative to the slide or to each other (align left, center, distribute vertically, etc.).
Step 9: Save Your Settings
Command:
- Click
Fileand thenSaveto save your presentation with the new layout settings. - Consider saving as a template if you will use the same grid and guides configuration frequently.
Unlock the full potential of your productivity suite by purchasing genuine Microsoft Office keys directly from our website at competitive prices.