
Office Blog
How can you Customize Animation Timing in PowerPoint?

Customizing animation timing in PowerPoint can enhance the flow and impact of your presentations. Follow this comprehensive guide to adjust animation timings effectively.
Step 1: Open Your PowerPoint Presentation
Command:
- Launch PowerPoint on your computer.
- Open the presentation where you want to customize animation timing by clicking
File>Open, and select your file.
Step 2: Navigate to a Slide with Animations
Command:
- Browse through your slides in the left-hand pane.
- Click on a slide that contains animations you want to adjust.
Step 3: Open the Animation Pane
Command:
- Click on the
Animationstab in the toolbar. - Select
Animation Paneto display a list of all animations on the current slide.
Step 4: Select an Animation to Customize
Command:
- In the Animation Pane, look for the list of animations applied to the slide.
- Click on the specific animation you want to modify to select it.
Step 5: Adjust Start Options
Command:
- With the animation selected, go to the
Animationstab. - In the
Timinggroup, choose when to start the animation:On Click: Starts when you click the mouse.With Previous: Starts simultaneously with the previous animation.After Previous: Starts after the previous animation finishes.
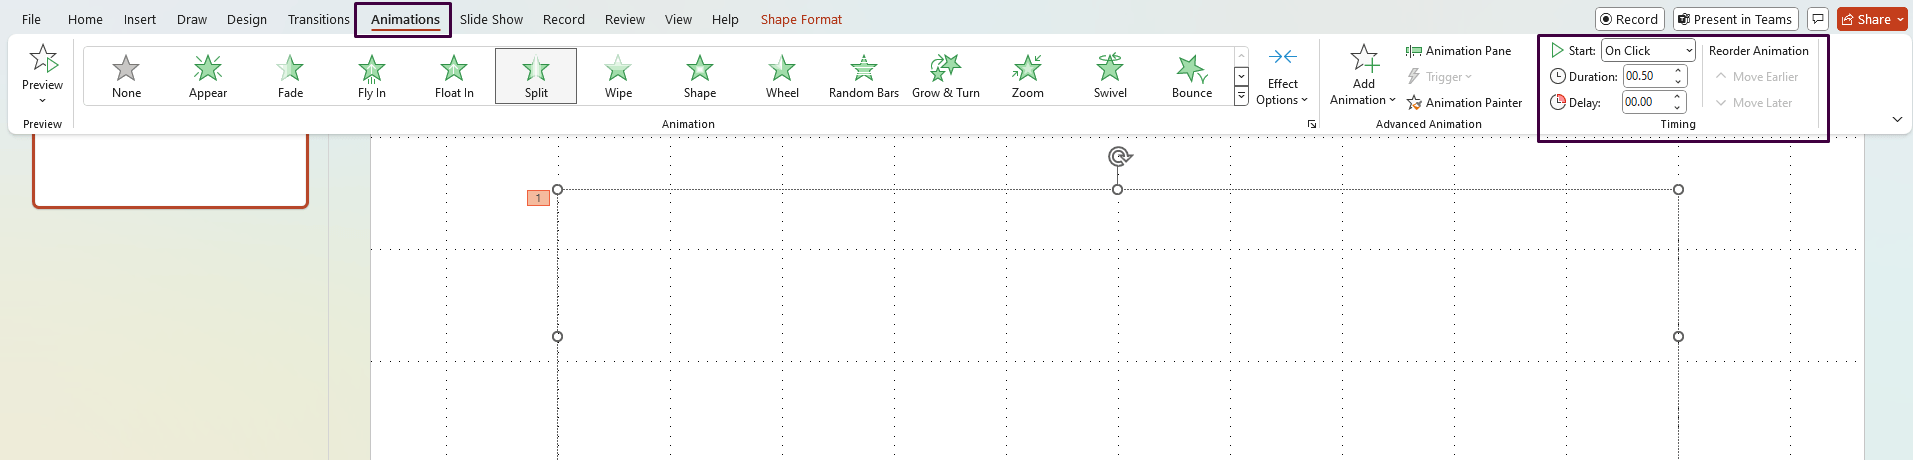
Step 6: Modify Duration
Command:
- Stay in the
Animationstab and locate theDurationbox in theTiminggroup. - Enter a time (in seconds) to set how long the animation will last. Experiment by increasing or decreasing the duration.
Step 7: Set Delay Timing
Command:
- Still in the
Animationstab, find theDelaybox in theTiminggroup. - Enter a delay time to have the animation wait before starting (after its trigger).
Step 8: Preview the Modified Animation Timing
Command:
- Return to the
Animation Pane. - Click
Play Fromin the Animation Pane to preview how the timing changes affect the overall slide.
Step 9: Adjust Timing for Multiple Animations
Command:
- If you have multiple animations on the slide, repeat steps 4 to 8 for each one.
- Consider how timing modifications on one animation may affect others.
Step 10: Fine-Tune with Advanced Timeline
Command:
- At the bottom-right corner of the Animation Pane, click on the
Drop-down Menu(three dots) and chooseShow Advanced Timelinefor a deeper look. - Drag and align animation bars to fine-tune their starting points relative to each other.
Step 11: Save Your Adjustments
Command:
- After ensuring all animations are timed to your satisfaction, click
File.
Unlock the full potential of your productivity suite by purchasing genuine Microsoft Office keys directly from our website at competitive prices.