
Office Blog
How can you Create Interactive Branching in PowerPoint?

Creating interactive branching in PowerPoint adds a dynamic element to your presentations, allowing you to create non-linear navigation paths that can enhance engagement, especially in training or educational contexts. Here’s how you can set this up step by step.
Step 1: Plan Your Presentation Structure
Command:
- Outline the content of your presentation.
- Decide on key decision points where branching will occur.
- Sketch a map of your slides, indicating how they connect to each other based on user choices.
Step 2: Create Your Slides
Command:
- Open PowerPoint and start a new presentation or use an existing one.
- Create slides according to your planned structure. Include decision slides where users will choose their paths.
Step 3: Insert Action Buttons for Navigation
Command:
- Go to the slide where you want to add an interactive choice.
- Click the
Inserttab in the ribbon. - Choose
Shapes, then scroll down toAction Buttonsat the bottom. - Select a button shape (e.g.,
Action Button: Custom) and draw it on the slide.
Step 4: Link Action Buttons to Slides
Command:
- With the action button selected, the
Action Settingsdialog will appear automatically. If not, right-click the button and selectAction Settings. - In the
Mouse Clicktab, chooseHyperlink to. - Select
Slide…from the dropdown menu. - A list of your slides will appear. Select the slide you want to link to and click
OK. - Repeat this process for all decision points and paths.
Step 5: Customize Button Appearance
Command:
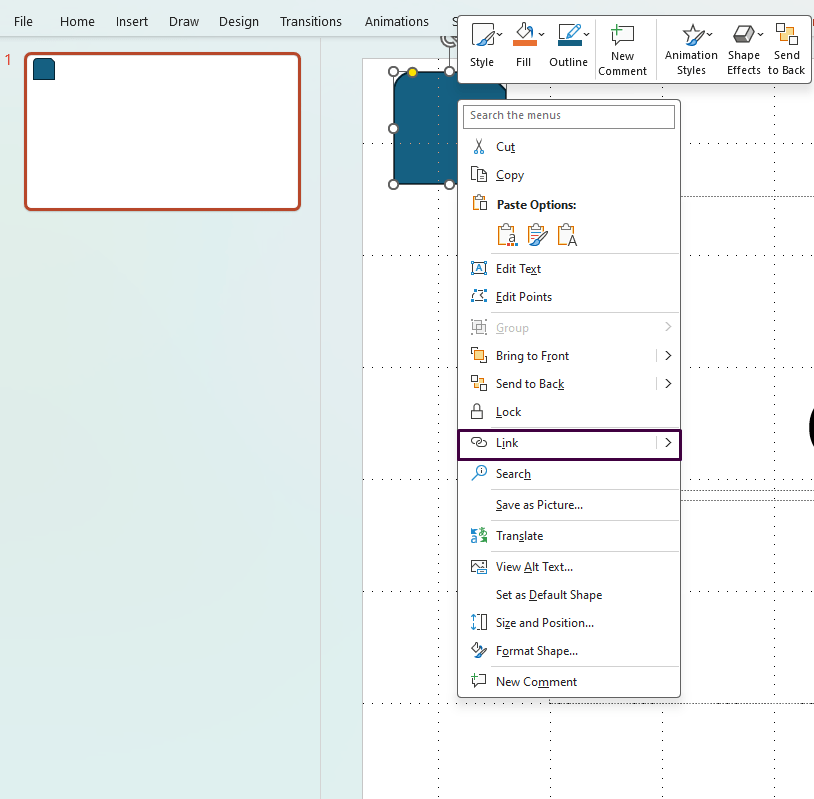
- Right-click on an action button and choose
Format Shapefrom the context menu. - Customize the fill, outline, and text to match your presentation’s theme.
- Repeat for other buttons as necessary for consistency.
Step 6: Test the Navigation
Command:
- Click the
Slide Showtab and selectFrom Current Slideto test. - Navigate through your presentation by interacting with the buttons to ensure all links function correctly.
Step 7: Add Return Paths for Ease of Navigation
Command:
- To allow users to navigate back to the main menu or previous slides, add action buttons using the same method as previous steps.
- Link these buttons to original or relevant slides for easy navigation.
Step 8: Save and Finalize Your Presentation
Command:
- Save your interactive PowerPoint presentation by clicking
File>Save As. - Choose a location, enter a filename, and ensure it’s saved in a compatible format (e.g., .pptx).
Step 9: Optional Enhancements
Command:
- Use transitions to make navigation smoother: Go to the
Transitionstab and apply effects likeFadeorPushjudiciously. - Incorporate multimedia elements like audio or videos to enrich the interactive experience, if applicable.
Unlock the full potential of your productivity suite with our unbeatable prices on the cheapest Office keys available!