
Office Blog, Word Blog
How can you Adjust Column Width in a Table in Word?

Adjusting the column width in a table within Microsoft Word can help improve the readability and overall appearance of your document. Here’s a step-by-step guide to help you adjust column width effectively.
Step 1: Open the Word Document
- Open Microsoft Word on your computer.
- Navigate to “File” in the top-left corner.
- Select “Open” and choose the document that contains the table you want to adjust.
Step 2: Locate the Table
- Scroll through the document or use the Navigation Pane to find the table you wish to modify.
- Click anywhere inside the table to activate table-specific options.
Step 3: Select the Column(s)
- Hover your mouse over the top border of the column you want to adjust until a downward-pointing arrow appears.
- Click to select the entire column. If you want to adjust multiple columns, hold down the
Shiftkey and click on additional columns.
Step 4: Use the Mouse to Adjust Column Width
- Move your cursor to the right border of the column header until it changes to a double-sided arrow.
- Click and drag the border to the left or right to adjust the column width. Release the mouse button to set the new width.
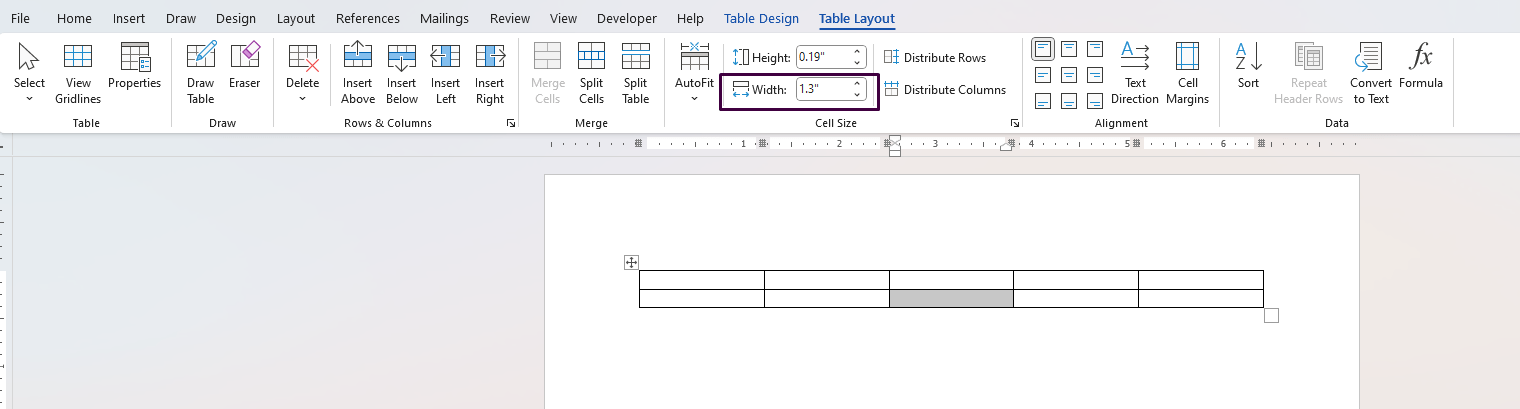
Step 5: Use Precise Measurement (Optional)
- Select the entire table by clicking the table handle (square icon) at the top-left corner of the table.
- Navigate to the “Layout” tab under “Table Tools”.
- In the “Cell Size” group, you’ll find the “Width” box.
- Enter the desired column width in the “Width” box and press
Enter. This ensures precisely uniform columns.
Step 6: Automatically Fit Column Width
- Select the entire table or a specific column.
- Go to the “Layout” tab under “Table Tools”.
- Click on “AutoFit” in the “Cell Size” group.
- Choose either “AutoFit Contents” to adjust columns to fit the cell content, or “AutoFit Window” to adjust the table width to match the document window.
Step 7: Use the Ruler (Optional)
- Ensure the Ruler is enabled by navigating to the “View” tab and checking the “Ruler” box.
- Select the column(s) you wish to adjust.
- Use the horizontal ruler at the top of the document to manually drag the margin indicators for precise adjustments.
Unlock the full potential of your productivity tools by purchasing genuine Office Keys for reliable software and seamless upgrades.