Windows Blog
Can I use Virtual Desktops in Windows 11 Home?
Windows 11 has brought a range of exciting features and enhancements, and one of the most notable among them is the improved virtual desktop functionality. For users of Windows 11 Home, this raises an important question: Can you use virtual desktops in this version of the operating system? In this blog post, we’ll explore what virtual desktops are, how they work in Windows 11 Home, and how to make the most of this feature.
What Are Virtual Desktops?
Virtual desktops allow users to create multiple desktop environments on a single physical computer. This feature is particularly useful for organizing tasks, managing different projects, or separating work from personal activities. Each virtual desktop can have its own set of open applications and windows, allowing for a clutter-free and customized workspace.
Virtual Desktops in Windows 11 Home
Yes, you can use virtual desktops in Windows 11 Home! Microsoft has made virtual desktops available to all editions of Windows 11, including the Home version. This means you can take advantage of this powerful feature to enhance your productivity and streamline your workflow.

How to Create and Manage Virtual Desktops in Windows 11 Home
Here’s a step-by-step guide on how to create and manage virtual desktops in Windows 11 Home:
1. Access the Task View
To get started, you need to access the Task View feature. You can do this by:
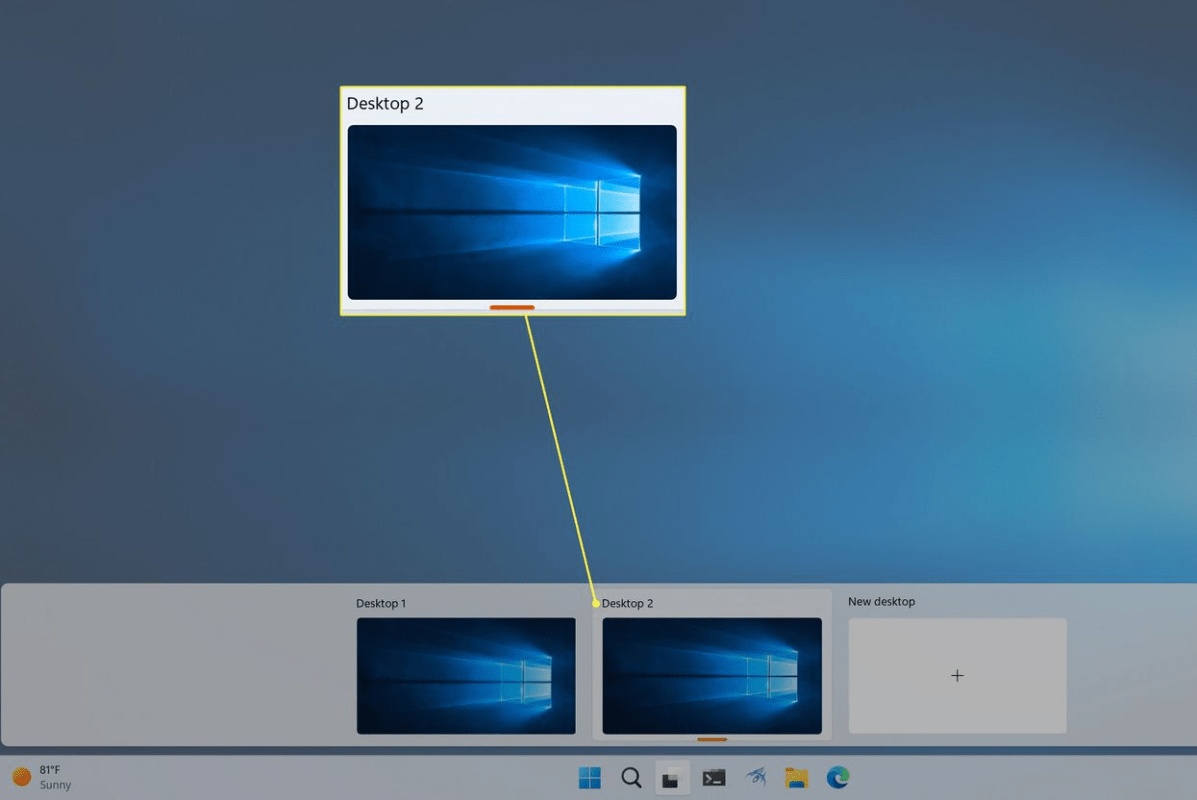
- Using the Taskbar: Click on the Task View icon (two overlapping rectangles) located on the taskbar. If you don’t see the icon, you can right-click the taskbar and enable it.
- Using a Keyboard Shortcut: Press Windows + Tab on your keyboard to open Task View.
2. Create a New Virtual Desktop
Once you’re in Task View, follow these steps to create a new virtual desktop:
- Click on “New Desktop”: In the upper left corner of the Task View interface, you’ll see a button labeled New Desktop. Click on it, and a new virtual desktop will be created.
- Using Keyboard Shortcut: Alternatively, you can create a new virtual desktop by pressing Windows + Ctrl + D.
3. Switch Between Virtual Desktops
Switching between virtual desktops is easy:
- Using Task View: Open Task View (Windows + Tab), and click on the desktop you want to switch to.
- Using Keyboard Shortcuts: Press Windows + Ctrl + Left/Right Arrow to cycle through your virtual desktops.
4. Move Applications Between Desktops
You can easily move open applications from one virtual desktop to another:
- Open Task View: Go to Task View (Windows + Tab).
- Drag and Drop: Find the application you want to move, then click and drag it to the desired virtual desktop.
- Right-Click Option: Right-click on the application in Task View, select Move to, and choose the desktop you want to move it to.
5. Close a Virtual Desktop
If you want to close a virtual desktop:
- Open Task View: Access Task View (Windows + Tab).
- Close Desktop: Hover over the desktop you want to close, and click the X button in the corner.
- Keyboard Shortcut: You can also close the current virtual desktop by pressing Windows + Ctrl + F4.
Unlock your PC’s potential with our cheap Windows 11 Home key—upgrade today for a seamless experience without breaking the bank!

