
Office Blog
Can I Uninstall Specific Office Applications without Affecting the Entire Suite?

Uninstalling specific Office applications from the suite can help free up resources and optimize your usage. Here’s a step-by-step guide on how to uninstall specific Office applications without affecting the entire suite.
Steps:
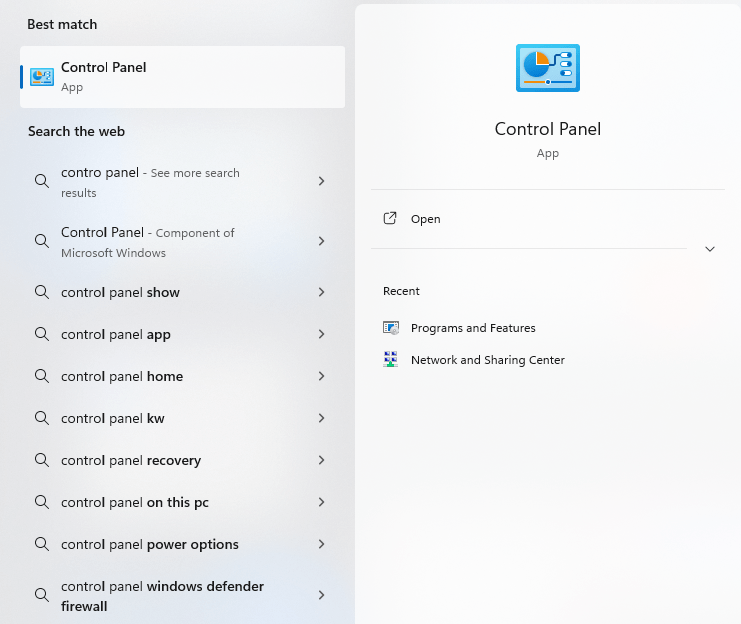
- Open Control Panel: Click on the “Start” menu, search for “Control Panel,” and open it.
- Navigate to Programs and Features: In the Control Panel, locate and click on the “Programs” or “Programs and Features” option.
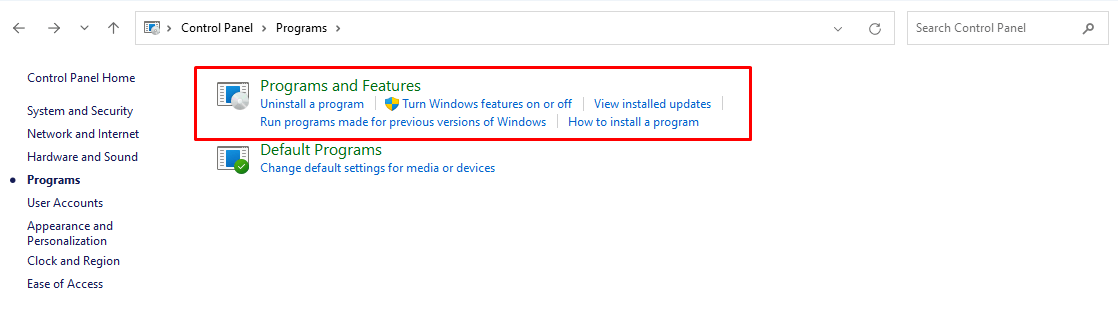
- Find Microsoft Office: Look for “Microsoft Office” or a similar entry in the list that appears.
- Modify the Office installation: Right-click on “Microsoft Office” and select the “Change” or “Modify” option.
- Choose Modify: In the Office installation wizard, choose the “Modify” option and click “Continue” or “Next.”
- Select individual applications: You will be presented with a list of installed Office applications. Here, you can select the specific applications you want to uninstall.
- Uninstall selected applications: Once you have selected the applications you want to uninstall, click on the “Continue” or “Next” button to proceed with the uninstallation process.
- Confirm and uninstall: You will see a confirmation prompt asking if you are sure about uninstalling the selected applications. Review the list and click “Uninstall” to proceed.
- Wait for the uninstallation: The selected Office applications will now be uninstalled. Wait for the process to complete. This may take a few minutes.
- Finish the process: Once the uninstallation process is finished, you will see a confirmation message. Click “Close” or “Finish” to exit the Office installation wizard.
Boost your productivity to unparalleled levels with Microsoft Office at unbeatable prices, exclusively on our website. Revolutionize your workflow and achieve remarkable efficiency and output.