Windows Blog
Can I run Android Apps on Windows 11 Home?
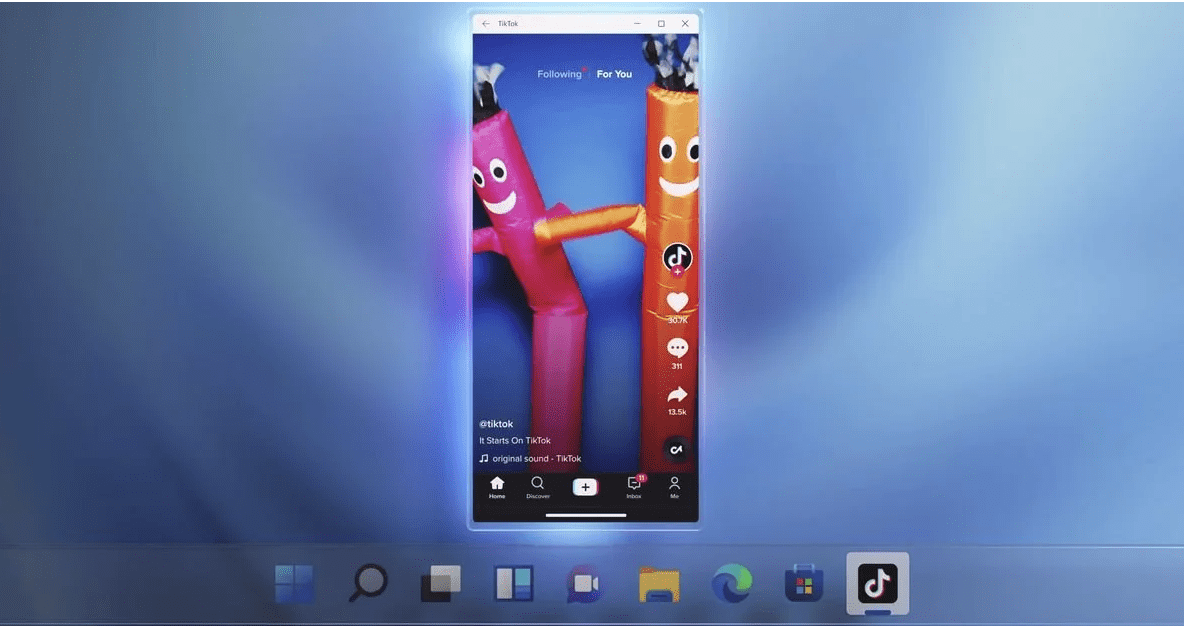
With the advent of Windows 11, Microsoft introduced several exciting features designed to enhance user experience and functionality. One of the most anticipated additions is the ability to run Android apps directly on Windows 11. If you’re using Windows 11 Home and wondering whether you can access and use Android applications, the answer is yes! Here’s everything you need to know about running Android apps on Windows 11 Home.
Understanding the Integration of Android Apps
Microsoft partnered with Amazon to bring Android apps to Windows 11 through the Microsoft Store. This integration allows users to download and run Android applications natively on their Windows devices. This means you can enjoy your favorite mobile apps on a larger screen with a keyboard and mouse, making multitasking and productivity more convenient.

How to Run Android Apps on Windows 11 Home
Here’s a step-by-step guide on how to set up and run Android apps on your Windows 11 Home device:
Step 1: Ensure Your System Meets Requirements
Before getting started, make sure your device meets the following requirements:
- Windows 11: Ensure you have the latest version of Windows 11 installed.
- Hardware Requirements: A compatible processor, at least 8 GB of RAM, and 64 GB of storage are recommended for optimal performance.
Step 2: Open the Microsoft Store
The Microsoft Store is your gateway to downloading Android apps.
- Access the Store: Click on the Start button, type Microsoft Store in the search bar, and select it from the results.
Step 3: Search for Android Apps
Within the Microsoft Store, you can find various Android applications.
- Browse or Search: You can either browse the featured section or use the search bar to find specific Android apps. Look for apps that indicate compatibility with Windows 11.
Step 4: Install the Amazon Appstore
To run Android apps, you must first install the Amazon Appstore.
- Download the Appstore: In the Microsoft Store, search for Amazon Appstore. Click on it, then select the Install button to download and install it.
Step 5: Set Up the Amazon Appstore
Once the installation is complete, set up the Amazon Appstore.
- Open the Appstore: After installation, launch the Amazon Appstore from the Start menu.
- Sign In: You’ll need to sign in with your Amazon account. If you don’t have one, you can create a new account during the setup process.
Step 6: Browse and Install Android Apps
Now that the Amazon Appstore is set up, you can explore available Android apps.
- Search for Apps: Browse through the categories or use the search feature to find apps you want to install.
- Install the Apps: Click on the app you want to download, then select the Get or Install button. The app will download and install on your device.
Step 7: Run Android Apps
After installing your desired Android apps, you can easily run them.
- Access Installed Apps: Open the Start menu, and you’ll find your installed Android apps alongside your Windows applications.
- Launch the App: Click on the app icon to launch it and start using it just like you would on an Android device.
Step 8: Update and Manage Your Apps
To keep your apps functioning smoothly, regular updates may be necessary.
- Update Apps: You can update your Android apps through the Amazon Appstore, which will notify you when updates are available.
- Manage Apps: To uninstall or manage your apps, go to Settings > Apps on your Windows device.
Unlock your PC’s potential with our cheap Windows 11 Home key—upgrade today for a seamless experience without breaking the bank!

