
Office Blog
Word’s SmartArt: Create Diagrams Like a Pro

Microsoft Word isn’t just for typing documents—it’s also a powerful tool for visual communication. With SmartArt, you can create professional-looking diagrams in just a few clicks, making your documents more engaging and easy to understand.
Whether you’re working on a business report, academic paper, or presentation, SmartArt helps you illustrate ideas, processes, and relationships visually without needing complex design skills.
In this guide, we’ll walk you through how to use SmartArt effectively to create stunning diagrams like a pro.
Why Use SmartArt?
SmartArt makes it easy to transform text-heavy content into engaging visuals. Here’s why it’s a great tool:
✅ Enhances Readability – Converts complex information into clear and concise diagrams.
✅ Saves Time – No need to design from scratch—just pick a template and customize.
✅ Professional Look – Pre-designed styles make diagrams visually appealing.
✅ Easy Editing – Quickly adjust shapes, colors, and text to fit your needs.
How to Insert SmartArt in Word
Step 1: Open the SmartArt Tool
1️⃣ Open Microsoft Word and place your cursor where you want the diagram.
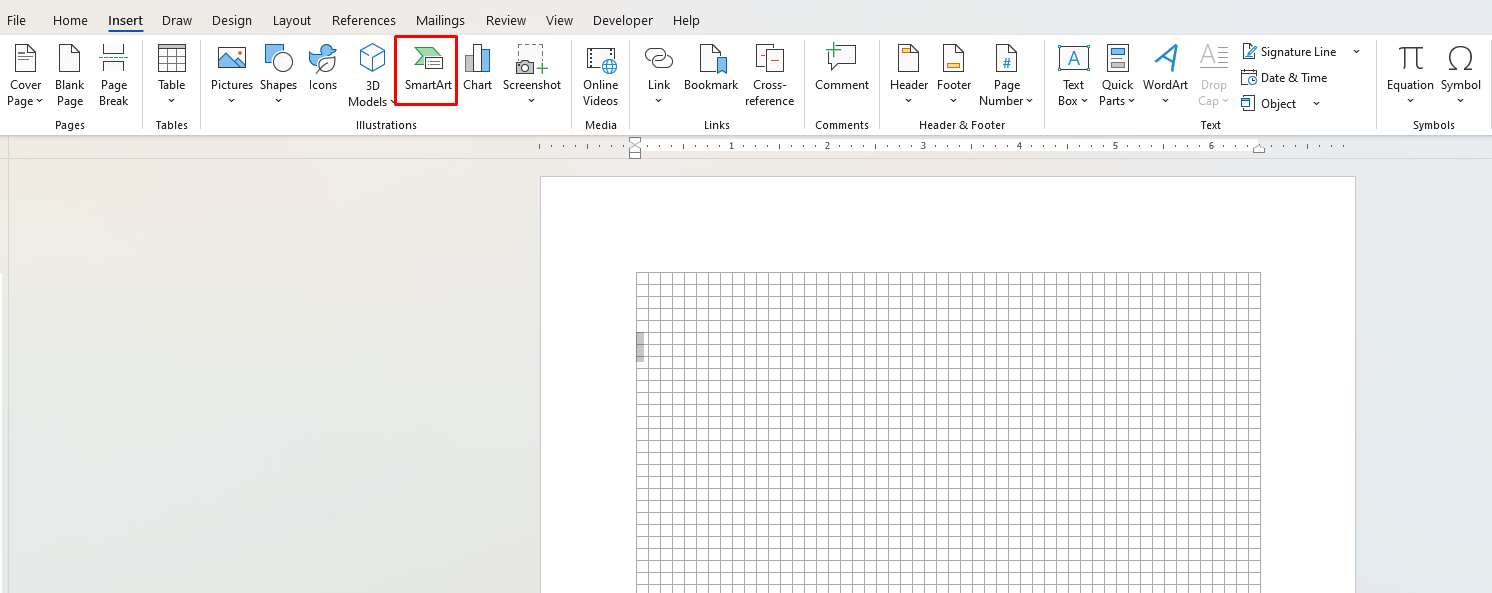
2️⃣ Click on the Insert tab.
3️⃣ Select SmartArt from the Illustrations group.
4️⃣ A Choose a SmartArt Graphic window will appear.
Step 2: Choose the Right SmartArt Graphic
SmartArt offers different types of diagrams depending on what you need to illustrate:
🔹 List – Best for bullet points and step-by-step guides.
🔹 Process – Ideal for showing workflows and sequences.
🔹 Cycle – Great for repeating processes like project life cycles.
🔹 Hierarchy – Used for organizational charts and structures.
🔹 Relationship – Best for showing connections between elements.
🔹 Matrix & Pyramid – Useful for priority-based or comparative data.

💡 Tip: Hover over a diagram type to see a preview and description before selecting.
Step 3: Add & Edit Text in SmartArt
1️⃣ Click on any [Text] placeholder inside the SmartArt diagram.
2️⃣ Type your content directly into the text pane on the left.
3️⃣ If the text pane isn’t visible, click the arrow on the left side of the SmartArt box.
Need more elements?
✔ Press Enter to add more items inside the diagram.
✔ Use the Tab key to create sub-elements under a main point.
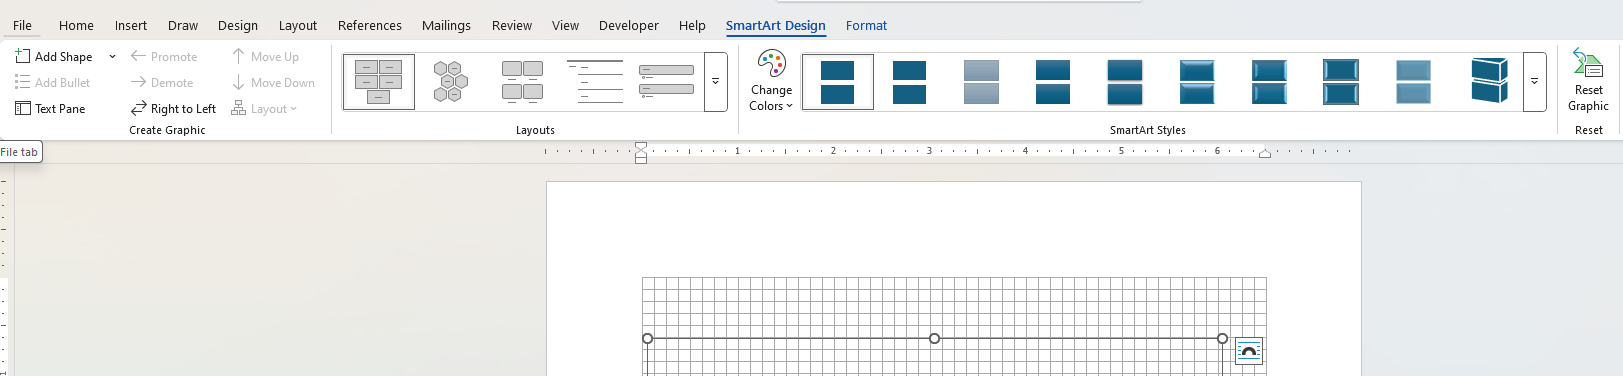
Step 4: Customize the Look of Your Diagram
To make your SmartArt stand out, try these customization options:
🎨 Change Colors & Styles
- Click on the SmartArt Design tab.
- Select Change Colors to modify the color scheme.
- Pick a SmartArt Style for a more polished look.
🔄 Rearrange Elements
- Use the Move Up/Down buttons in the text pane to reorder elements.
- Click Right to Left to flip the diagram’s direction.
🔠 Modify Text Formatting
- Highlight text and use the Font tools (bold, italic, color) in the Home tab.
Advanced SmartArt Editing Tips
✔ Convert Existing Bullet Lists to SmartArt
- Highlight a bulleted list in Word, click Convert to SmartArt, and choose a style.
✔ Change SmartArt Type Anytime
- Click on your diagram, go to SmartArt Design > Change Layout, and select a different style.
✔ Animate SmartArt in PowerPoint
- If using SmartArt in PowerPoint, add animations to reveal elements one at a time.
Get the cheapest Microsoft Office keys with instant delivery and secure activation—save big on Office 2021, 2019, and more!