
Office Blog
How to Automate Tasks in Word, Excel & PowerPoint?

Microsoft Office applications like Word, Excel, and PowerPoint are essential tools for everyday work, but manually completing repetitive tasks can waste time and slow you down. Fortunately, there are ways to automate tasks across all three programs, helping you streamline your workflow, increase productivity, and free up time for more creative or strategic tasks.
In this blog, we’ll explore how to automate common tasks in Word, Excel, and PowerPoint using built-in tools and features to make your life easier.
Why Automate Tasks?
Automation in Microsoft Office isn’t just about saving time—it’s about improving accuracy, consistency, and efficiency. Here are a few reasons to automate tasks:
- Save Time: Let automation take care of repetitive actions, allowing you to focus on more important tasks.
- Increase Accuracy: Minimize human error by automating calculations, formatting, and document generation.
- Enhance Consistency: Ensure the same format, design, or action is applied across all documents, spreadsheets, or slides.
Now, let’s look at how you can automate tasks in each of the Microsoft Office programs.
Automating Tasks in Word
Microsoft Word offers several ways to automate repetitive tasks, from formatting to content insertion.
1. Macros in Word
A macro is a recorded set of actions you perform on a Word document that you can play back to automate the task in the future. For example, if you frequently format documents in a specific way, a macro can automate the formatting process.
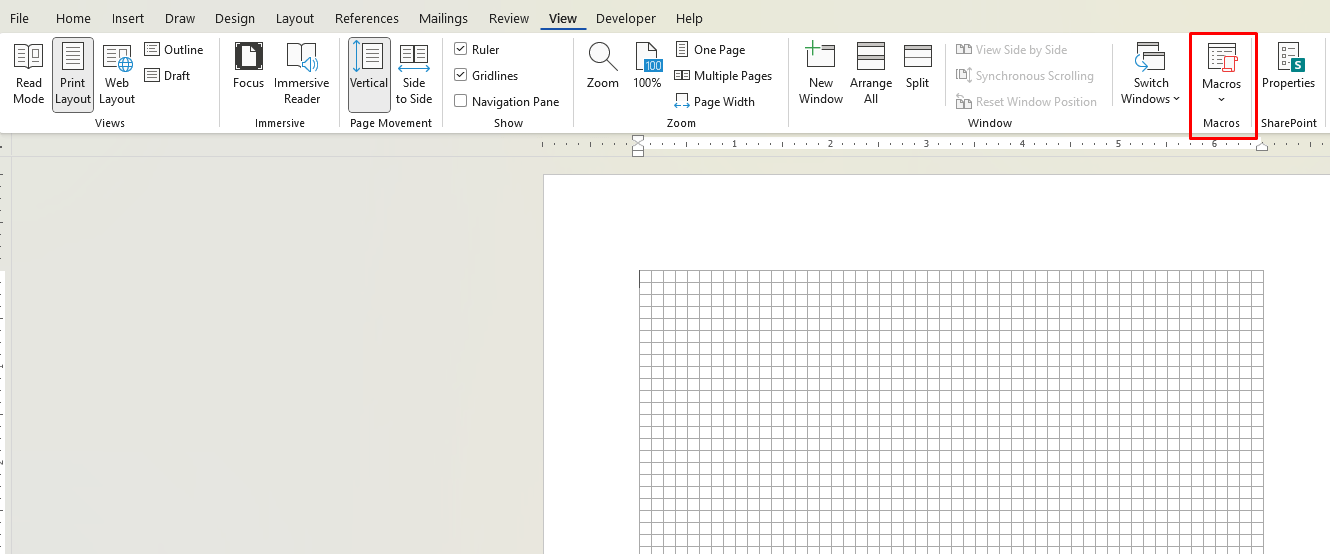
Here’s how to create a macro in Word:
- Go to the View tab.
- Click on Macros and select Record Macro.
- Name your macro and assign a button or keyboard shortcut.
- Perform the tasks you want to automate (e.g., formatting, inserting headers).
- When done, click Stop Recording.
To use the macro, simply click the button or press the keyboard shortcut you assigned.
2. Quick Parts and AutoText
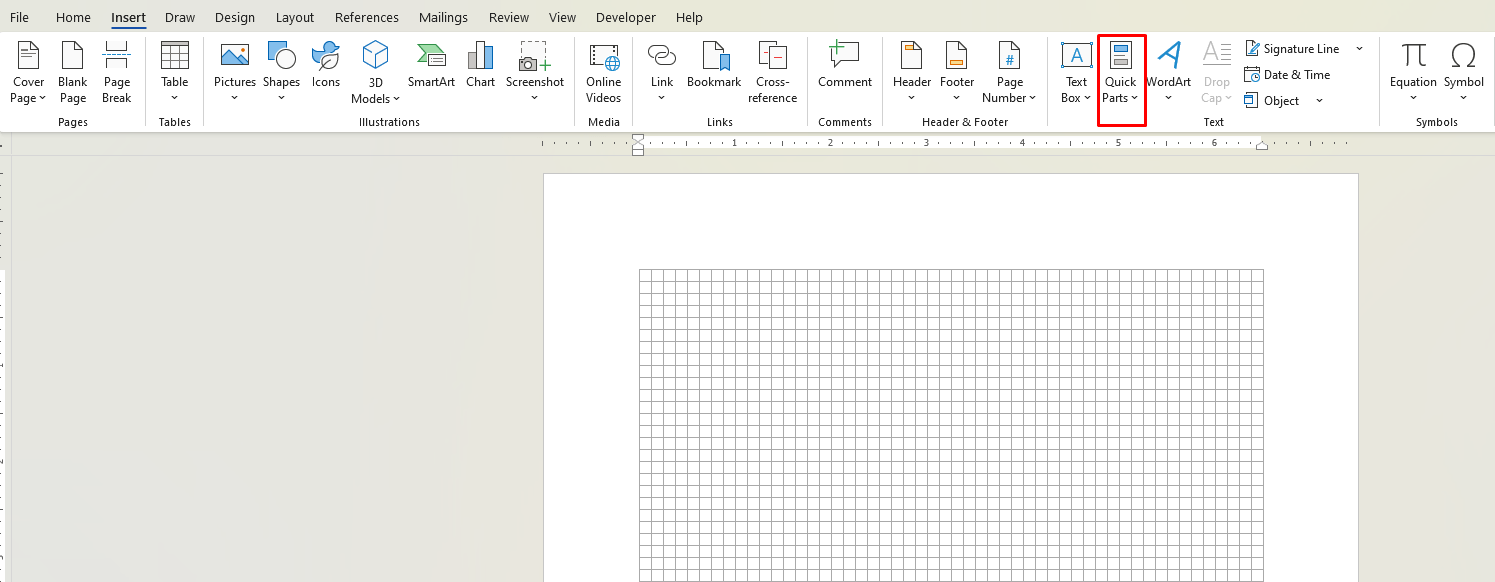
For content you frequently use, such as text blocks, headers, or phrases, Quick Parts and AutoText allow you to store and quickly insert them into your documents.
- Go to the Insert tab and select Quick Parts.
- Choose AutoText to save your text for easy access later.
Automating Tasks in Excel
Excel is packed with tools that can automate tasks like calculations, data entry, and even complex data analysis.
1. Formulas and Functions
One of the easiest ways to automate tasks in Excel is by using formulas and functions. From basic math operations to advanced financial and statistical formulas, Excel can handle a wide range of automated tasks. Here are a few examples:
- SUM: Automatically adds values in a range.
- IF: Creates conditional logic based on cell values.
- VLOOKUP: Searches for data in a table.
Formulas can be used across worksheets to automatically update data when the source changes, ensuring real-time calculations.
2. Macros in Excel
Like in Word, you can record macros in Excel to automate a series of tasks. For example, you could automate data cleaning processes, chart generation, or report formatting.
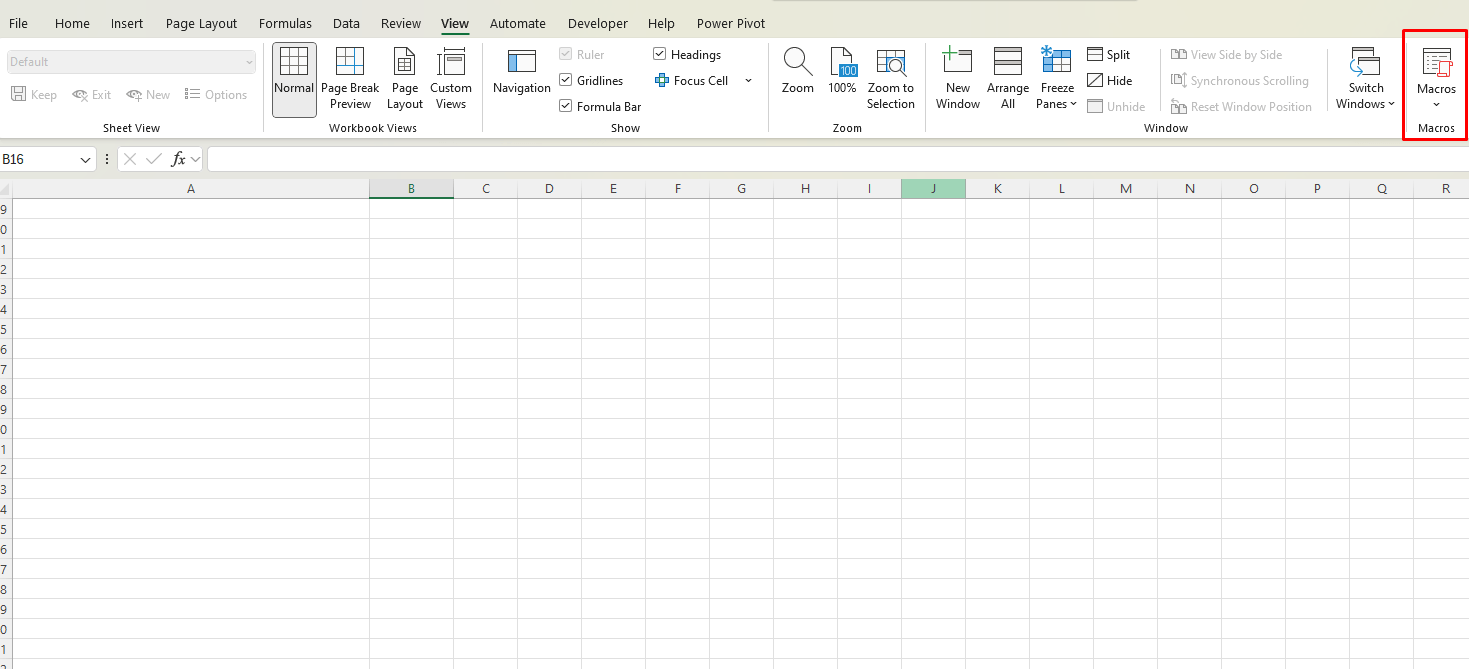
To record a macro:
- Go to the View tab and click Macros.
- Select Record Macro.
- Perform the actions you want to automate, such as formatting cells or creating a chart.
- Click Stop Recording once you’re finished.
Now, you can run the macro to repeat the steps with a single click.
3. Power Query
Power Query is a powerful feature in Excel that allows you to automate the process of importing, transforming, and cleaning data. If you regularly pull data from external sources or need to reformat it, Power Query can save you hours of manual work. With Power Query, you can automate:
- Importing data from various sources (e.g., databases, websites).
- Transforming the data into the desired format.
- Merging multiple datasets.
Automating Tasks in PowerPoint
PowerPoint presentations often involve repetitive tasks like formatting slides, applying themes, or adding certain elements. Here’s how to automate these actions.
1. Use Slide Masters
The Slide Master feature allows you to automate the layout and design of your slides. By setting up a master slide, you can apply consistent fonts, colors, and layouts across all slides in your presentation.
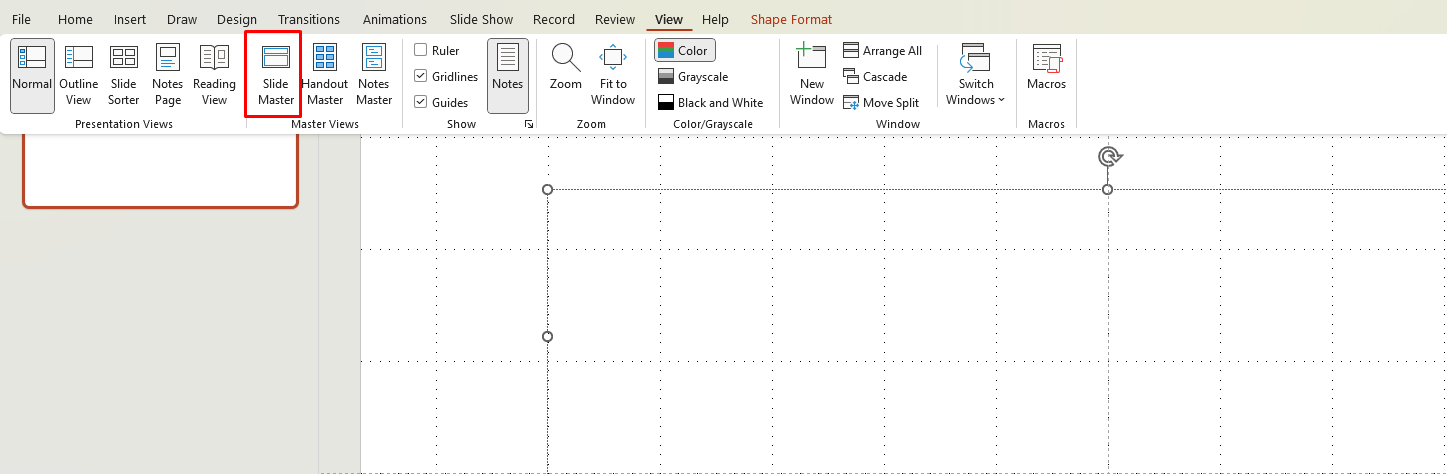
To set up Slide Masters:
- Go to the View tab and select Slide Master.
- Modify the master slide and layouts as needed (e.g., changing the background, logo, or text style).
- Apply your customizations across the entire presentation.
Any changes made to the Slide Master will automatically apply to all slides using that master, saving you time.
2. Animations and Transitions
Instead of manually applying animations or transitions to each slide, you can automate this by applying them in bulk:
- Select multiple slides (hold Ctrl while selecting).
- Go to the Transitions or Animations tab and choose the desired transition or animation.
- Apply to all slides at once with the Apply To All button.

3. Macros in PowerPoint
Macros are also available in PowerPoint for automating repetitive actions. For example, if you frequently add the same set of images, text, or animations to slides, a macro can help you automate this process.
To create a macro:
- Go to the Developer tab (if not enabled, enable it in the Options menu).
- Click Record Macro, perform the tasks you want to automate, and click Stop Recording when finished.
Advanced Automation: Power Automate
For even more advanced automation, you can use Power Automate (formerly Microsoft Flow) to connect Word, Excel, PowerPoint, and other Microsoft 365 apps. With Power Automate, you can set up workflows that automate tasks across multiple applications.
For example:
- Automatically save email attachments to OneDrive and generate a report in Excel.
- Trigger notifications or emails based on changes in an Excel file.
Get the best deals on the cheapest Office keys, offering genuine licenses at unbeatable prices for your software needs!