
Office Blog
How to Create and Format a Newsletter in Word?
Newsletters are a fantastic way to share updates, news, and announcements with your audience. Microsoft Word offers powerful tools to help you create a visually appealing and professional newsletter. Whether it’s for your business, school, or community, this guide will walk you through creating and formatting a newsletter in Word.
1. Why Use Microsoft Word for Newsletters?
Microsoft Word is user-friendly and versatile, making it an excellent tool for creating newsletters. With pre-designed templates, customizable layouts, and easy-to-use formatting tools, Word allows you to craft newsletters that look polished and professional without needing advanced design skills.
2. Start with a Template or a Blank Document
Using a Template
- Open Word and go to File > New.
- Type “newsletter” in the search bar to browse pre-designed templates.
- Choose a template that suits your needs and click Create.
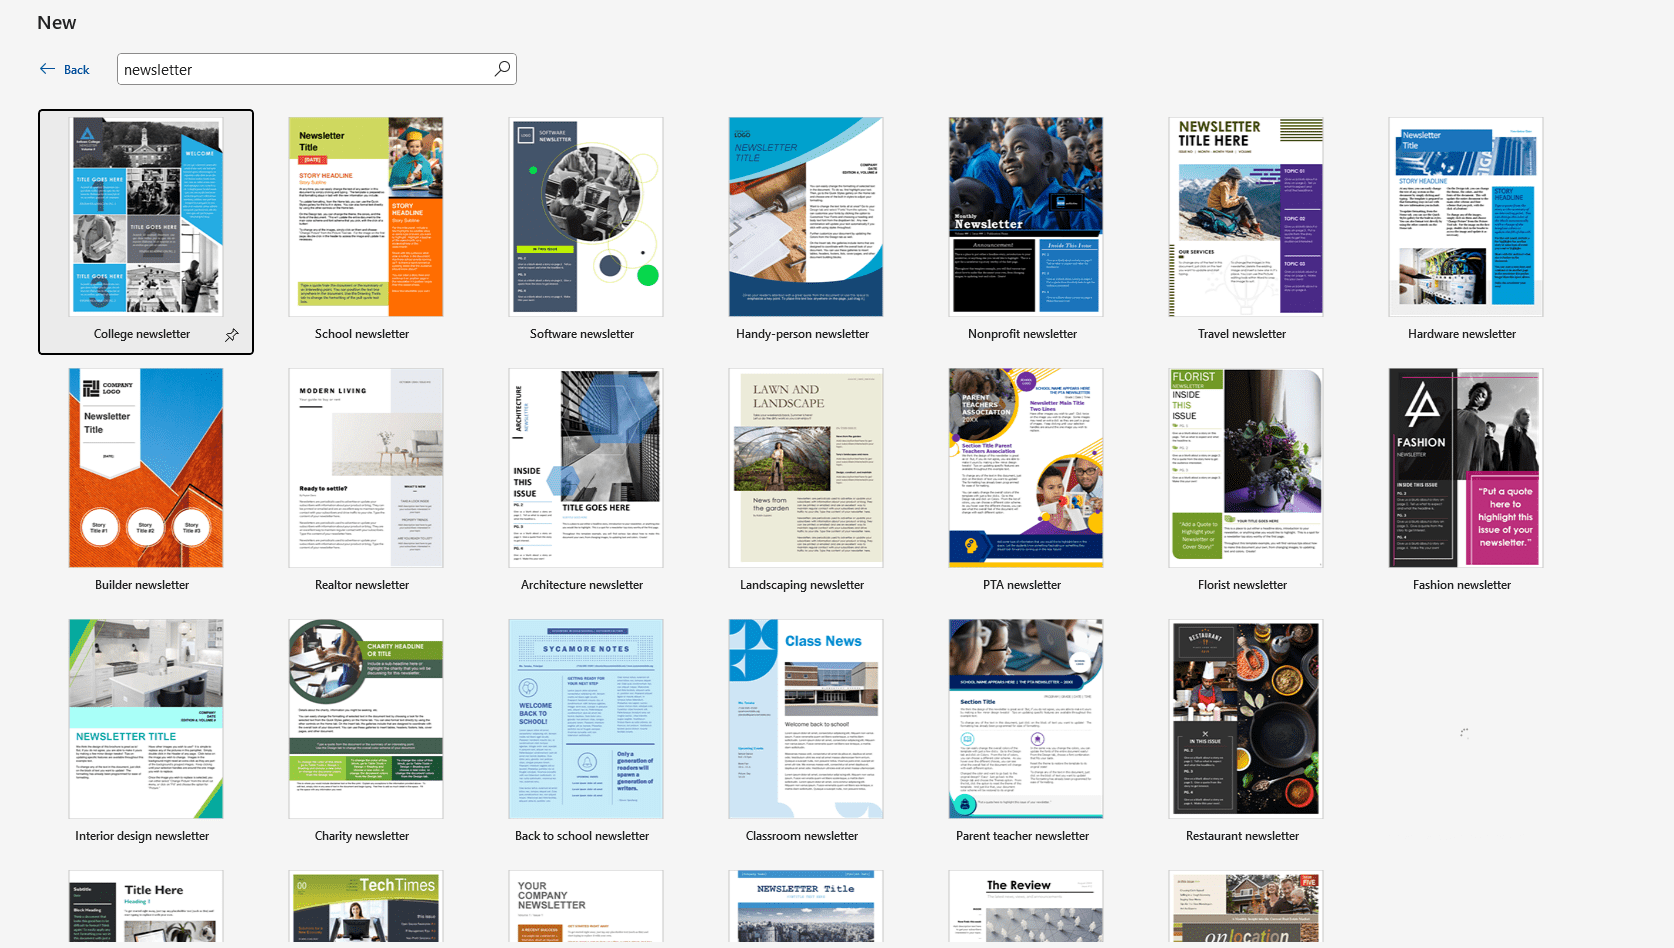
Templates save time and often come with placeholders for text, images, and headings, making customization simple.
Starting from Scratch
If you prefer to design your newsletter from the ground up:
- Open a blank document in Word.
- Set the page orientation to Landscape (optional) for a wider layout:
- Go to Layout > Orientation > Landscape.
- Adjust the margins by selecting Margins under the Layout tab. Narrow margins maximize space for content.

3. Set Up Your Layout
A newsletter requires a clear and organized structure.
Add Columns
- Go to the Layout tab and click Columns.
- Select the number of columns (e.g., two or three). Columns give your newsletter a professional, magazine-style appearance.

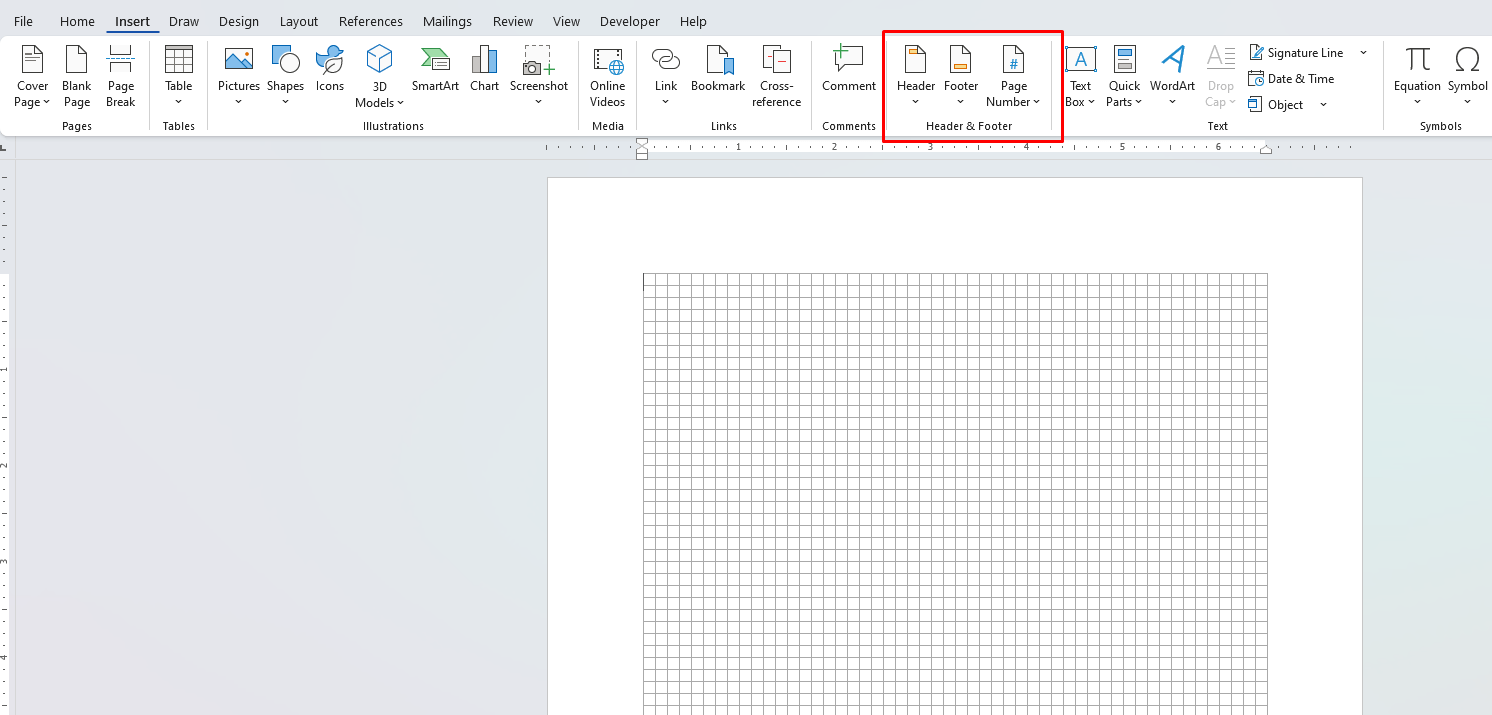
Insert a Header and Footer
- Click on Insert > Header or Footer.
- Add the newsletter title, date, and issue number in the header.
- Use the footer for page numbers or your organization’s contact details.
4. Design the Newsletter Title and Banner
The title and banner are the first things readers notice. Make them eye-catching!
- Insert a Text Box or Shape:
- Go to Insert > Shapes and choose a rectangle or other shape. Place it at the top of the page for your banner.
- Right-click the shape, choose Format Shape, and adjust the fill and border colors.
- Add Text:
- Insert a text box over the banner shape and type your newsletter title.
- Use a bold, large font to make the title stand out.
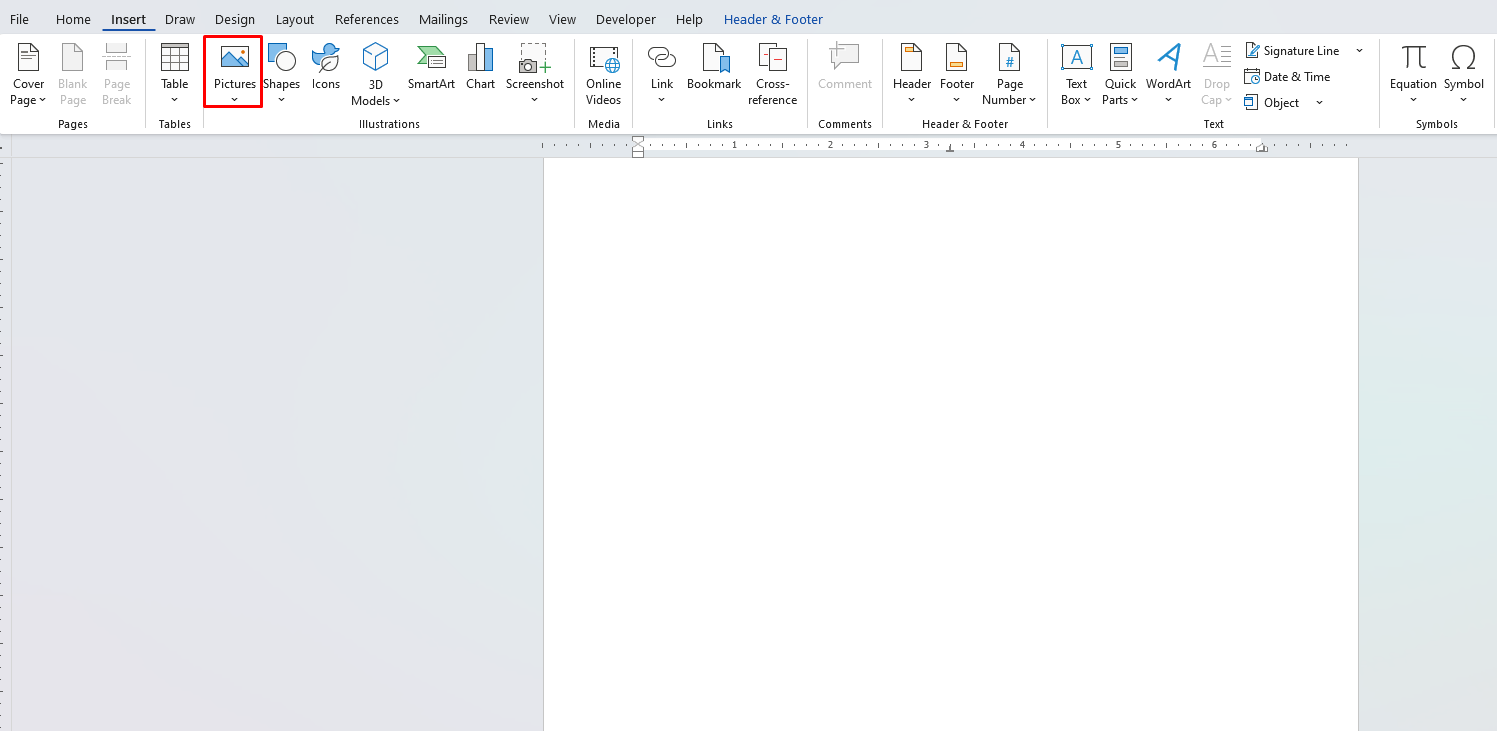
- Include Your Logo:
- Click Insert > Pictures to add your logo to the banner.
5. Add Content to the Newsletter
Create Sections with Headings
Use headings to divide your newsletter into sections, such as:
- Main Story
- Upcoming Events
- Announcements
- Spotlight Features
Apply consistent styles using the Styles feature under the Home tab.
Insert Images
- Click Insert > Pictures to add images that complement your content.
- Use Wrap Text (right-click the image) to position images alongside text.
Use Tables for Organization
Tables can help present information like schedules or statistics:
- Go to Insert > Table and select the number of rows and columns.
- Format the table under the Table Design tab for a polished look.
6. Format Your Newsletter
Fonts and Colors
- Choose easy-to-read fonts like Calibri or Arial for the body text.
- Use bold or decorative fonts sparingly for headings and titles.
- Stick to 2–3 colors that match your branding for a cohesive look.
Line Spacing
- Adjust spacing for readability:
- Go to Home > Line and Paragraph Spacing and select 1.15 or 1.5 spacing.
Add Bullets or Numbering
For lists or highlights, use bullets or numbering under the Home tab.
7. Review and Proofread
Before finalizing your newsletter:
- Proofread: Check for typos and grammatical errors.
- Preview: Go to View > Print Layout to see how your newsletter will look when printed.
- Check Consistency: Ensure fonts, colors, and spacing are consistent throughout.
8. Save and Share Your Newsletter
Save Your Newsletter
- Save your newsletter in Word format for future edits.
- Export it as a PDF for easy sharing:
- Go to File > Save As and select PDF as the file type.
Distribute Your Newsletter
- Print hard copies for distribution.
- Email the PDF to your audience.
- Share it online or on social media.
Discover the cheapest office keys available online—affordable, high-quality options to meet all your workplace access needs, only on our website!