
Windows Blog
How do I Manage Apps in Windows 11 Home?
Manage apps in Windows 11 Home and keep your system running smoothly and ensure a personalized user experience. From installing, updating, and uninstalling apps to managing startup programs, Windows 11 Home offers various ways to maintain control over the apps on your device. Here’s a step-by-step guide to managing apps in Windows 11 Home.
1. Installing Apps
You can install apps from the Microsoft Store or manually download installers from the web. To install an app from the Microsoft Store:
- Open the Microsoft Store from the Start Menu or Taskbar.
- Search for the desired app and click Get or Install.
- Follow the on-screen prompts to complete the installation.
For third-party apps, you can download the installer from the developer’s website, run the file, and follow the installation instructions.
2. Uninstalling Apps
If you have apps you no longer use, uninstalling them frees up space and improves system performance. To uninstall an app:
- Open Settings by pressing Windows + I.
- Navigate to Apps > Installed apps.
- Scroll through the list or use the search bar to find the app you want to remove.
- Click the three dots next to the app and choose Uninstall, then confirm.
Alternatively, you can uninstall apps directly from the Start Menu by right-clicking on the app and selecting Uninstall.
3. Managing Startup Apps
Startup apps are programs that run automatically when you start your computer. Managing these apps helps improve your system’s boot time and performance.
- Open Task Manager by pressing Ctrl + Shift + Esc.
- Click on the Startup tab.
- Here, you’ll see a list of apps that launch at startup. Right-click on the app and choose Disable to prevent it from starting automatically.
4. Updating Apps
Keeping your apps updated ensures you have the latest features and security patches. Apps from the Microsoft Store are updated automatically, but you can manually check for updates as well:
- Open the Microsoft Store.
- Click on your profile picture or the three dots in the top-right corner.
- Select App settings, then click Get updates under the Updates section.
For non-store apps, you will need to check within the app itself or the developer’s website for updates.
5. Adjusting App Permissions
You can control what data and resources each app can access. To adjust app permissions:
- Open Settings and go to Privacy & security.
- Scroll to the App permissions section, where you can manage access to the camera, microphone, location, and other resources.
- Select a permission type, then toggle access on or off for each app.
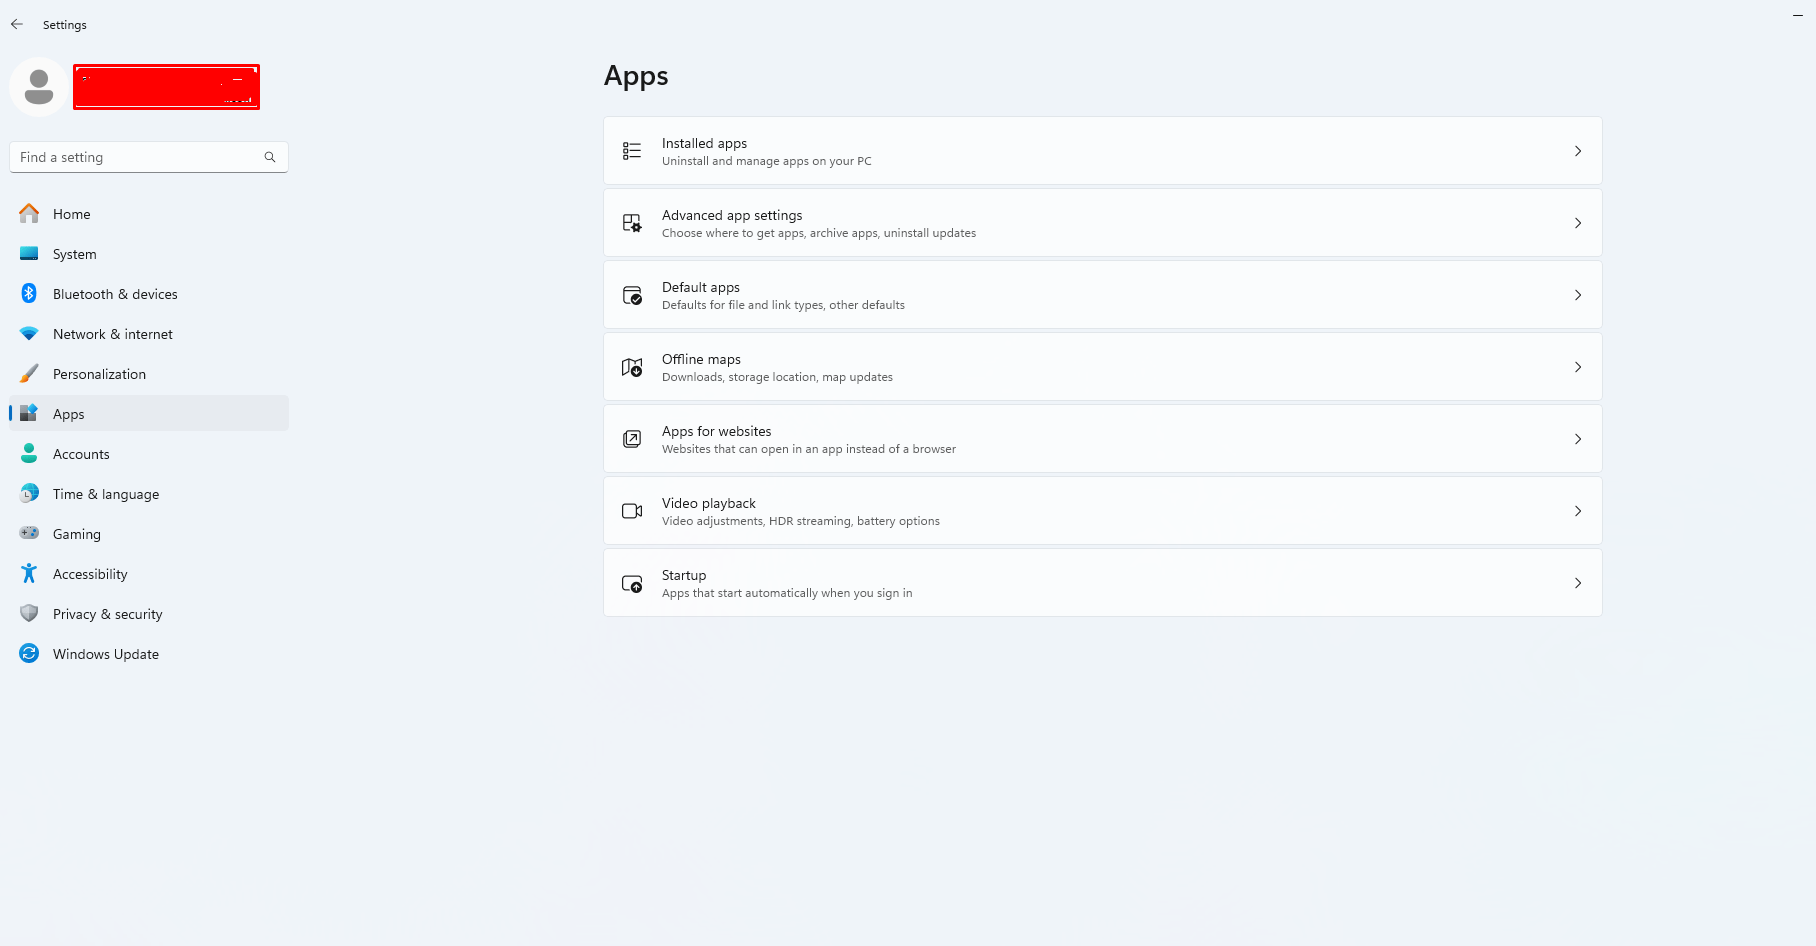
6. Managing Default Apps
You can set which apps open specific file types, such as choosing your preferred browser or photo viewer:
- Go to Settings > Apps > Default apps.
- Search for the file type or app you want to change, then choose the new default app from the list.
7. Pinning Apps to the Start Menu or Taskbar
For quicker access to frequently used apps, you can pin them to your Start Menu or Taskbar:
- Right-click on an app in the Start Menu or search for it in the search bar.
- Choose Pin to Start or Pin to Taskbar to add it to the respective location.
8. Organizing Apps with Virtual Desktops
If you often work with multiple apps at once, virtual desktops help keep your workspace organized. To create and manage virtual desktops:
- Press Windows + Tab to open the Task View.
- Click New Desktop at the top of the screen and drag apps to the new desktop to organize your workspace.
Get your cheap Windows 11 Home Key today and unlock the latest features at an unbeatable price!