
Windows Blog
How do I set up the Assigned Access in Windows 10 Pro?

Assigned Access is a feature in Windows 10 Pro that allows you to restrict a user account to a single app or a set of apps, effectively turning your device into a kiosk for a specific purpose. This is particularly useful for businesses or organizations that want to provide limited access to their devices. Follow the steps below to set up Assigned Access in Windows 10 Pro.
Step 1: Create a New User Account
- Open Settings: Click on the Start menu and select Settings (the gear icon).
- Go to Accounts: In the Settings window, click on Accounts.
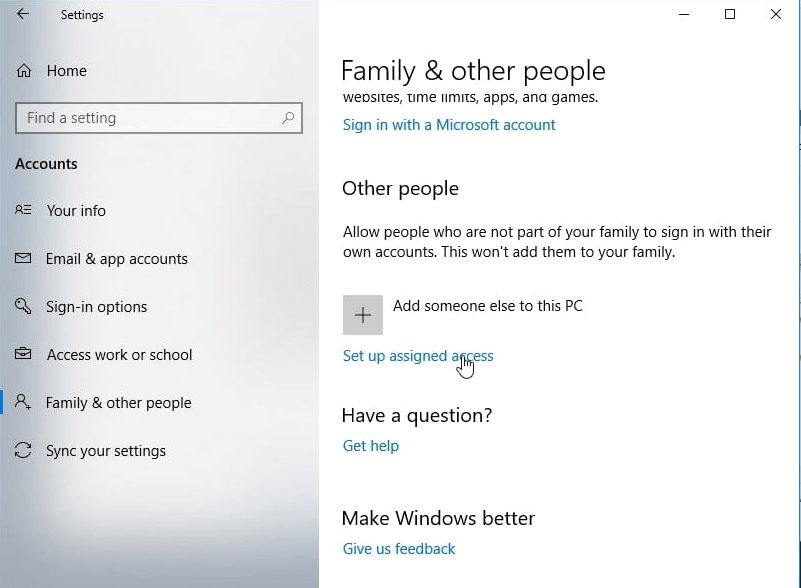
- Select Family & other users: On the left pane, choose Family & other users.
- Add a User: Click on Add someone else to this PC.
- Select “I don’t have this person’s sign-in information”: Follow the prompts to create a new local user account by selecting Add a user without a Microsoft account.
- Fill in User Details: Enter a username and password for the new account, then click Next.
Step 2: Enable Assigned Access
- Go Back to Accounts Settings: With the new user account created, stay in the Accounts settings.
- Select Family & other users: Find the new account you just created under the “Other users” section.
- Click on Account: Click on the account and then select Set up assigned access.
- Choose the App: In the Assigned Access settings, select the newly created user account, and then choose the app that you want to allow the user to access. The app must be a Universal Windows Platform (UWP) app.
Step 3: Configure Assigned Access
- Select the App: After selecting the account, you will see a list of available apps. Choose the one you want to assign.
- Confirm Settings: After selecting the app, confirm your choice. The user will only be able to use this app when they log in to their account.
Step 4: Sign in to the New Account
- Switch User: Log out of your current account by clicking on the Start menu, selecting your profile picture, and choosing Sign out.
- Sign in to the New Account: Select the new account from the login screen and enter the password.
- Test the App: Once logged in, the assigned app should open automatically, limiting access to other features of Windows.
Step 5: Exit Assigned Access
- Exit the App: If you want to exit the app, press Ctrl + Alt + Del on your keyboard, which will take you to the lock screen.
- Log Out: You can choose to log out or switch accounts to return to the main Windows interface.
Get your Windows 10 Pro key at an unbeatable price and unlock powerful features for enhanced productivity and security today!