
Office Blog
How do you Create a Branching Storyline in PowerPoint?

Creating a branching storyline in PowerPoint can add an interactive element to your presentations, making them more engaging and dynamic. Here’s a detailed step-by-step guide to help you get started.
Step 1: Plan Your Storyline
Command:
- Outline the main storyline and the different branches it can take.
- Sketch a flowchart on paper or using a digital tool to visualize the branching paths.
Step 2: Create Your Slides
Command:
- Open PowerPoint and start a new presentation.
- Create slides for each segment of your storyline, including decision points and different outcomes.
Step 3: Add Text and Visuals
Command:
- On each slide, add relevant text and visuals to support your storyline.
- Use engaging images, icons, and graphics to make your slides visually appealing.
Step 4: Insert Buttons for Navigation
Command:
- Go to the slide where a decision point occurs.
- Select the
Inserttab, then clickShapes. - Choose a suitable shape to serve as a button (e.g., a rectangle or circle).
- Draw the shape on the slide and add text to the button (e.g., “Option 1” and “Option 2”).
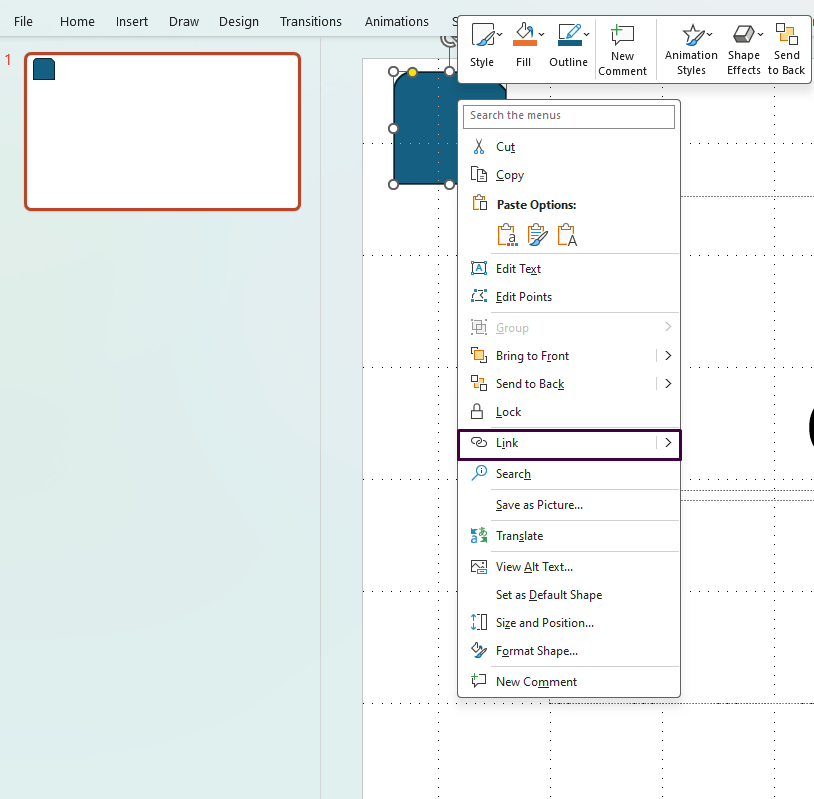
Step 5: Add Hyperlinks to Buttons
Command:
- Right-click the button shape and select
Hyperlink. - In the dialog box, select
Place in This Document. - Choose the slide you want the button to link to and click
OK.
Step 6: Repeat for All Decision Points
Command:
- Repeat steps 4 and 5 for all decision points in your branching storyline.
- Ensure each button is correctly linked to the appropriate slide that represents the next part of the story.
Step 7: Test Your Branching Storyline
Command:
- Go to the
Slide Showtab and selectFrom Beginning. - Click through each decision point to ensure all links work correctly and the storyline flows as intended.
Step 8: Refine and Enhance
Command:
- Review your presentation for any inconsistencies or errors.
- Enhance your slides with transitions and animations to smooth the flow between slides.
Step 9: Save Your Presentation
Command:
- Click
Fileand thenSave As. - Choose a location and enter a name for your presentation.
- Click
Save.
Unlock the full potential of your productivity suite with our unbeatable prices on the cheapest Office keys available!